Learning another thing in life – a four-day journey of repainting my valve cover for the first time.
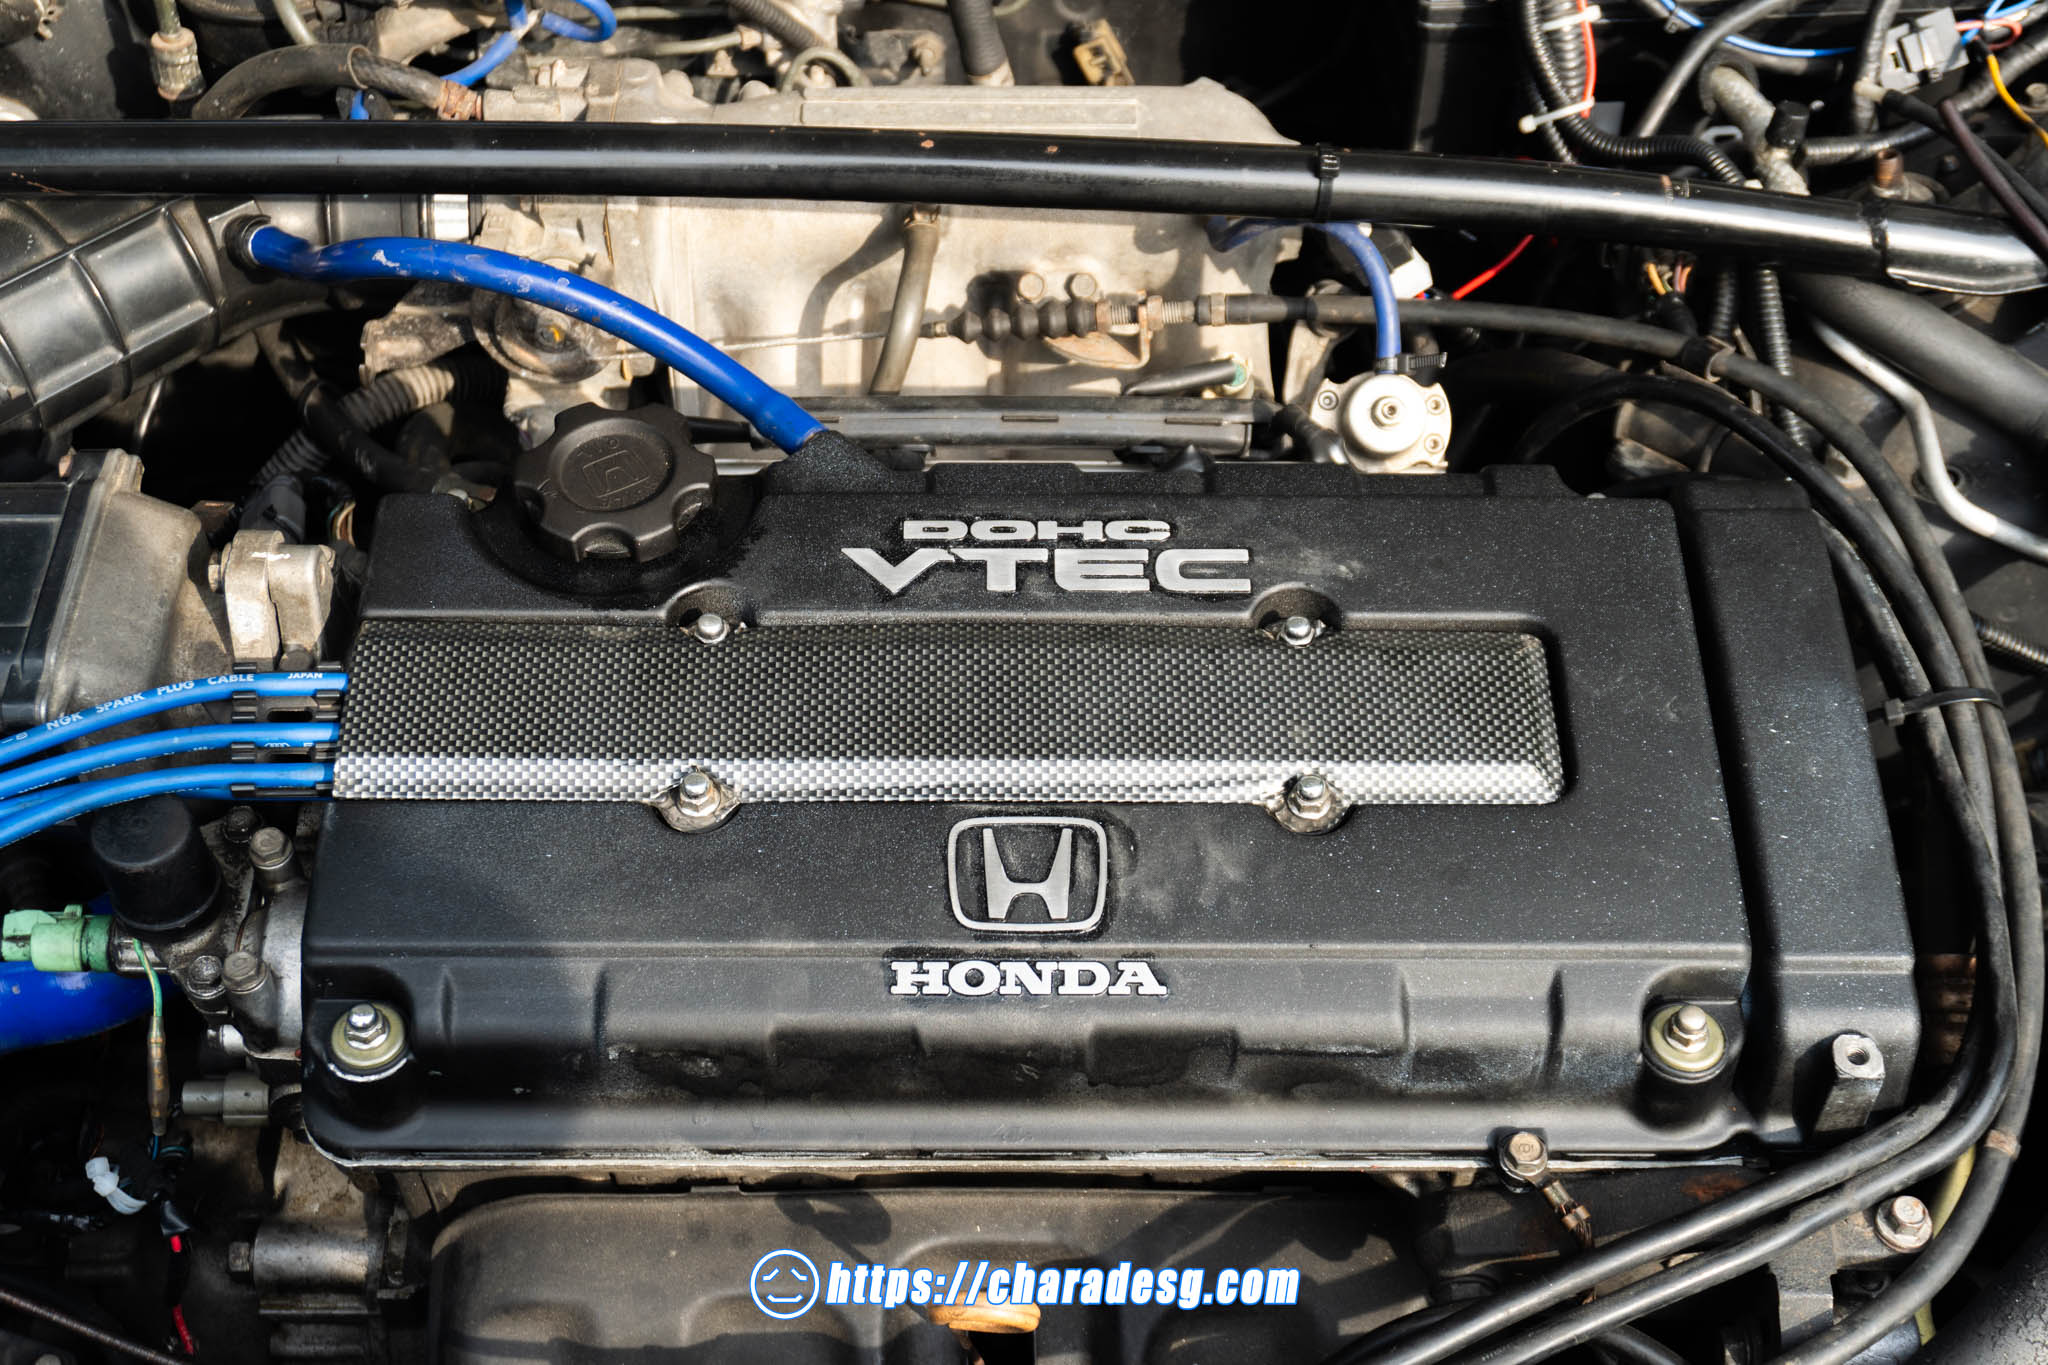
I have always wanted to make my engine bay tidier.
Time. Its what I keep thinking I don’t have. I didn’t exactly have it when I did the painting last month in July, but sometimes expediting is worth the trouble.
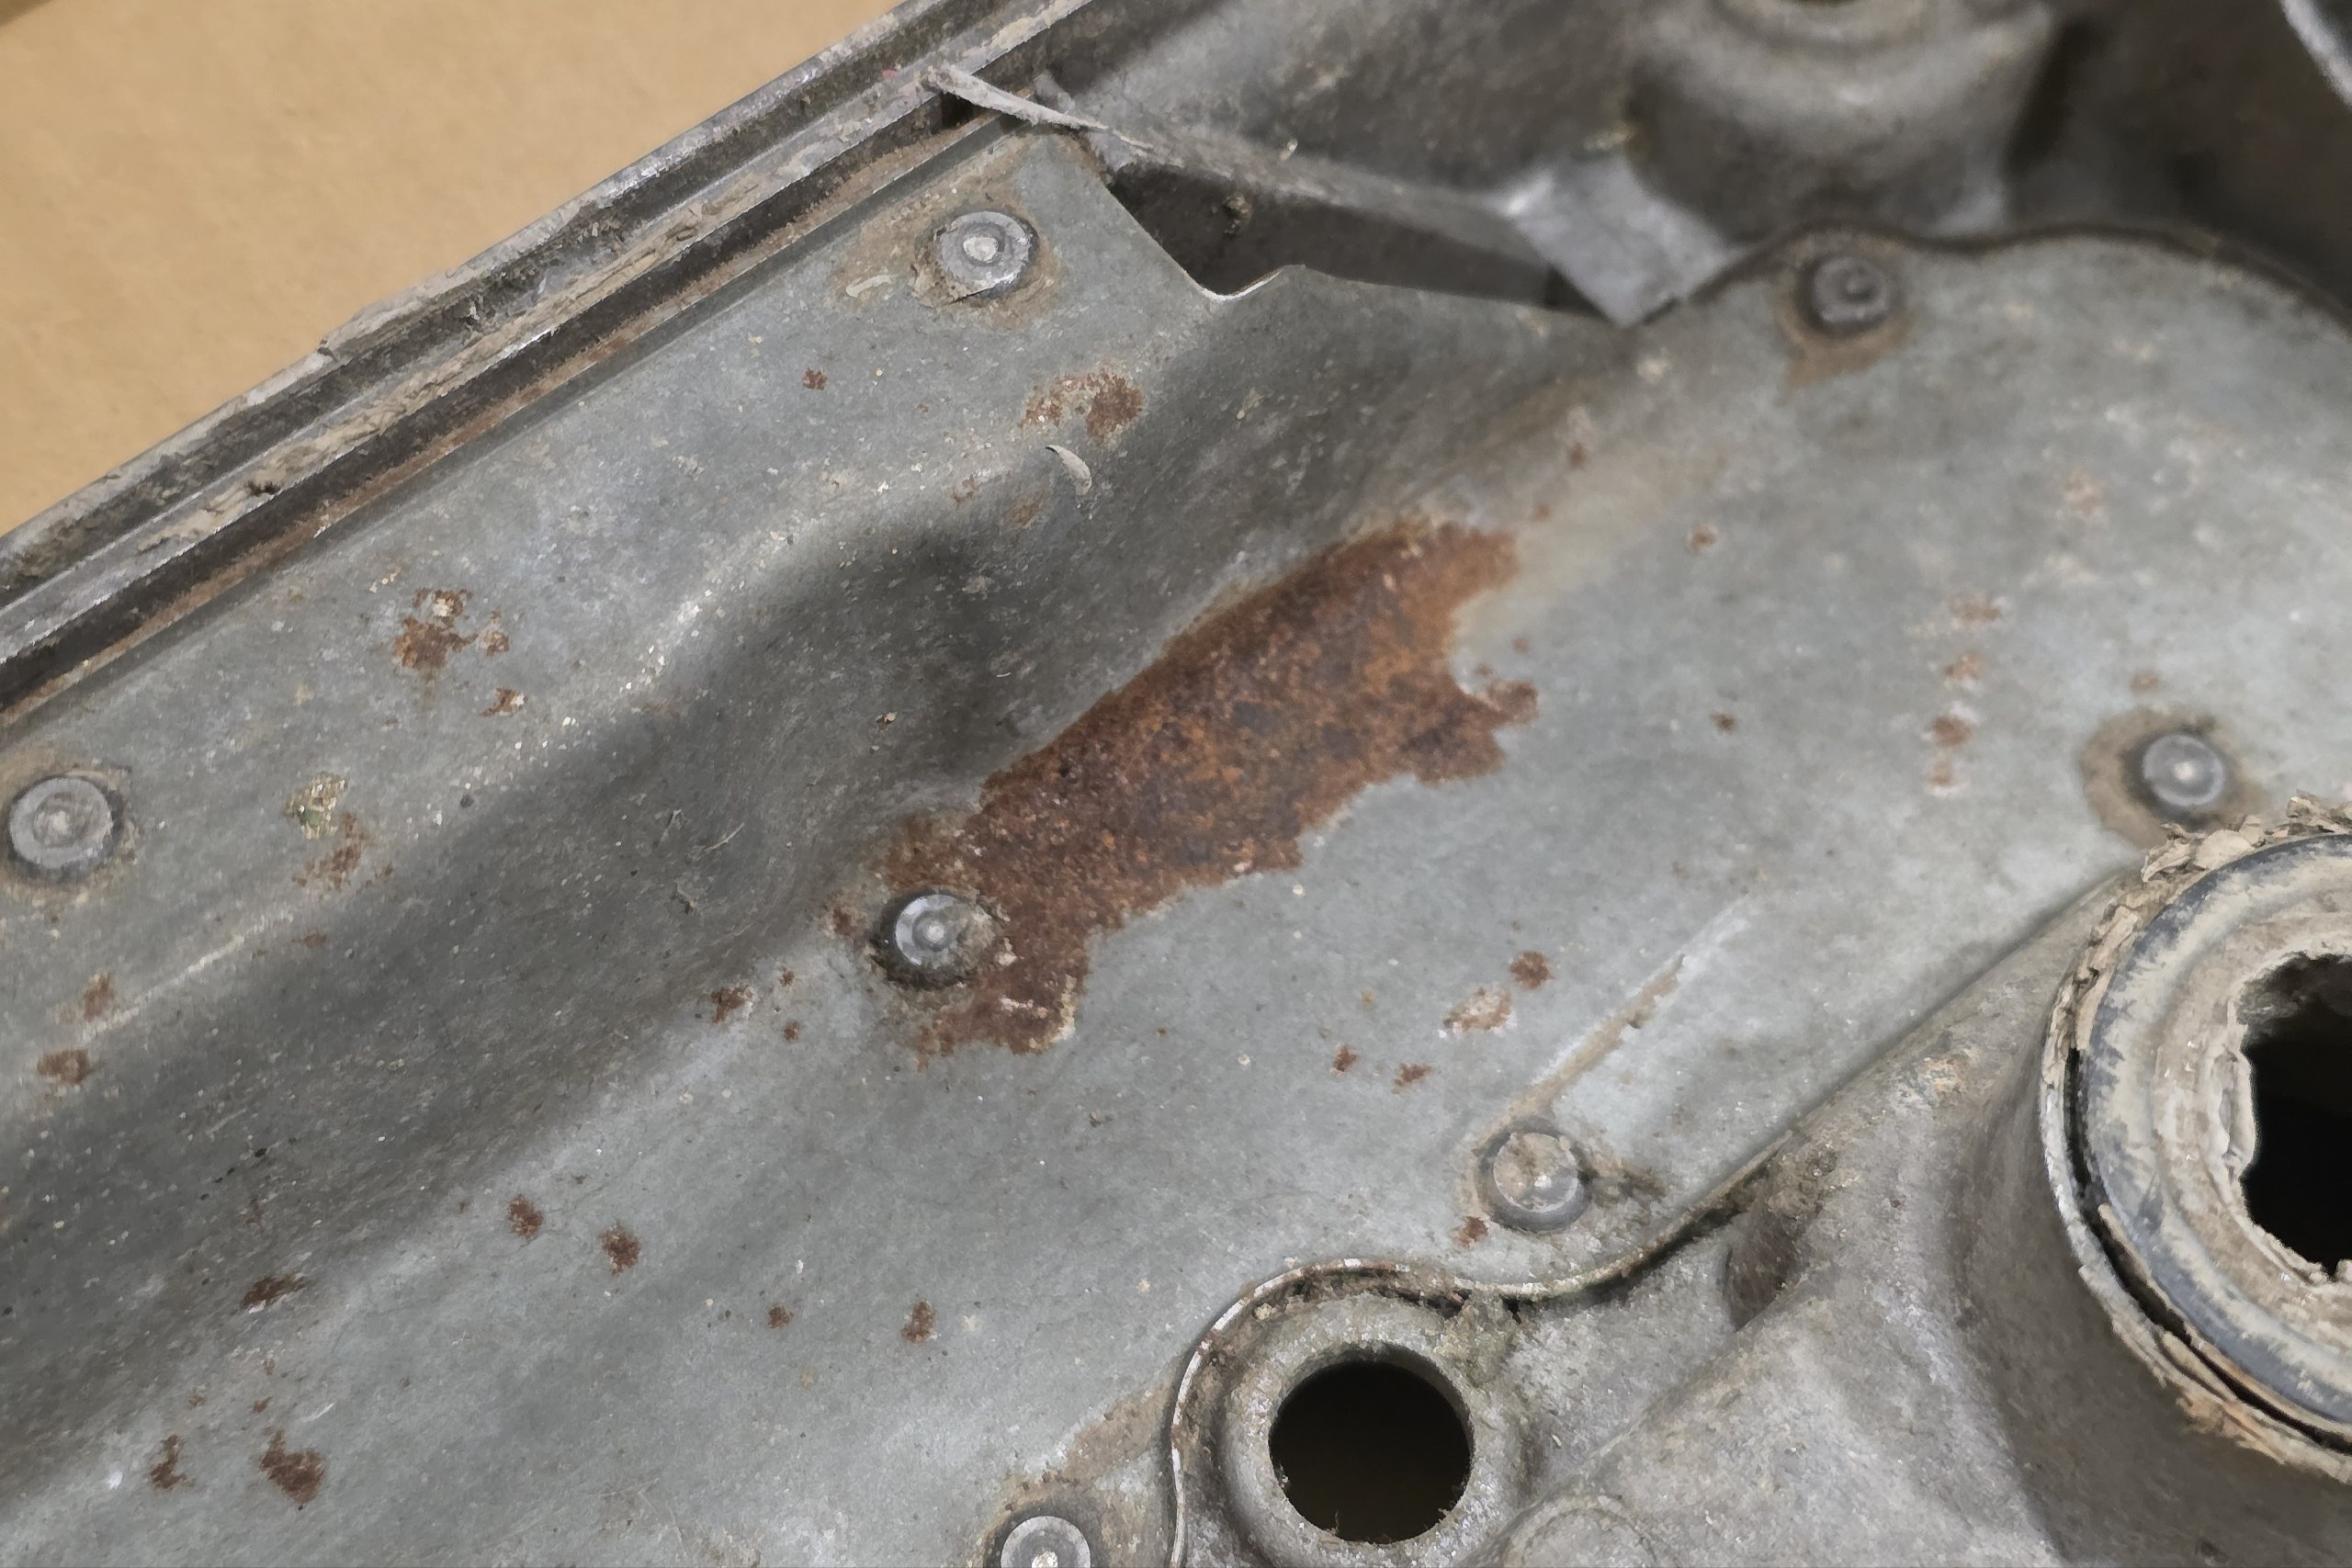
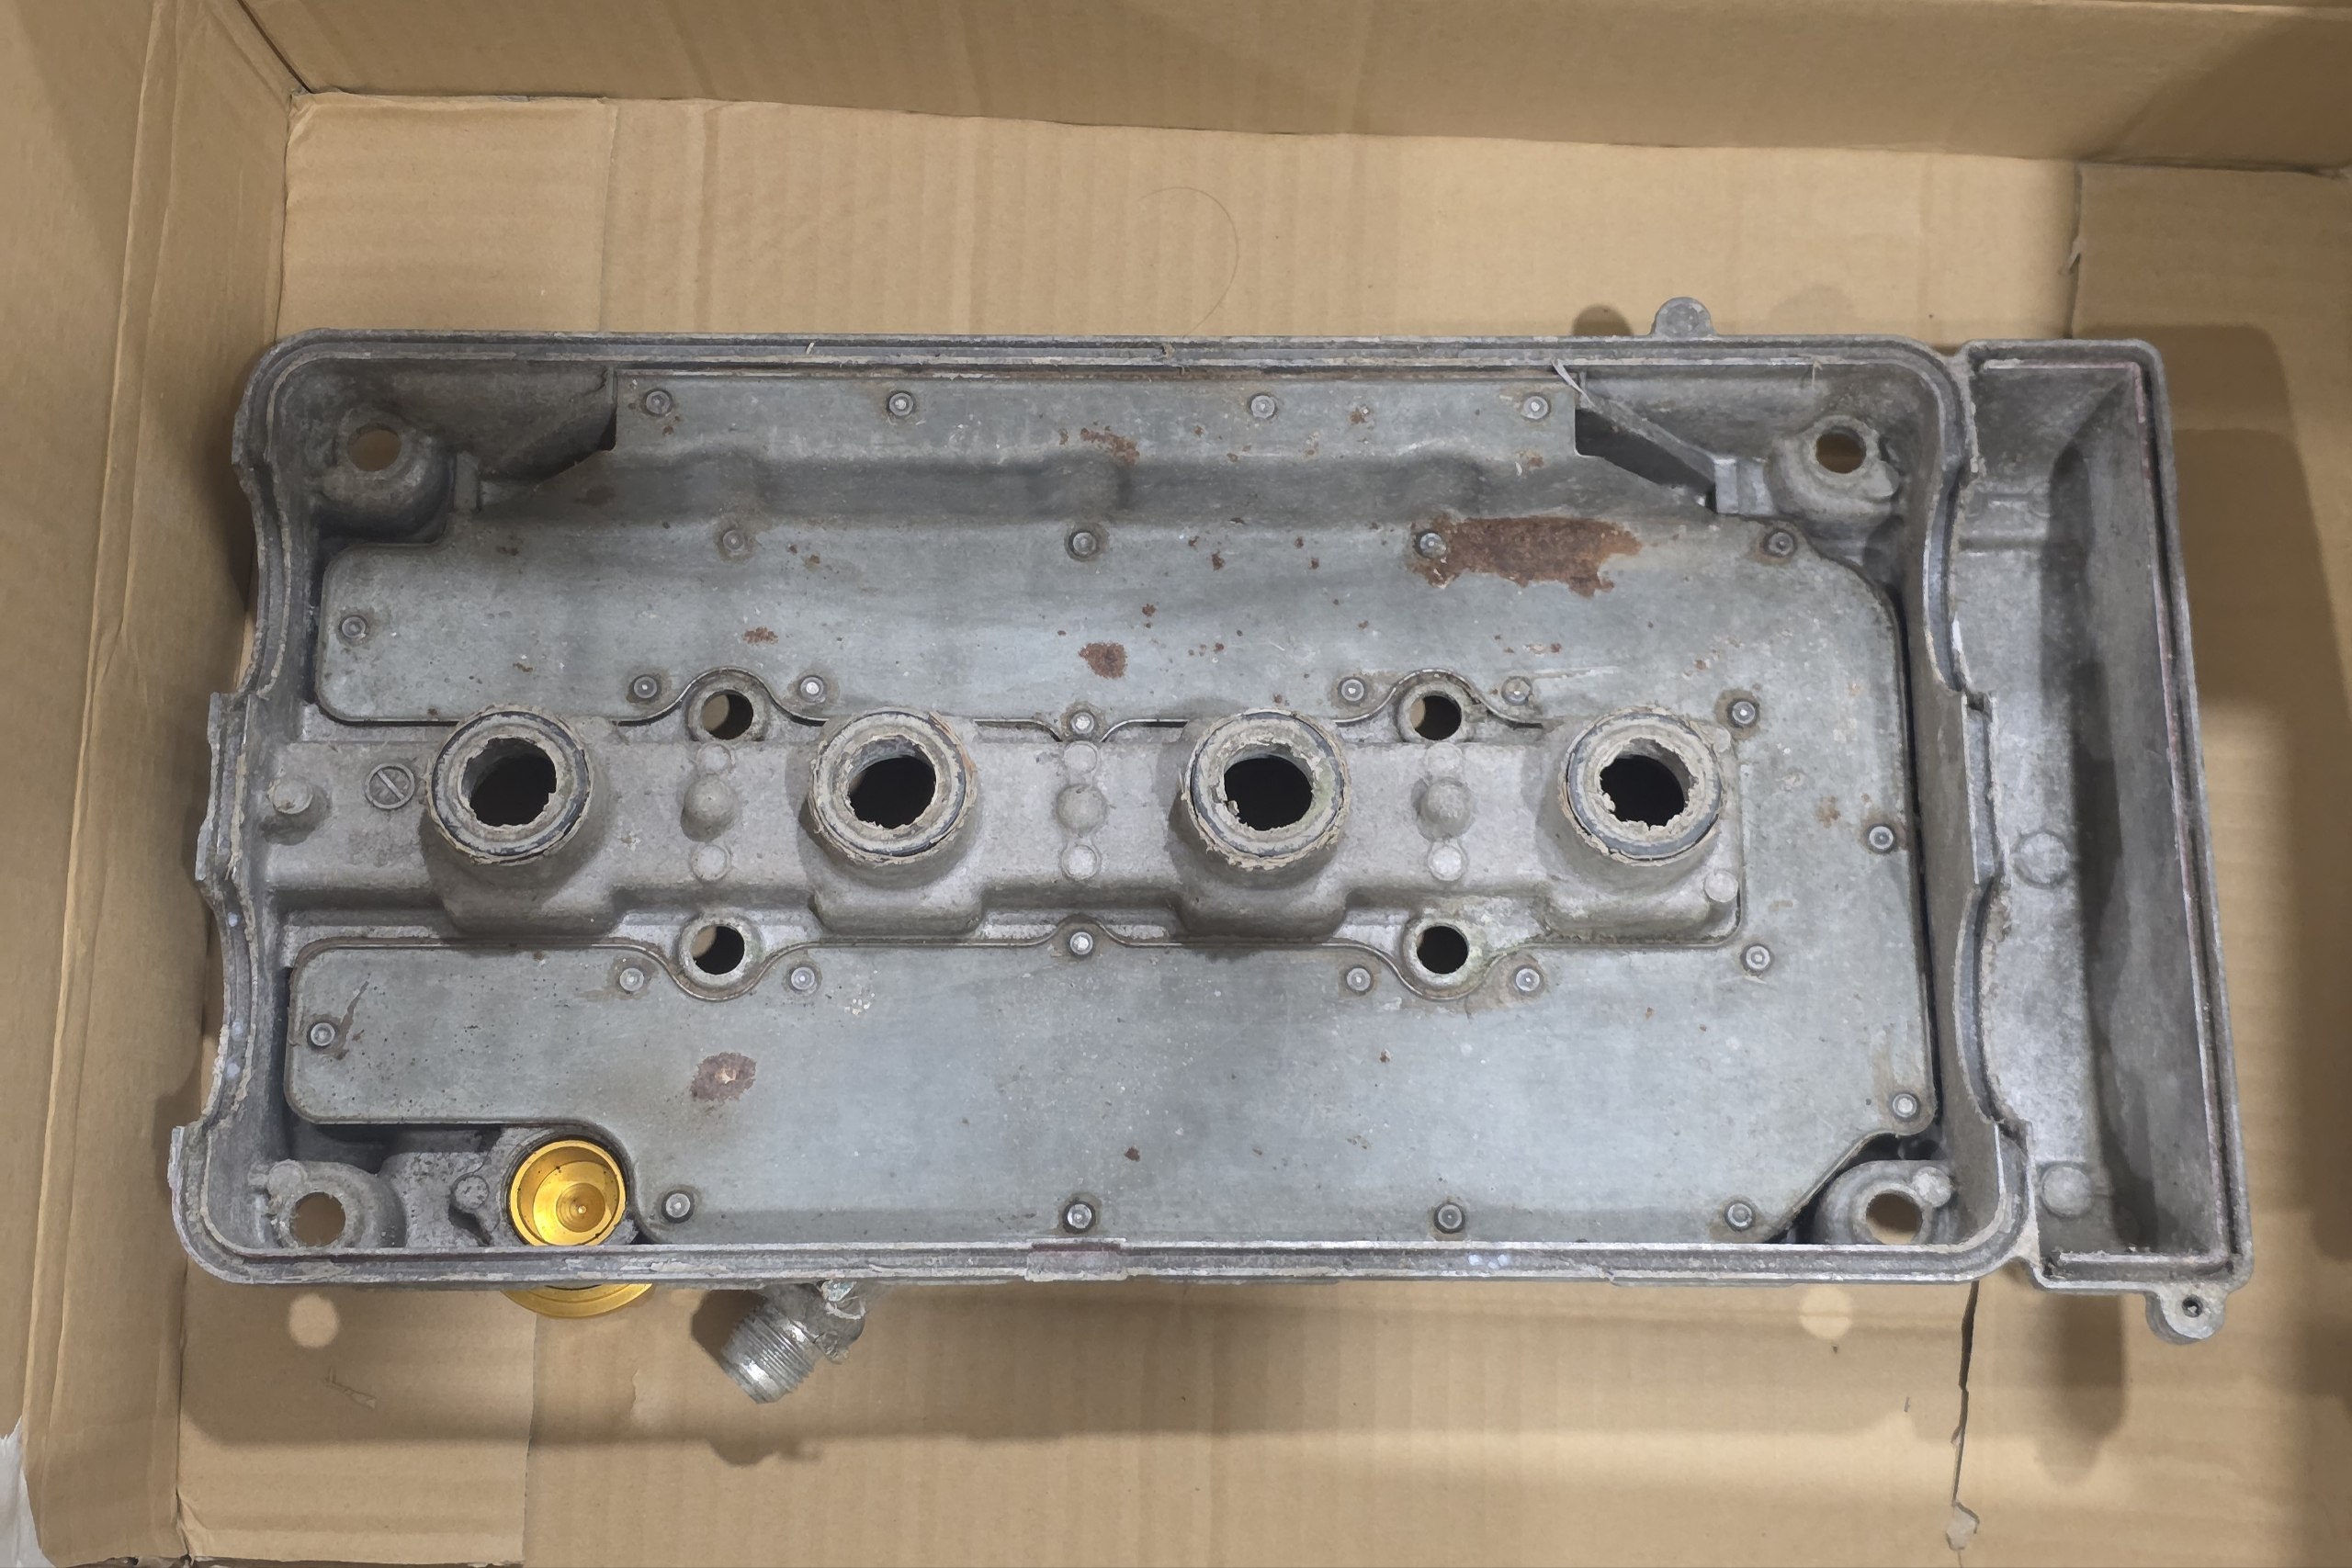
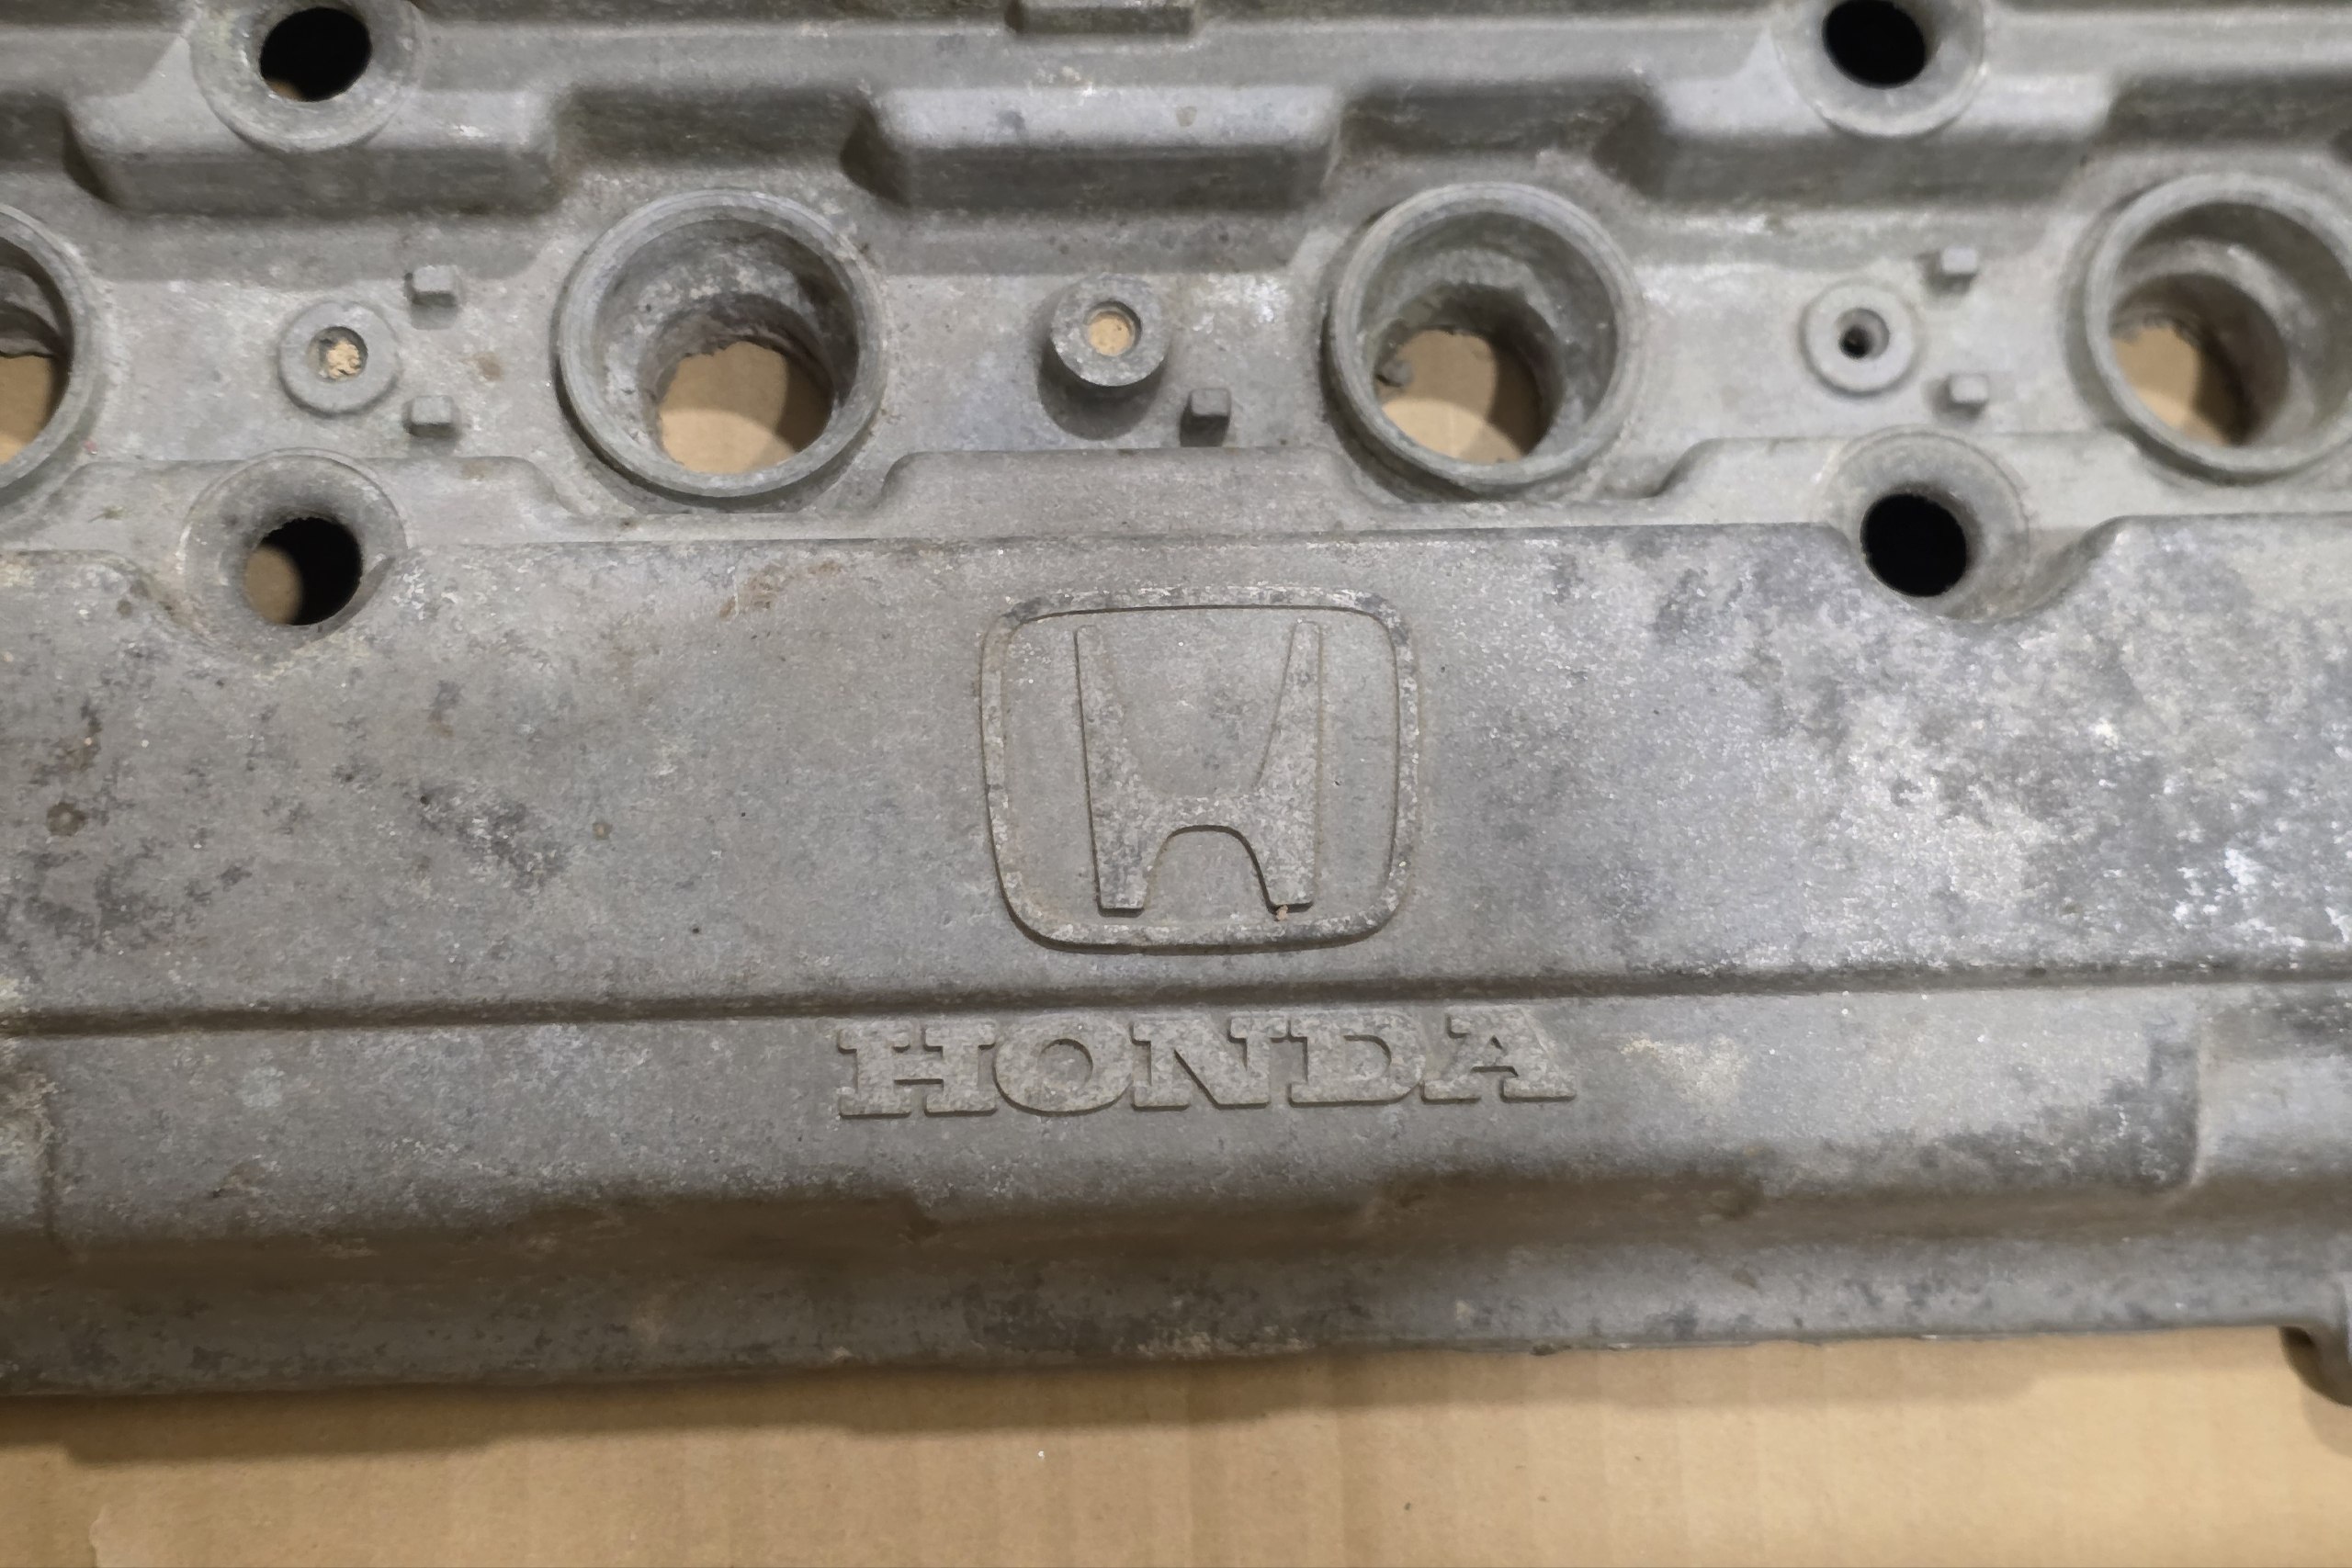
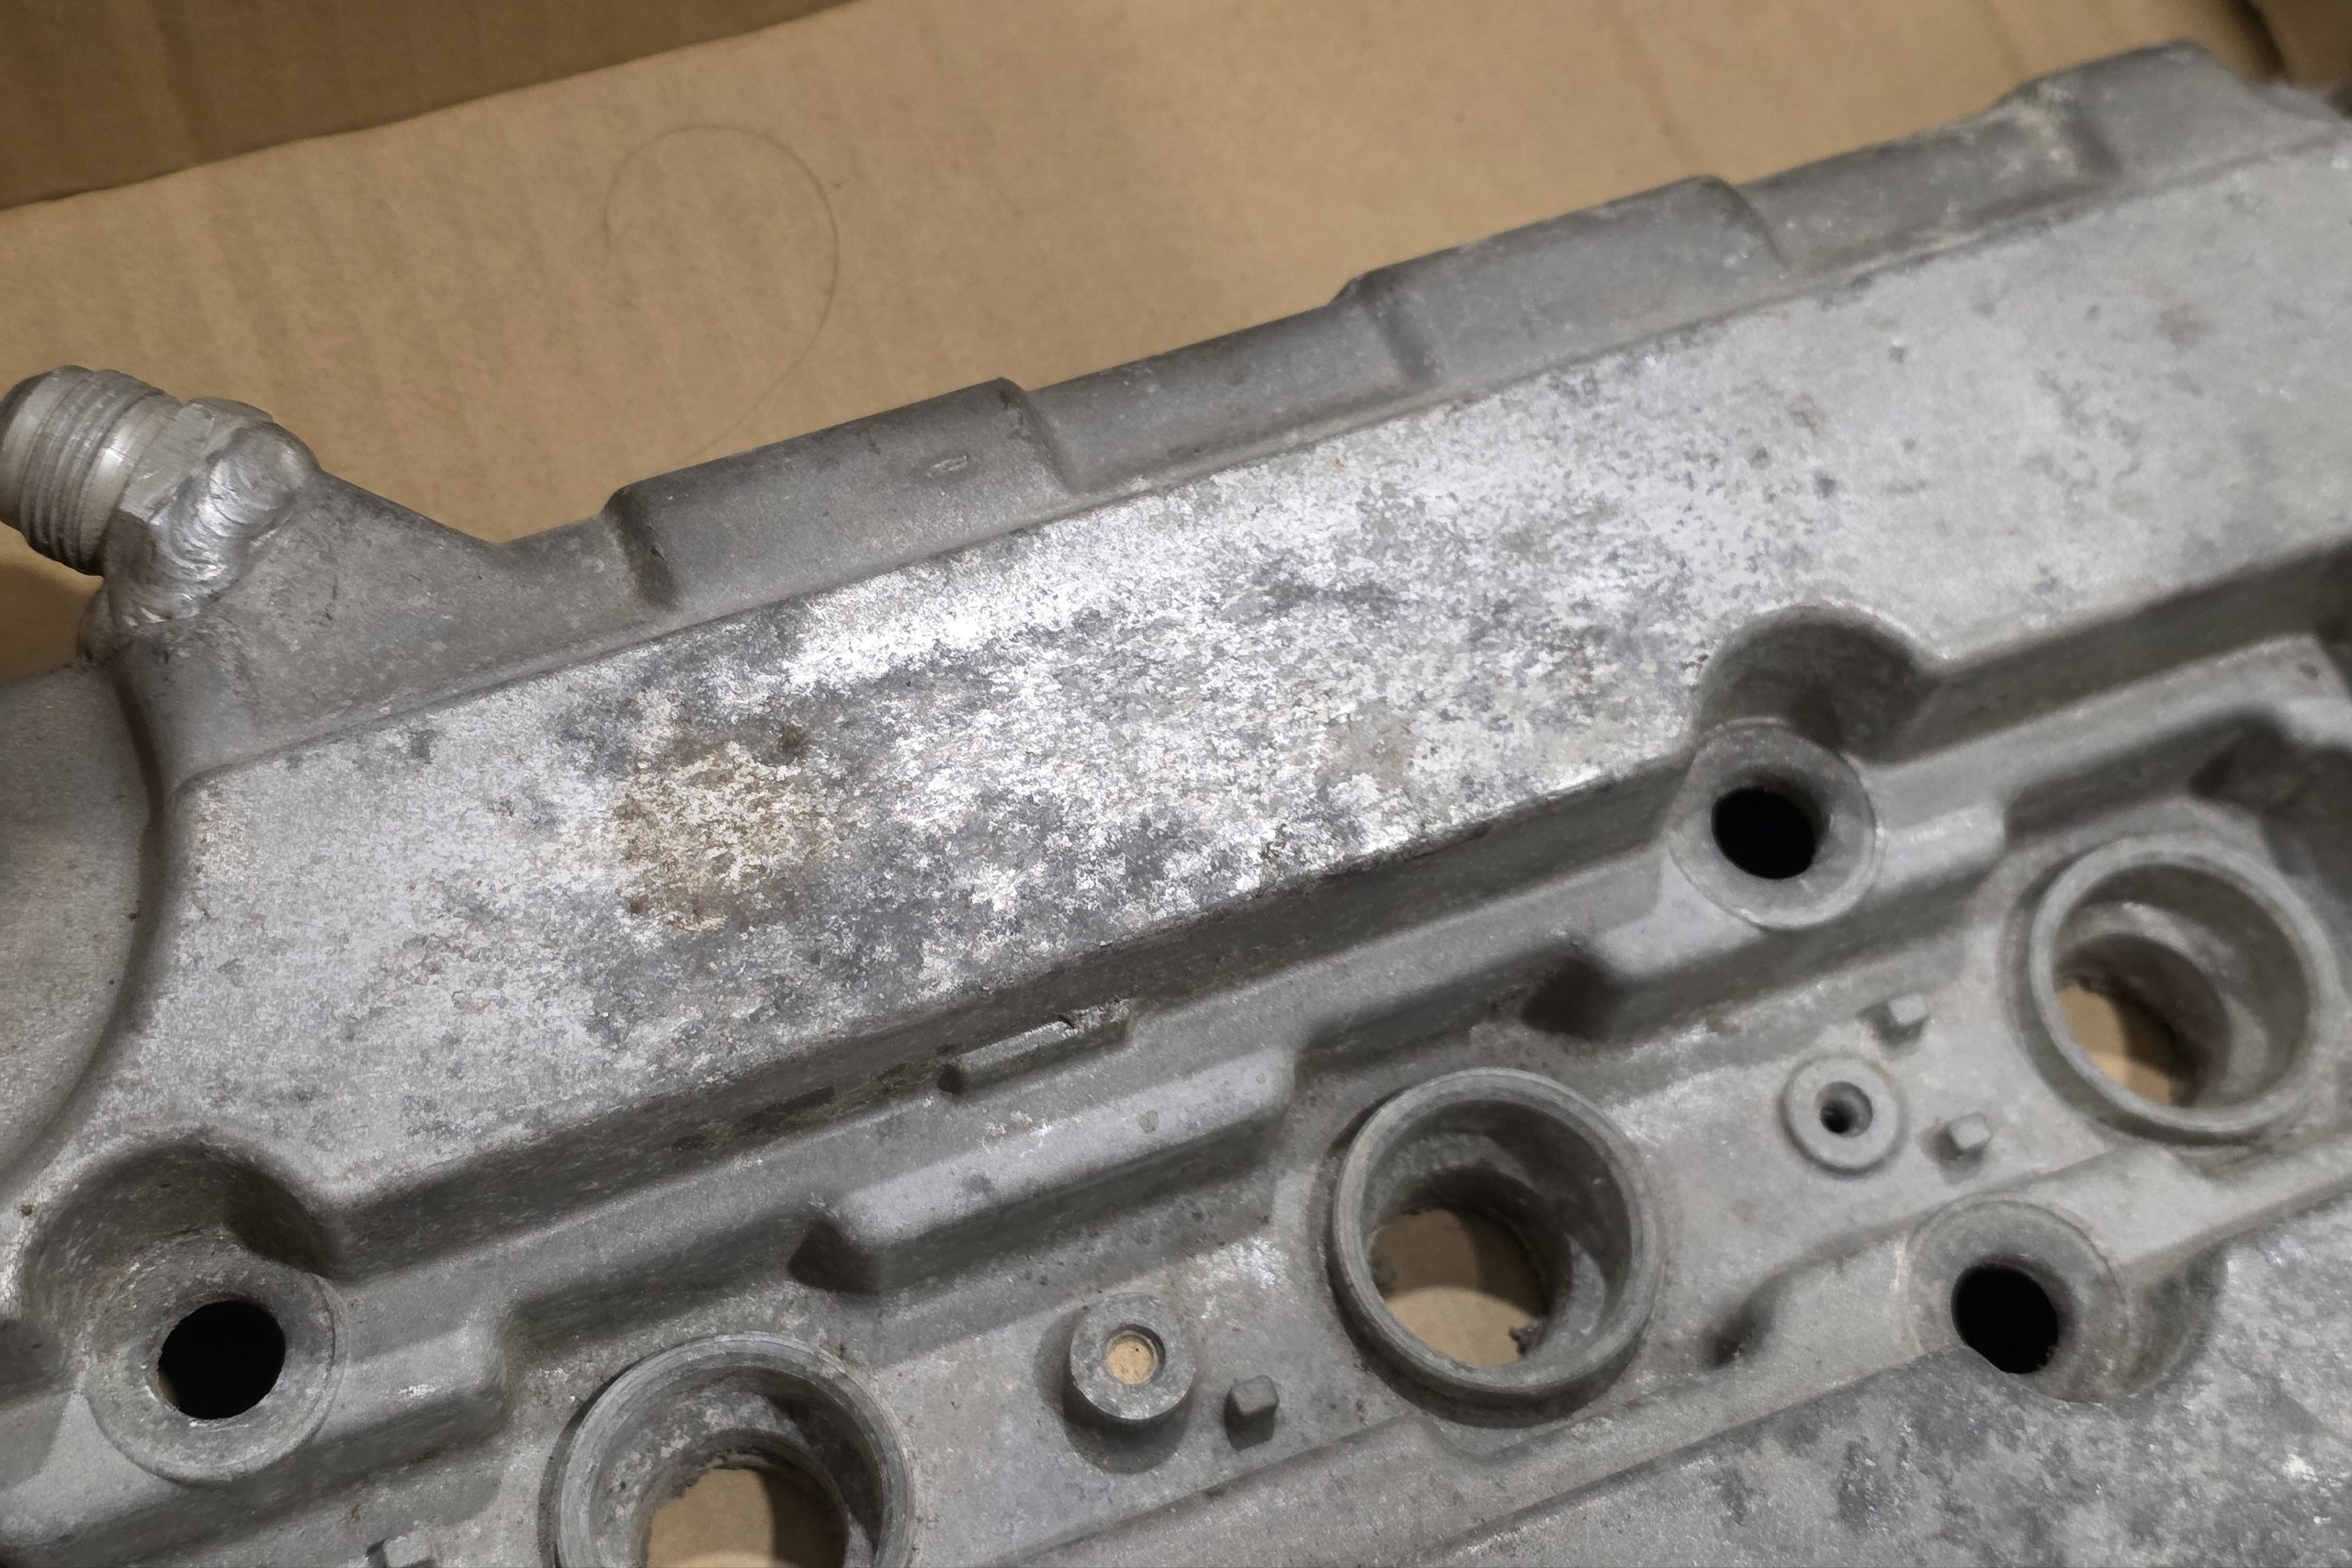
Initially, I bought a different valve cover to repaint and fit, but didn’t realize the full extent of its condition. The underside’s baffle is rusted and its a job that I don’t know how to solve, so its a large and heavy paperweight.
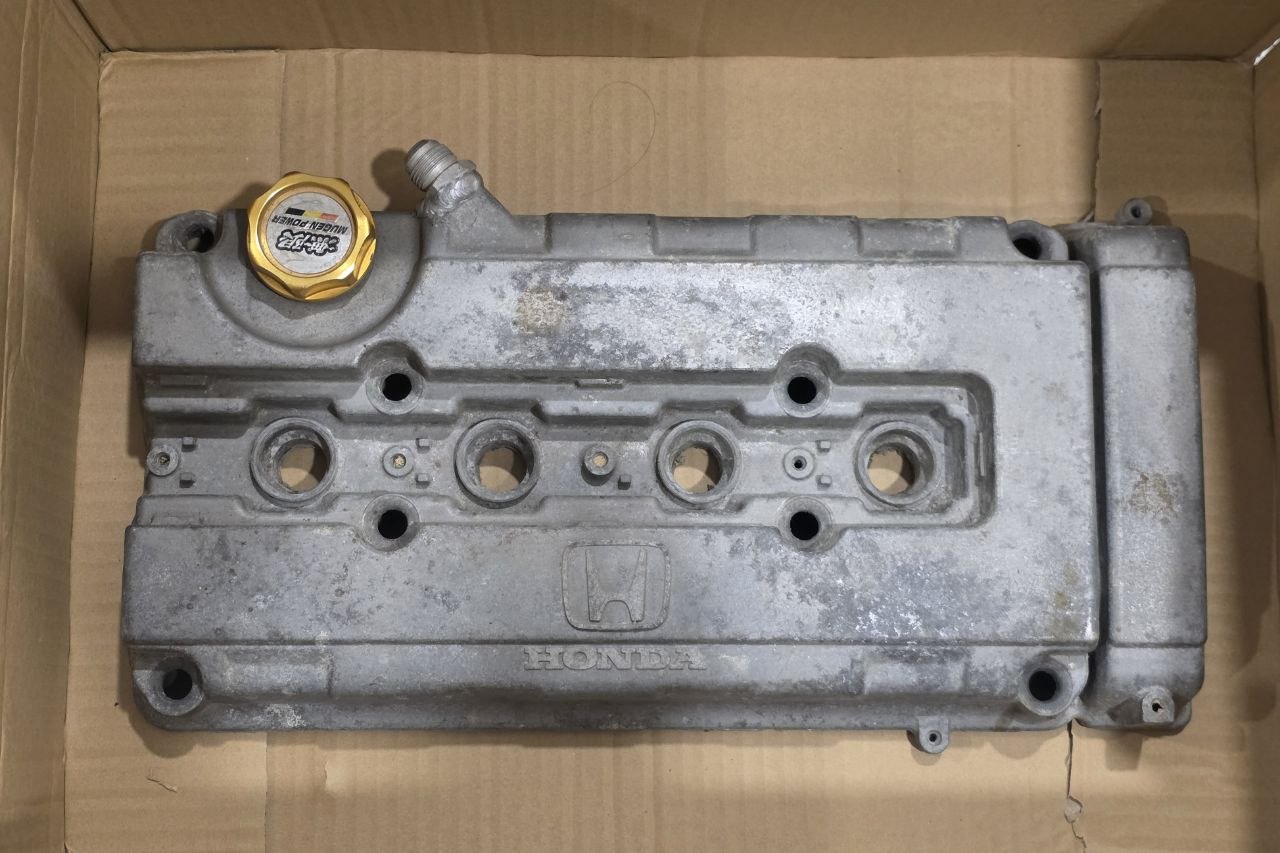
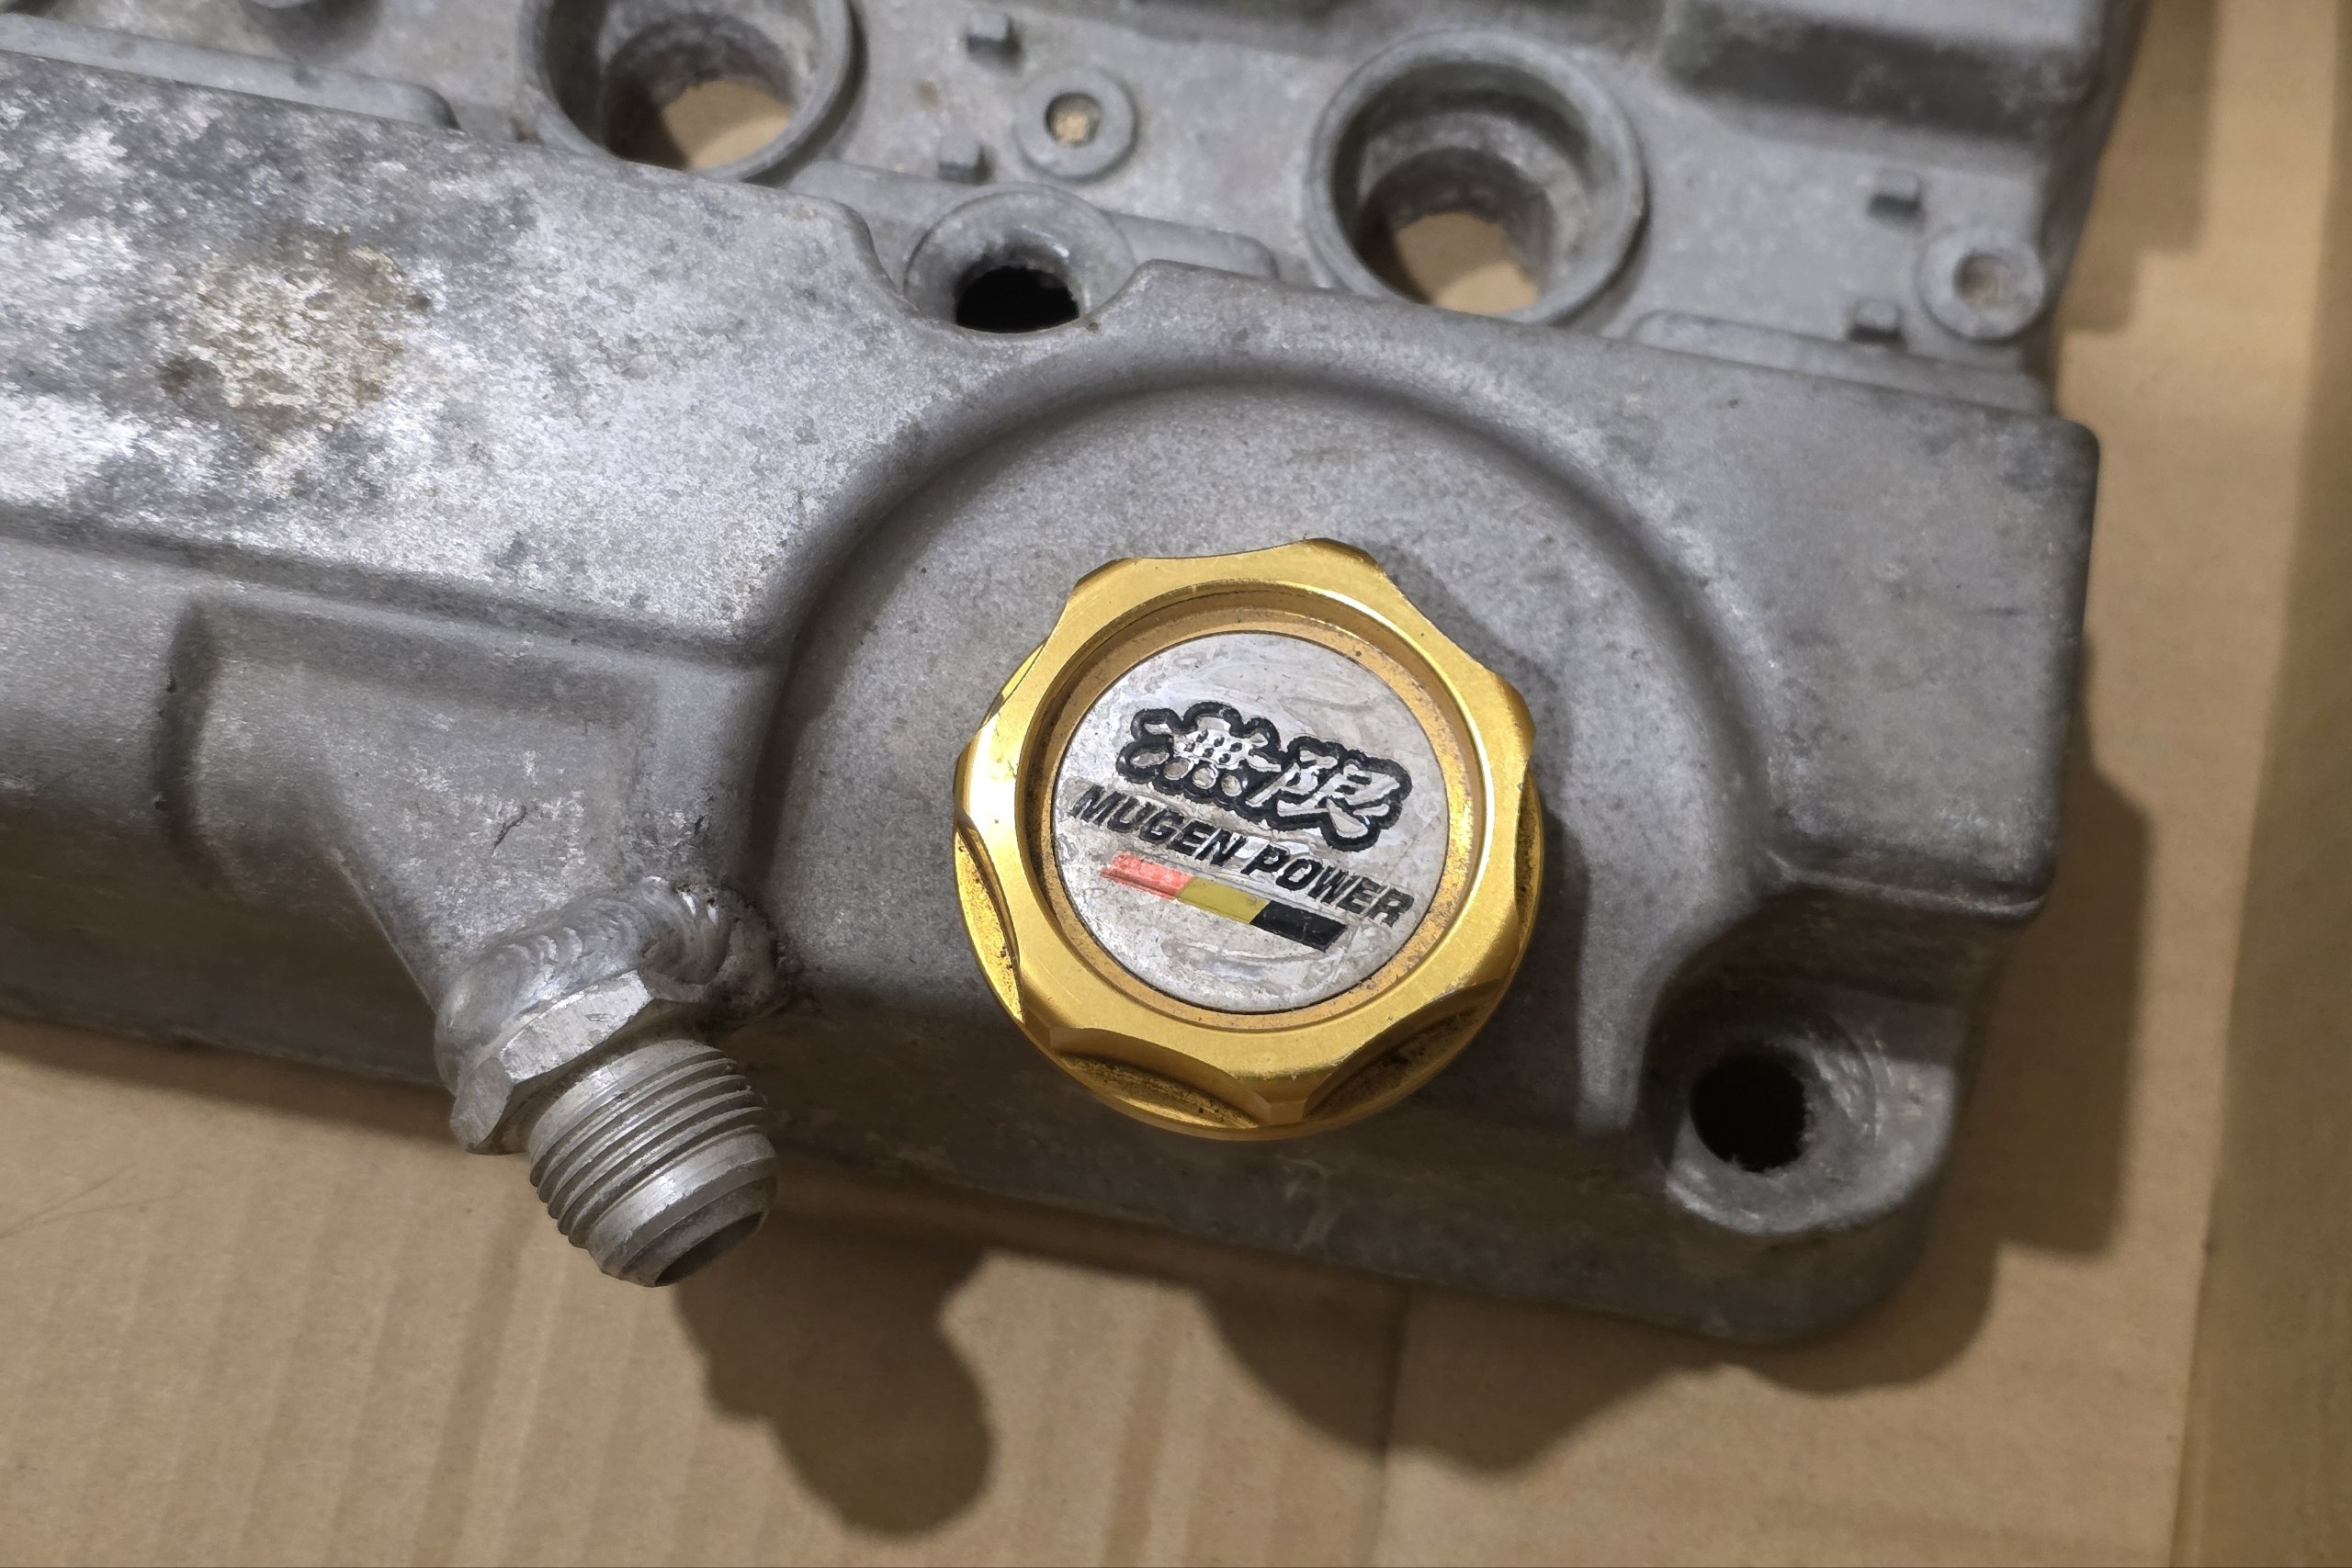
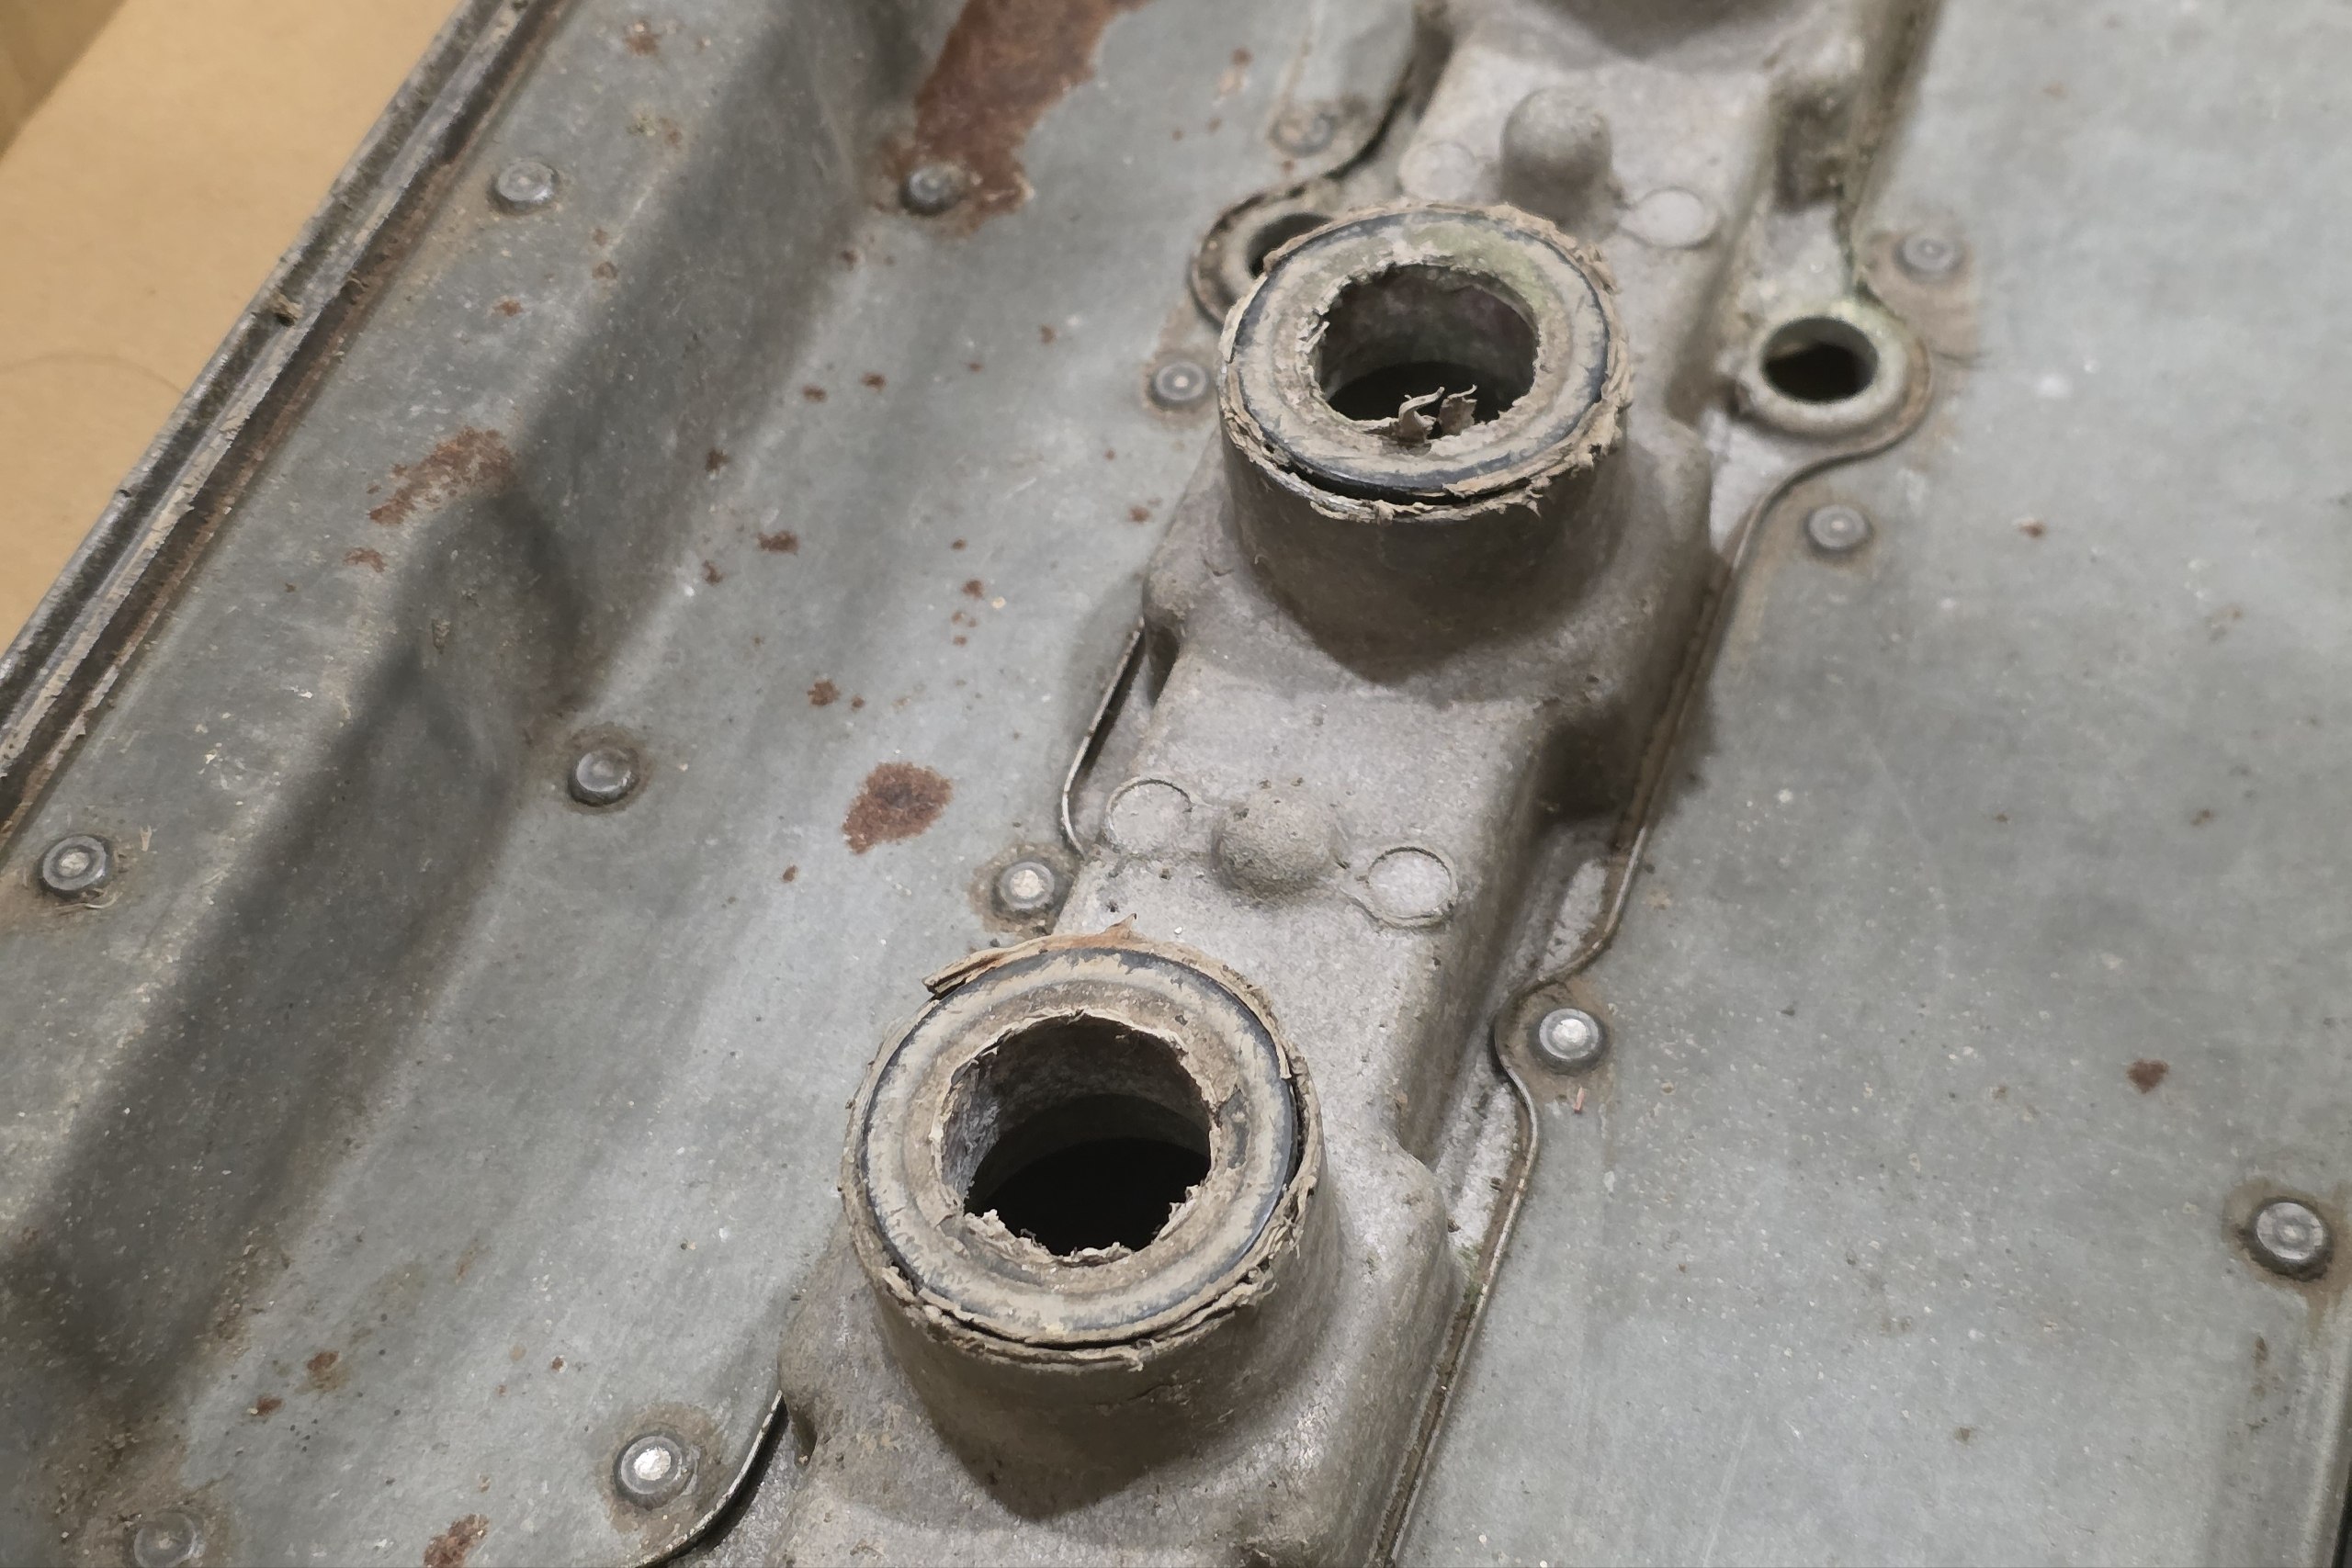
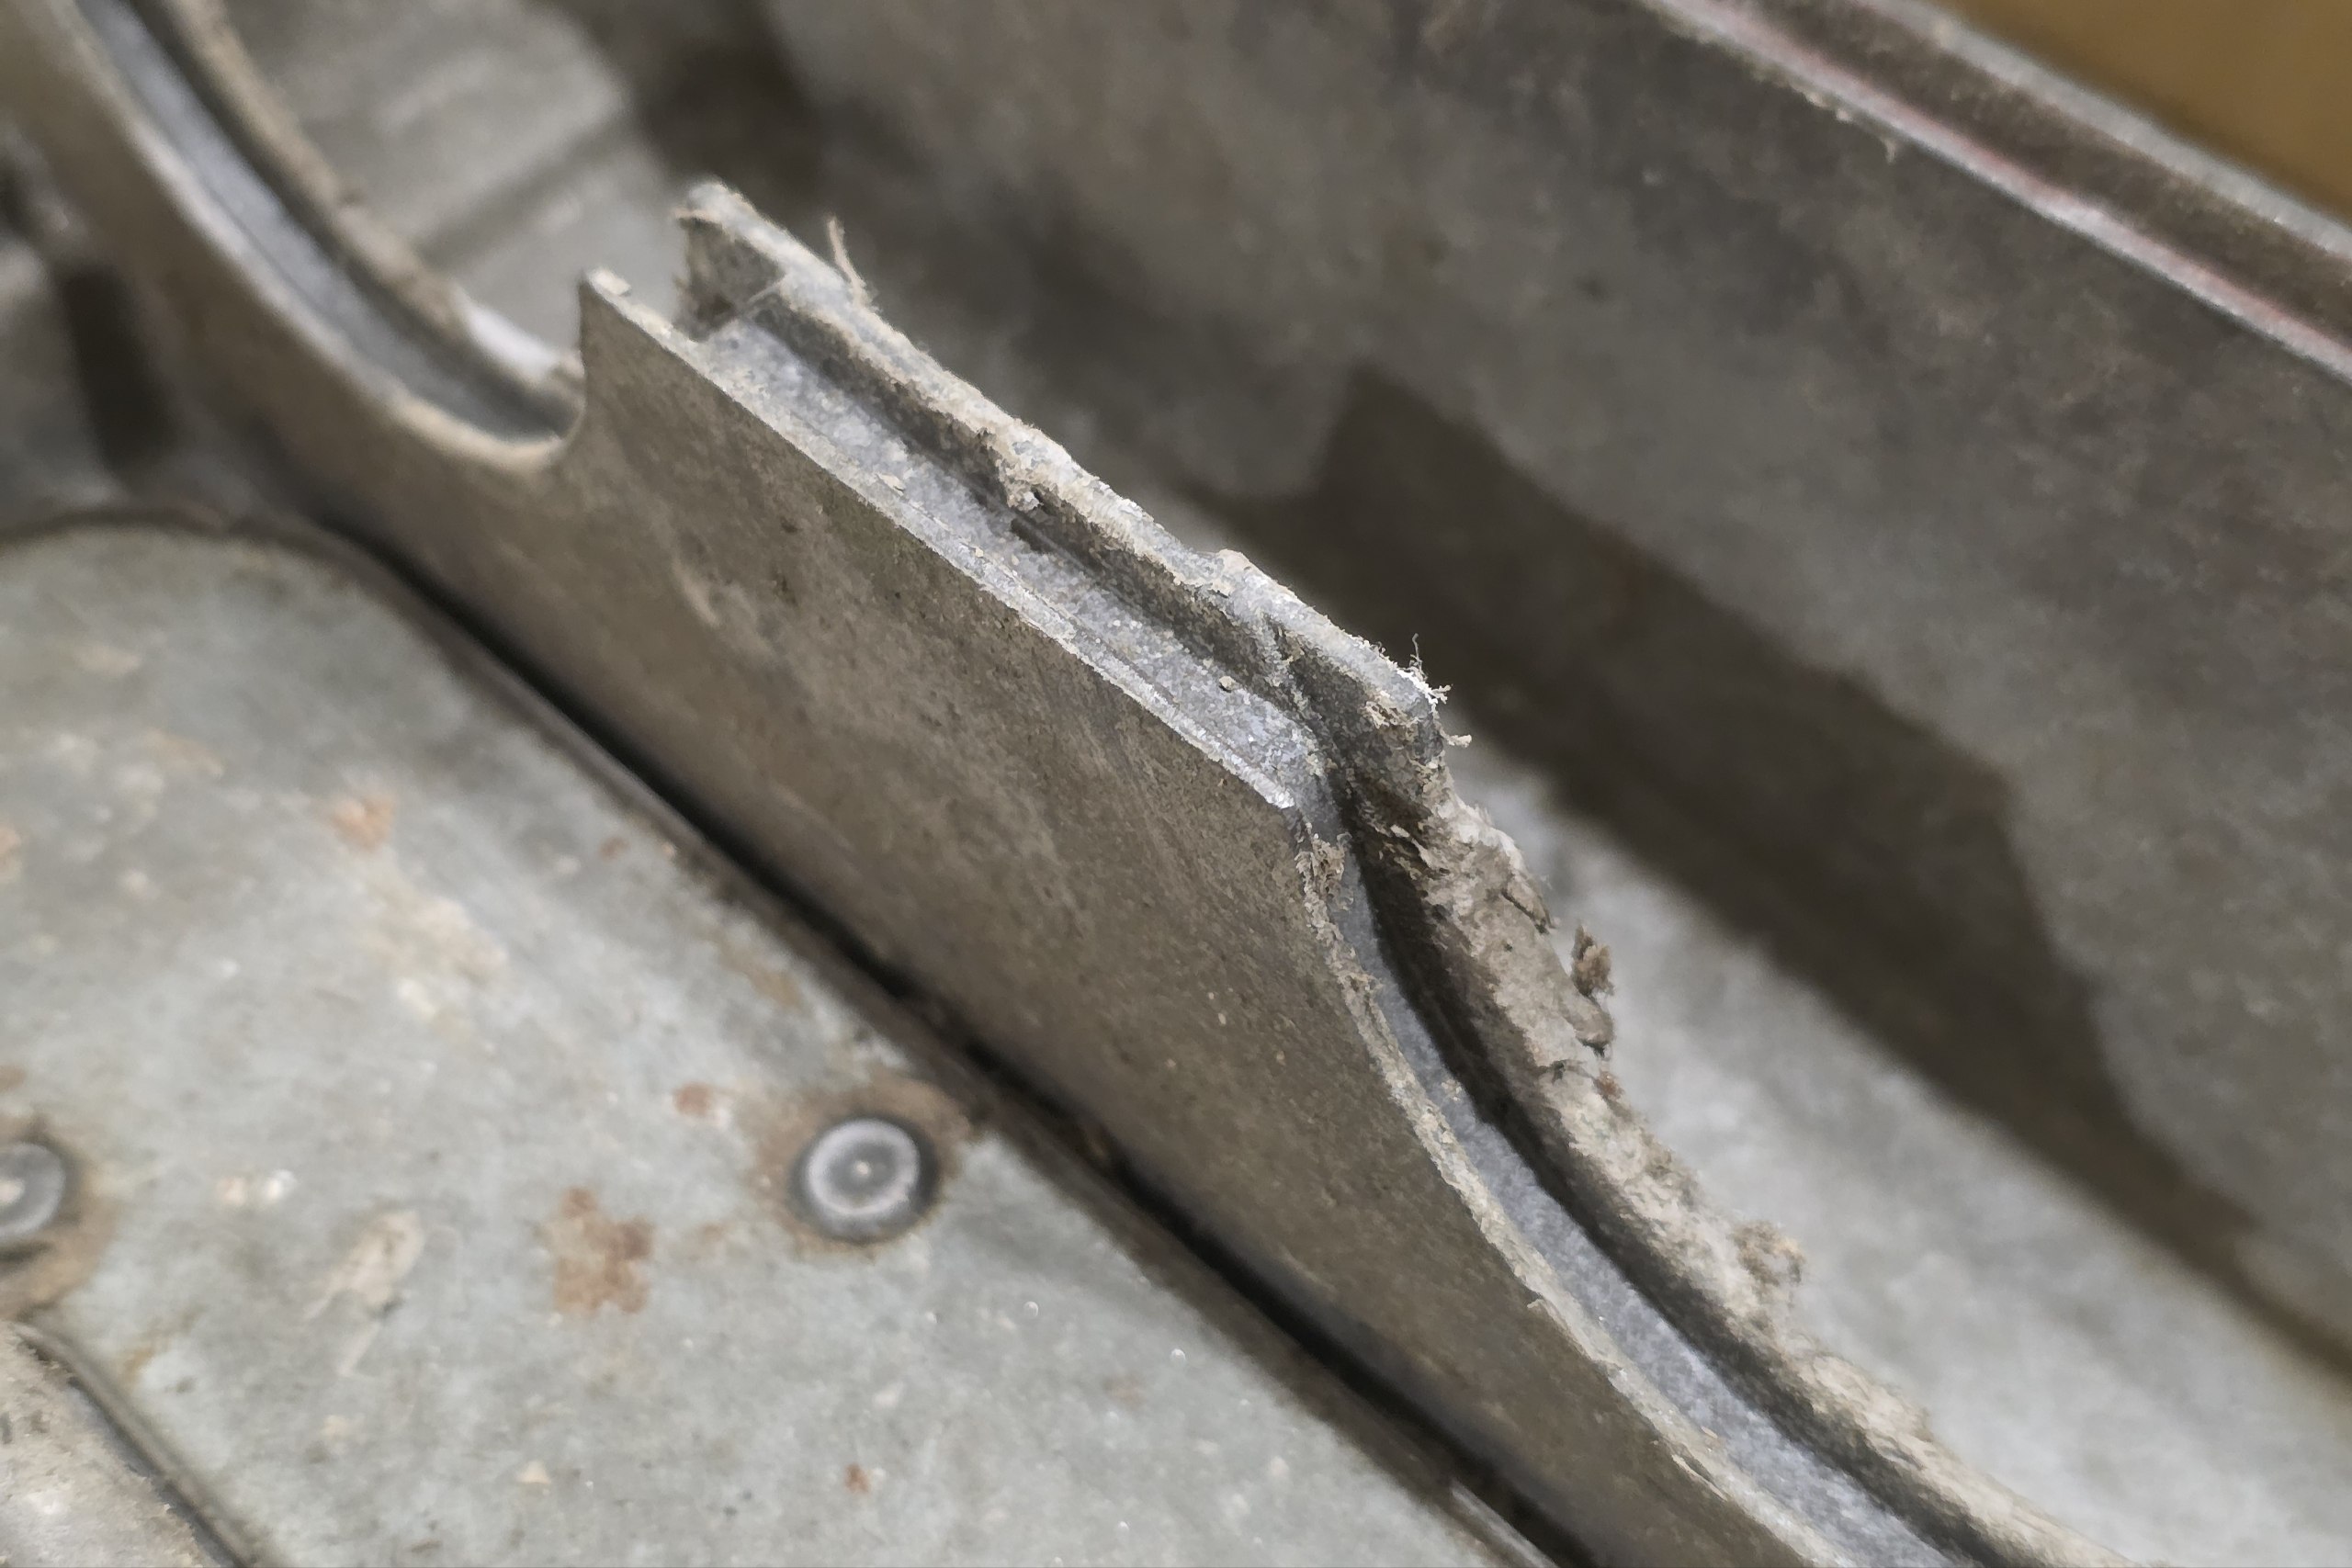
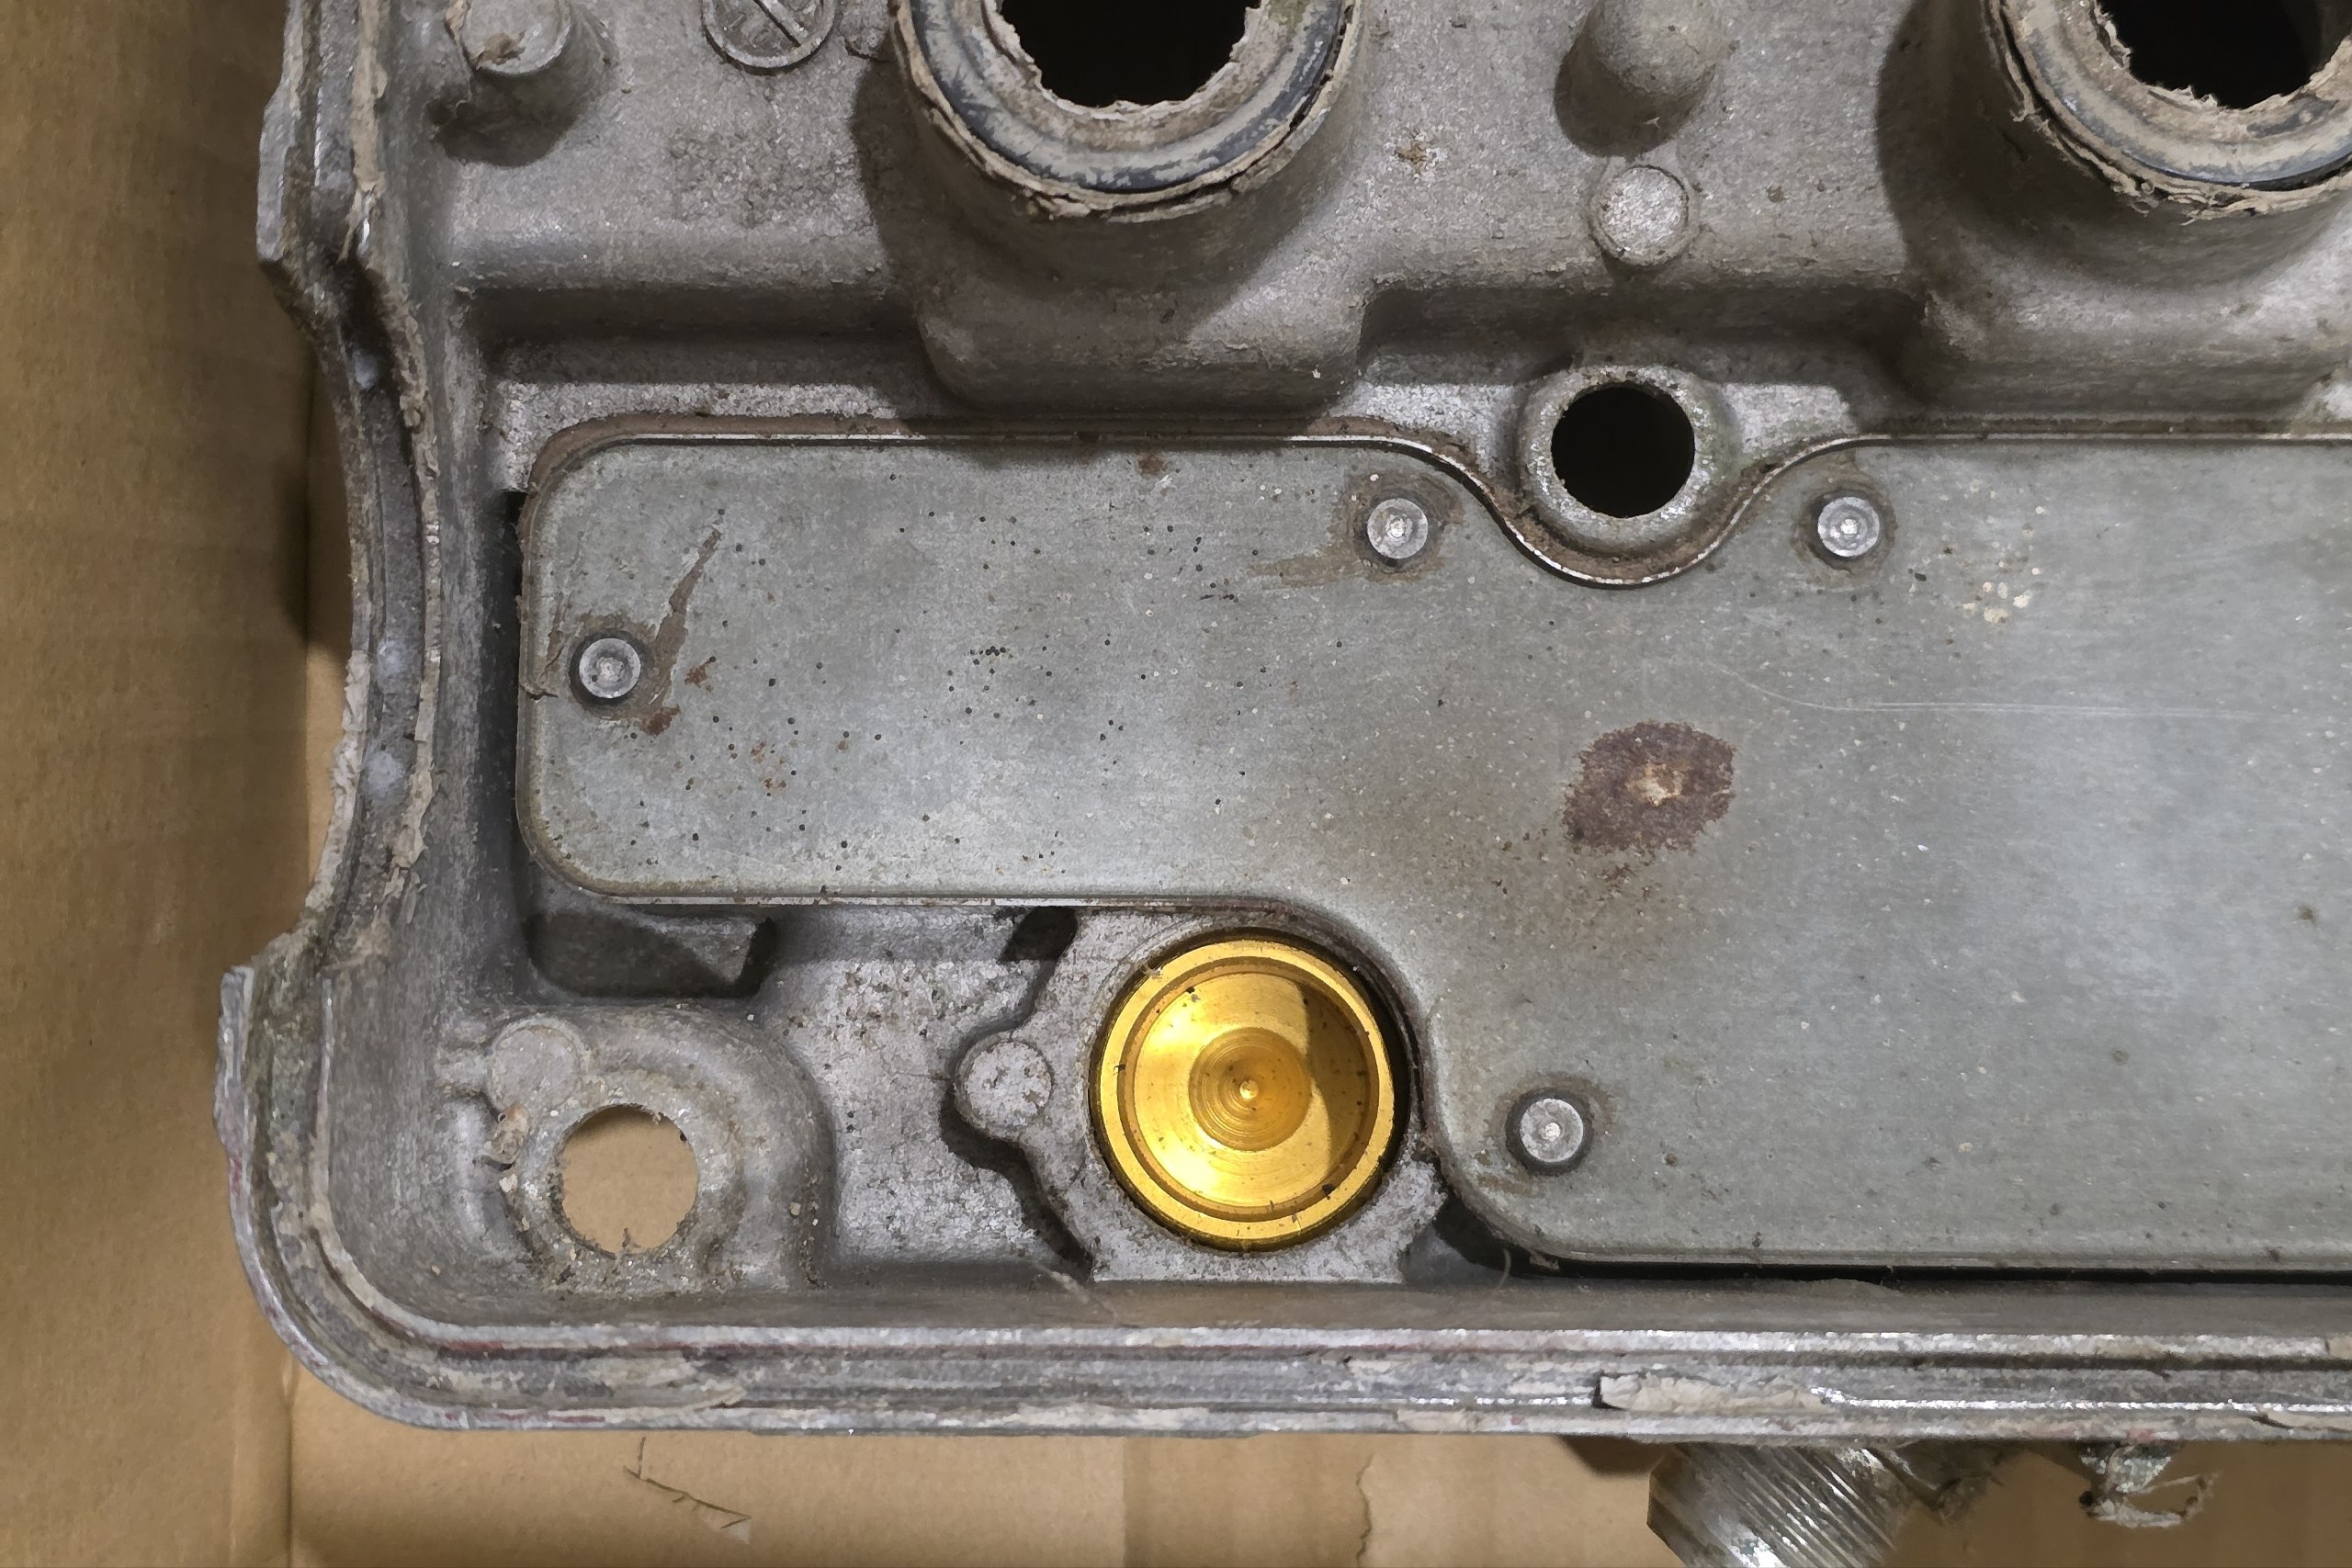
I had a friend with a D16 valve cover that he was about a day or two early into respraying his spare piece. I figured that, now with a friend doing the same, its now or never.
Don’t take this as a full guide to how you may repaint your valve cover as this was a first time attempt and I’m nowhere qualified to put a guide with advisories on what to, what not to do. I primarily followed one guide, which is placed below:
A basic summary of the steps taken would be:
- Remove valve cover
- Remove existing seals
- Degrease and paint strip, wash
- Sand imperfections
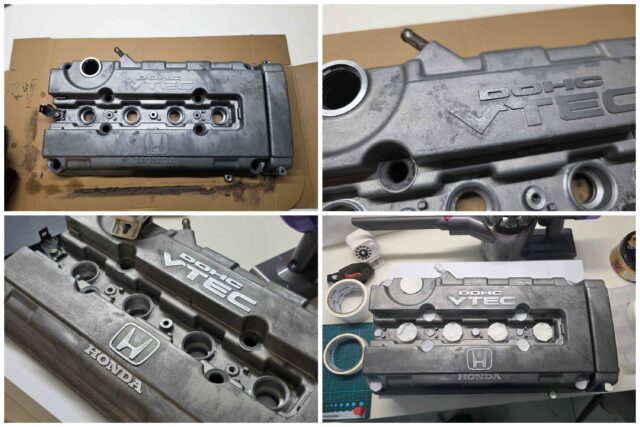
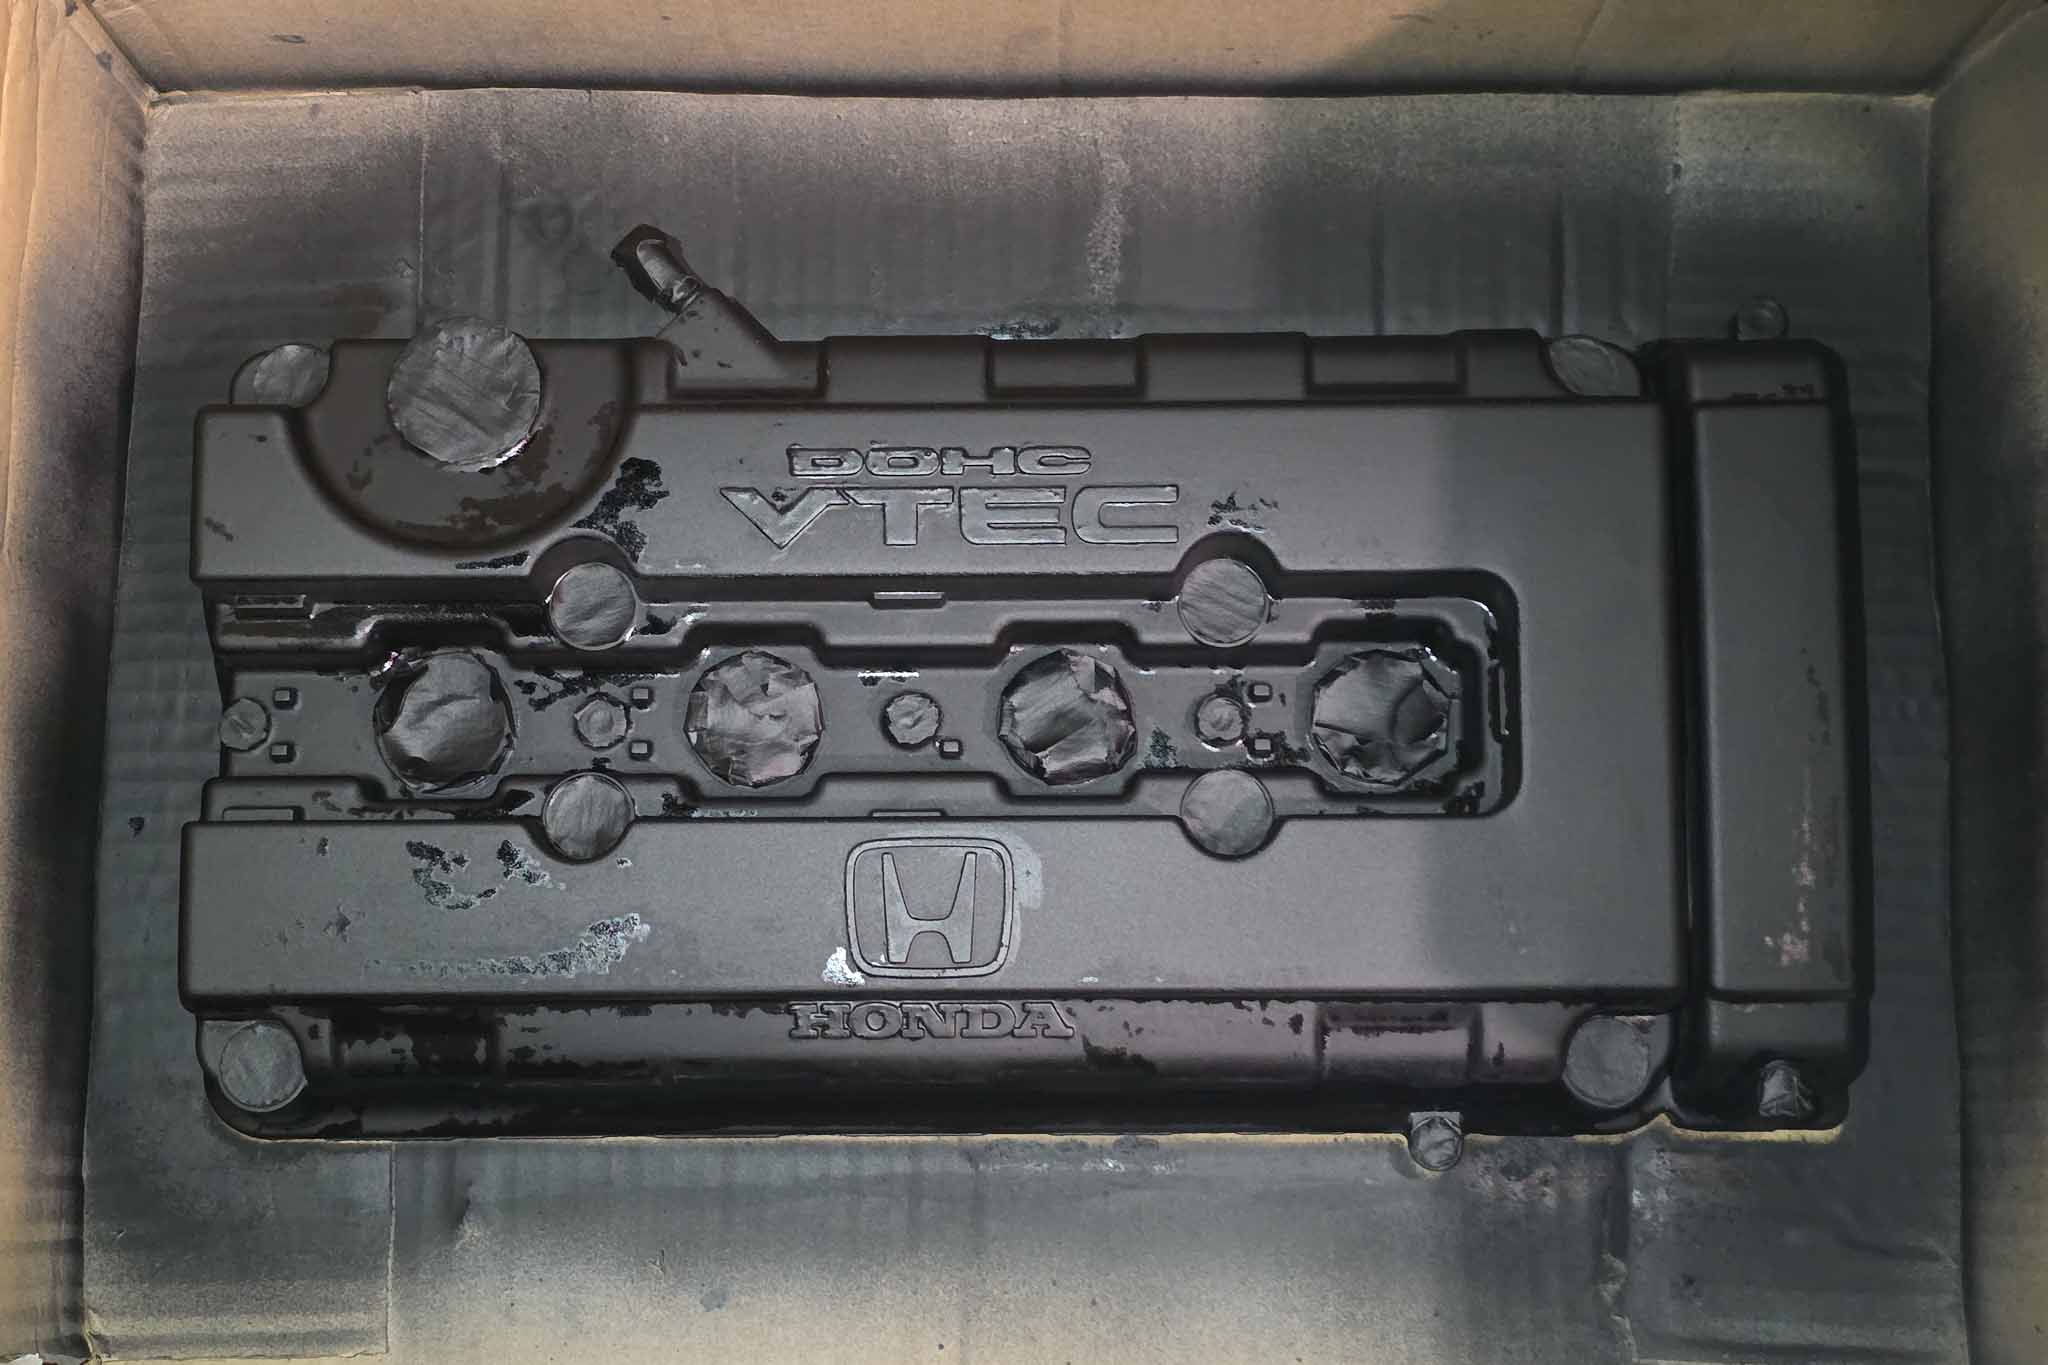
- Tape up holes
- Spray with primer, three light coats advised
- Spray with wrinkle paint, three coats advised – horizontally, vertically, diagonally
- Sand off lettering paint if preferred
As for the parts needed, these were what I used but will put recommended things too:
- Spare valve cover (no vehicle downtime)
- Brand new valve cover seals
- Room-temperature-vulcanizing (RTV) silicone / gasket sealant
- Masking film (cover exposed valvetrain)
- Primer paint
- Wrinkle paint
- Engine degreaser
- Sandpaper (150 to 1000 grit)
- Sanding block (recommended for ease of use)
The teardown
Nerve-wrecking this was – I am no mechanical aficionado and the most I can proudly display is swapping doorcards (and breaking the door locks). I think these were 10mm but I could be mistaken – this was the only socket size needed to remove the entire valve cover. One hose, three wire mounts and the rest bolts that hold the cover, and its off.
Course, a single sentence doesn’t summarize the hour spent bent over figuring out the disassembly. I wasn’t ever aware about the wire mounts that bolted on the top and bottom right of the valve cover, but they weren’t big deals.
The gaskets looked interesting. From what I understand is it not required to dump RTV silicone on the entire gasket. I also don’t quite know how the valvetrain looks like on the B16A – whether there’s any fancy pieces or if its on its way out. Some masking tape and masking film will be how the car sits for the next few days.
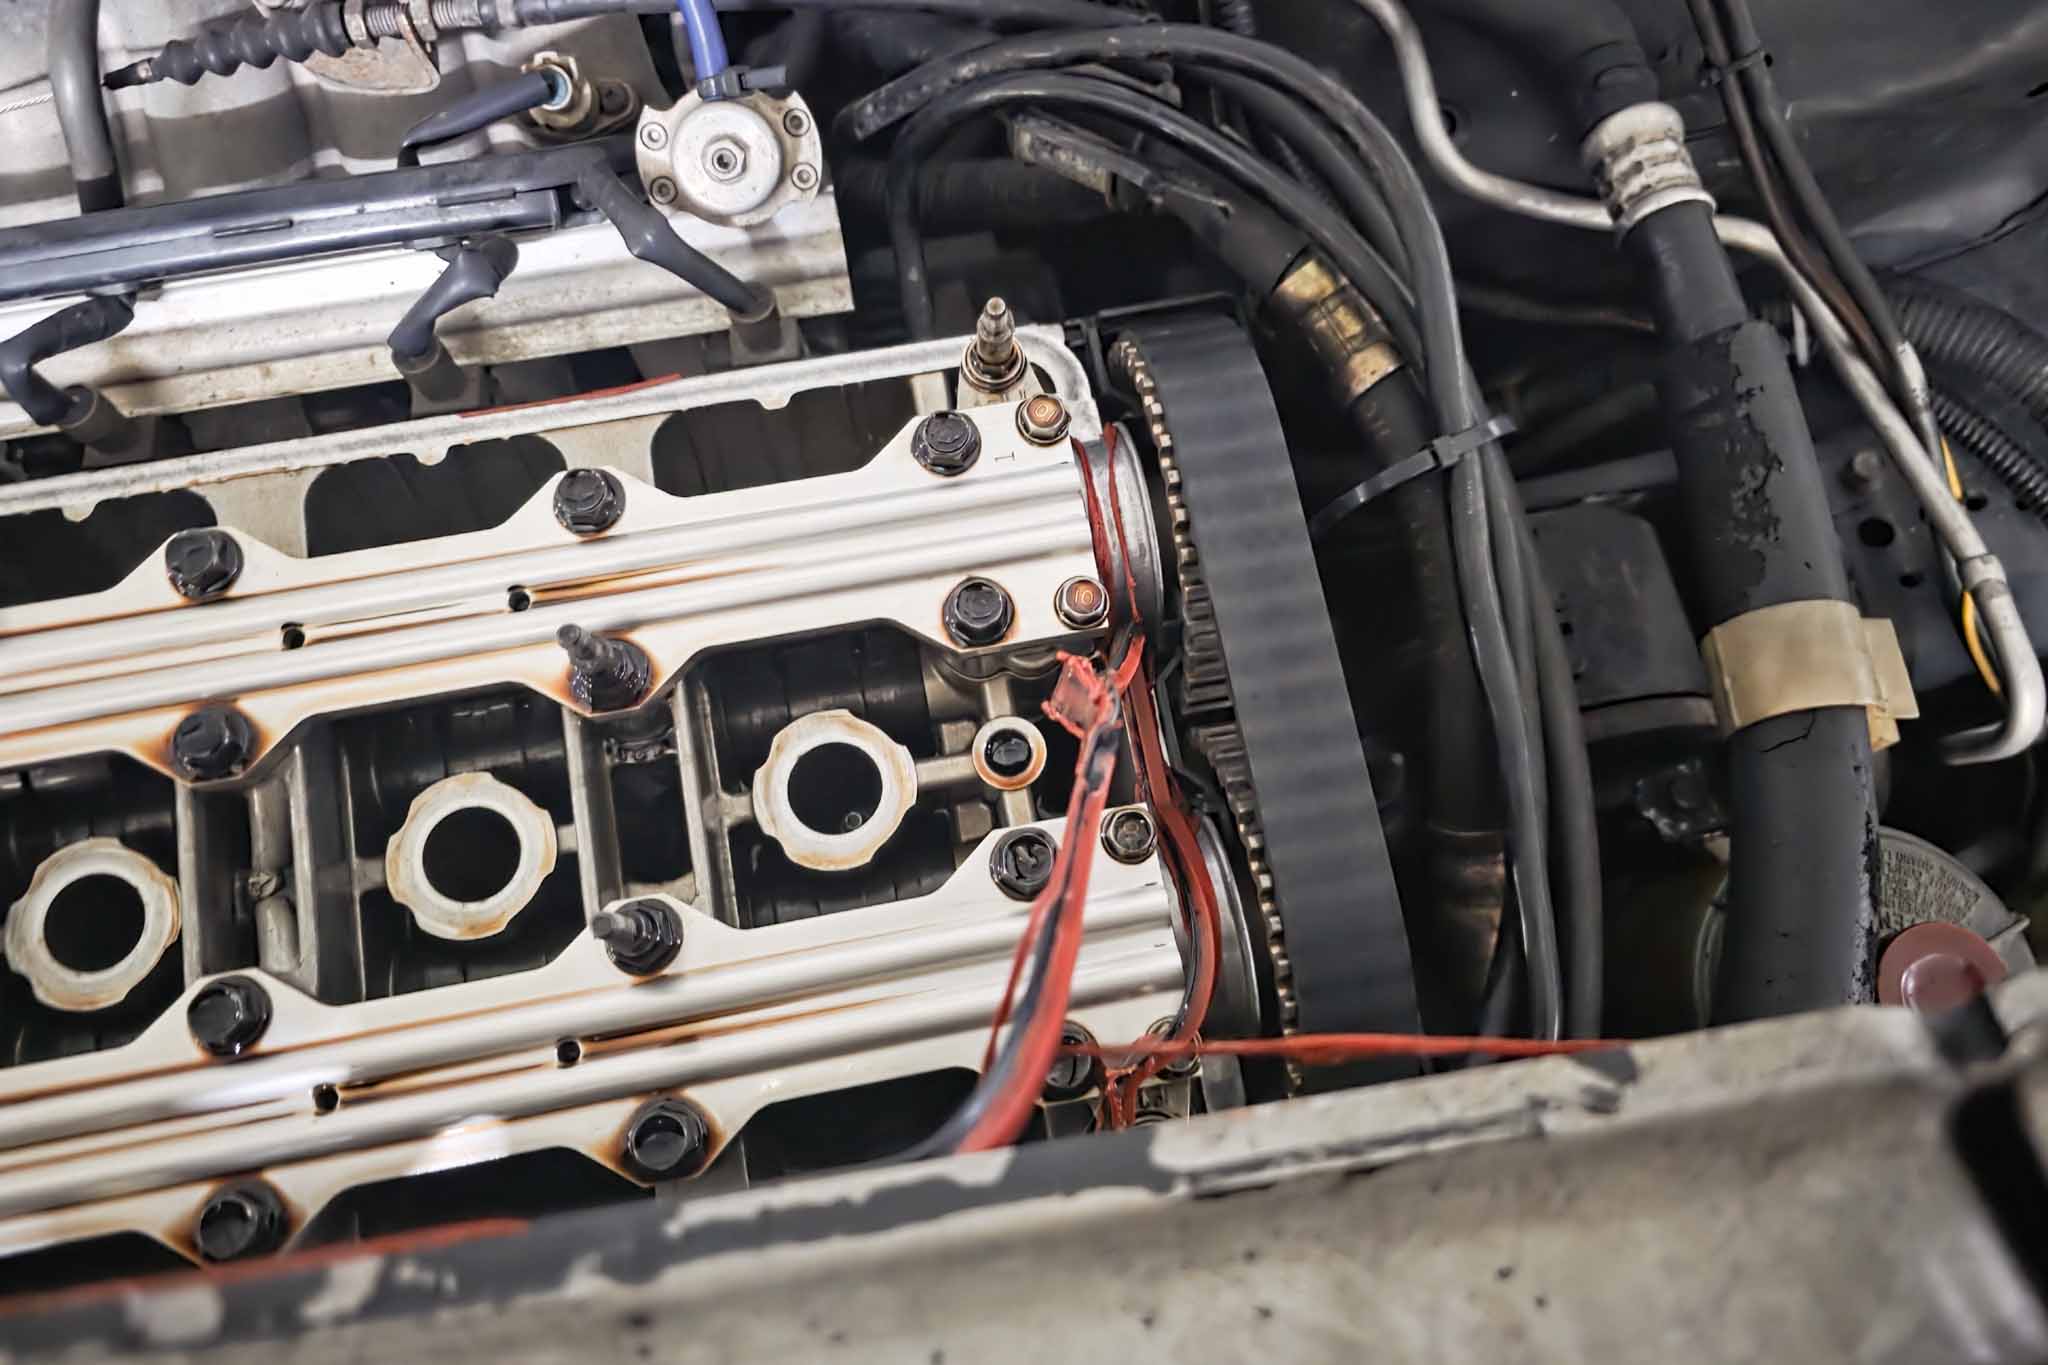
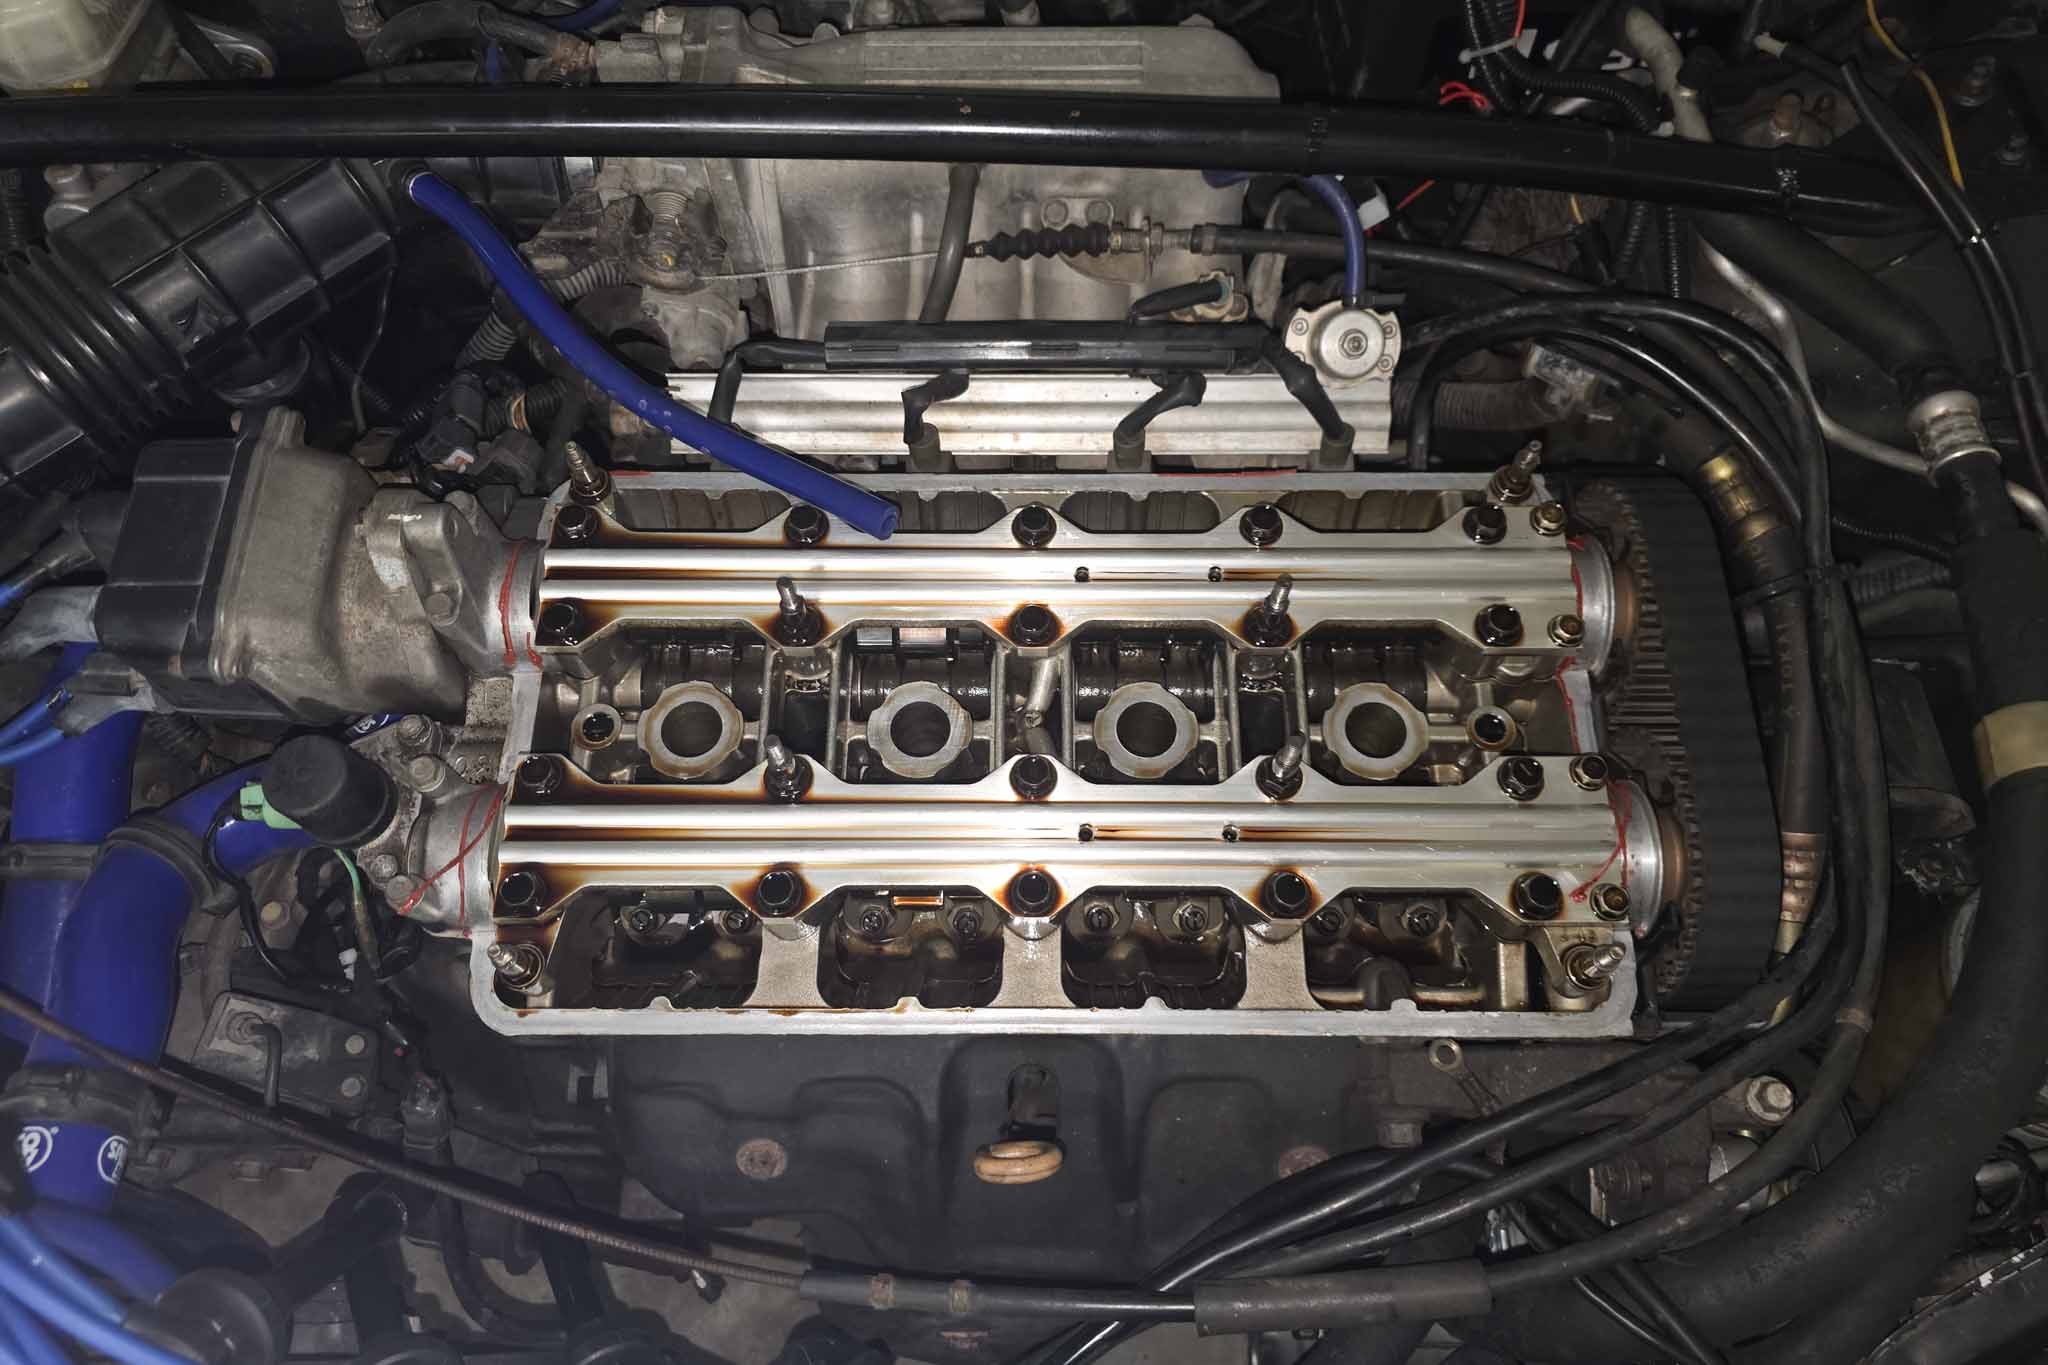
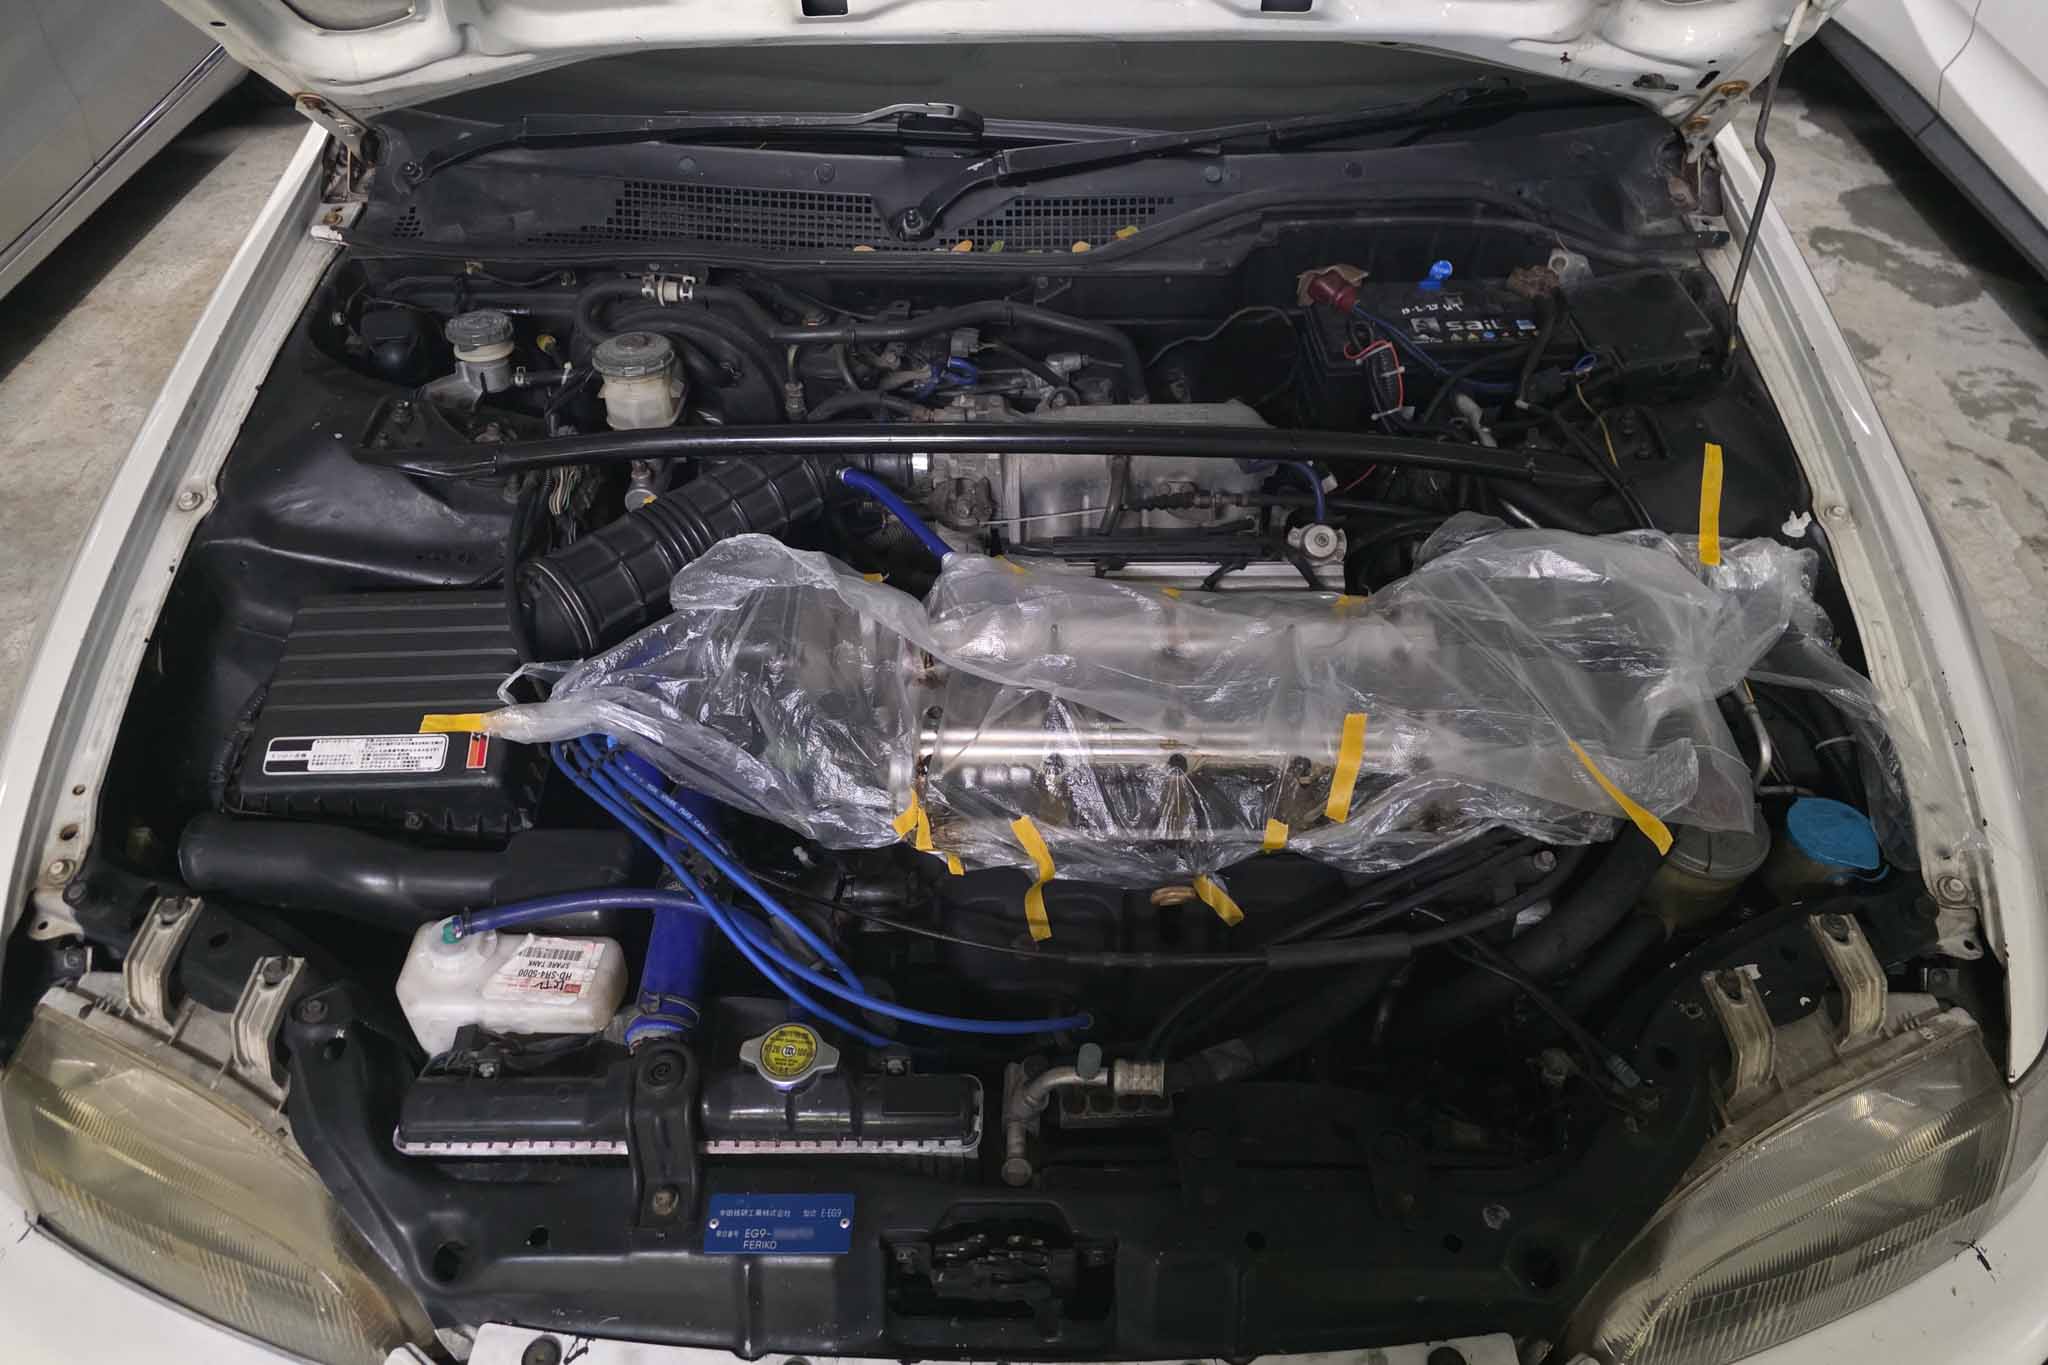
Cleaning and stripping (coughing)
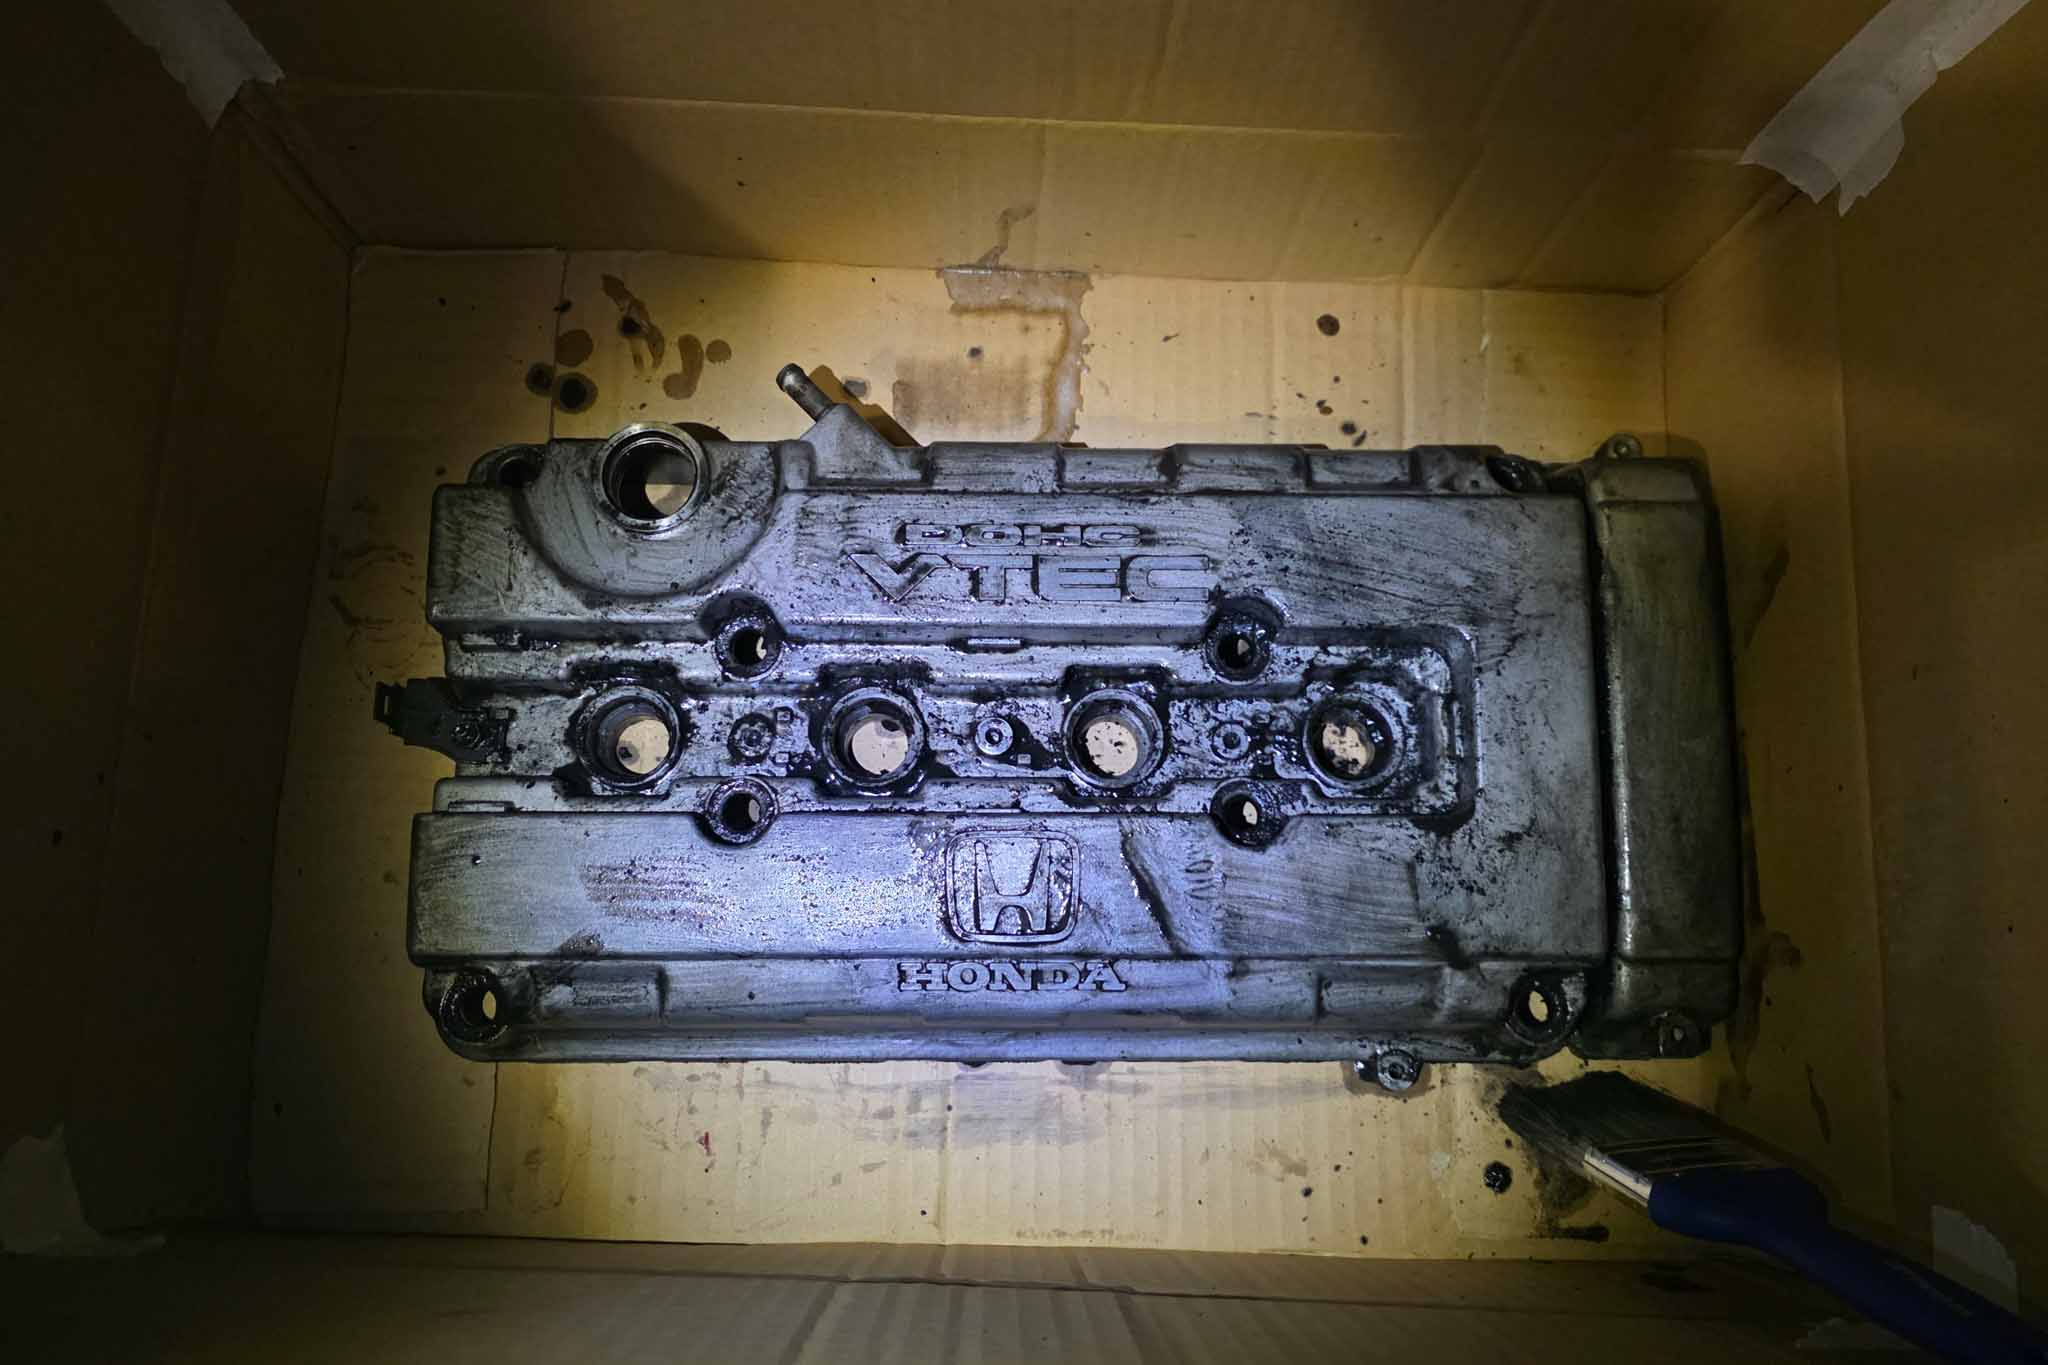
Word of advice: please don’t be like me and do all of the stripping and eventual painting with a small cardboard box.
Water to wash away residue oil on the baffle of the valve cover is fine. As for how clean it is… there seems to be leftover or burnt oil, but I am not an expert.
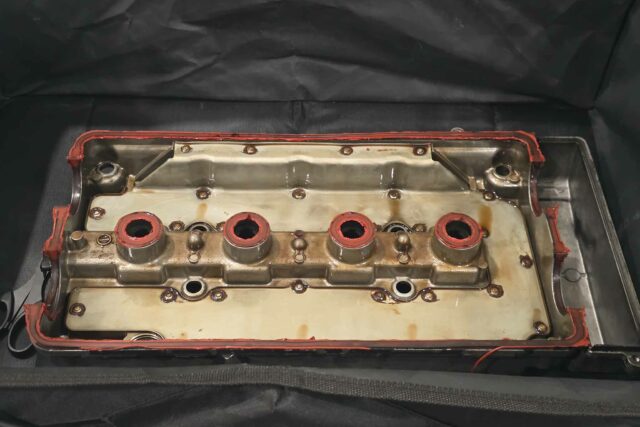
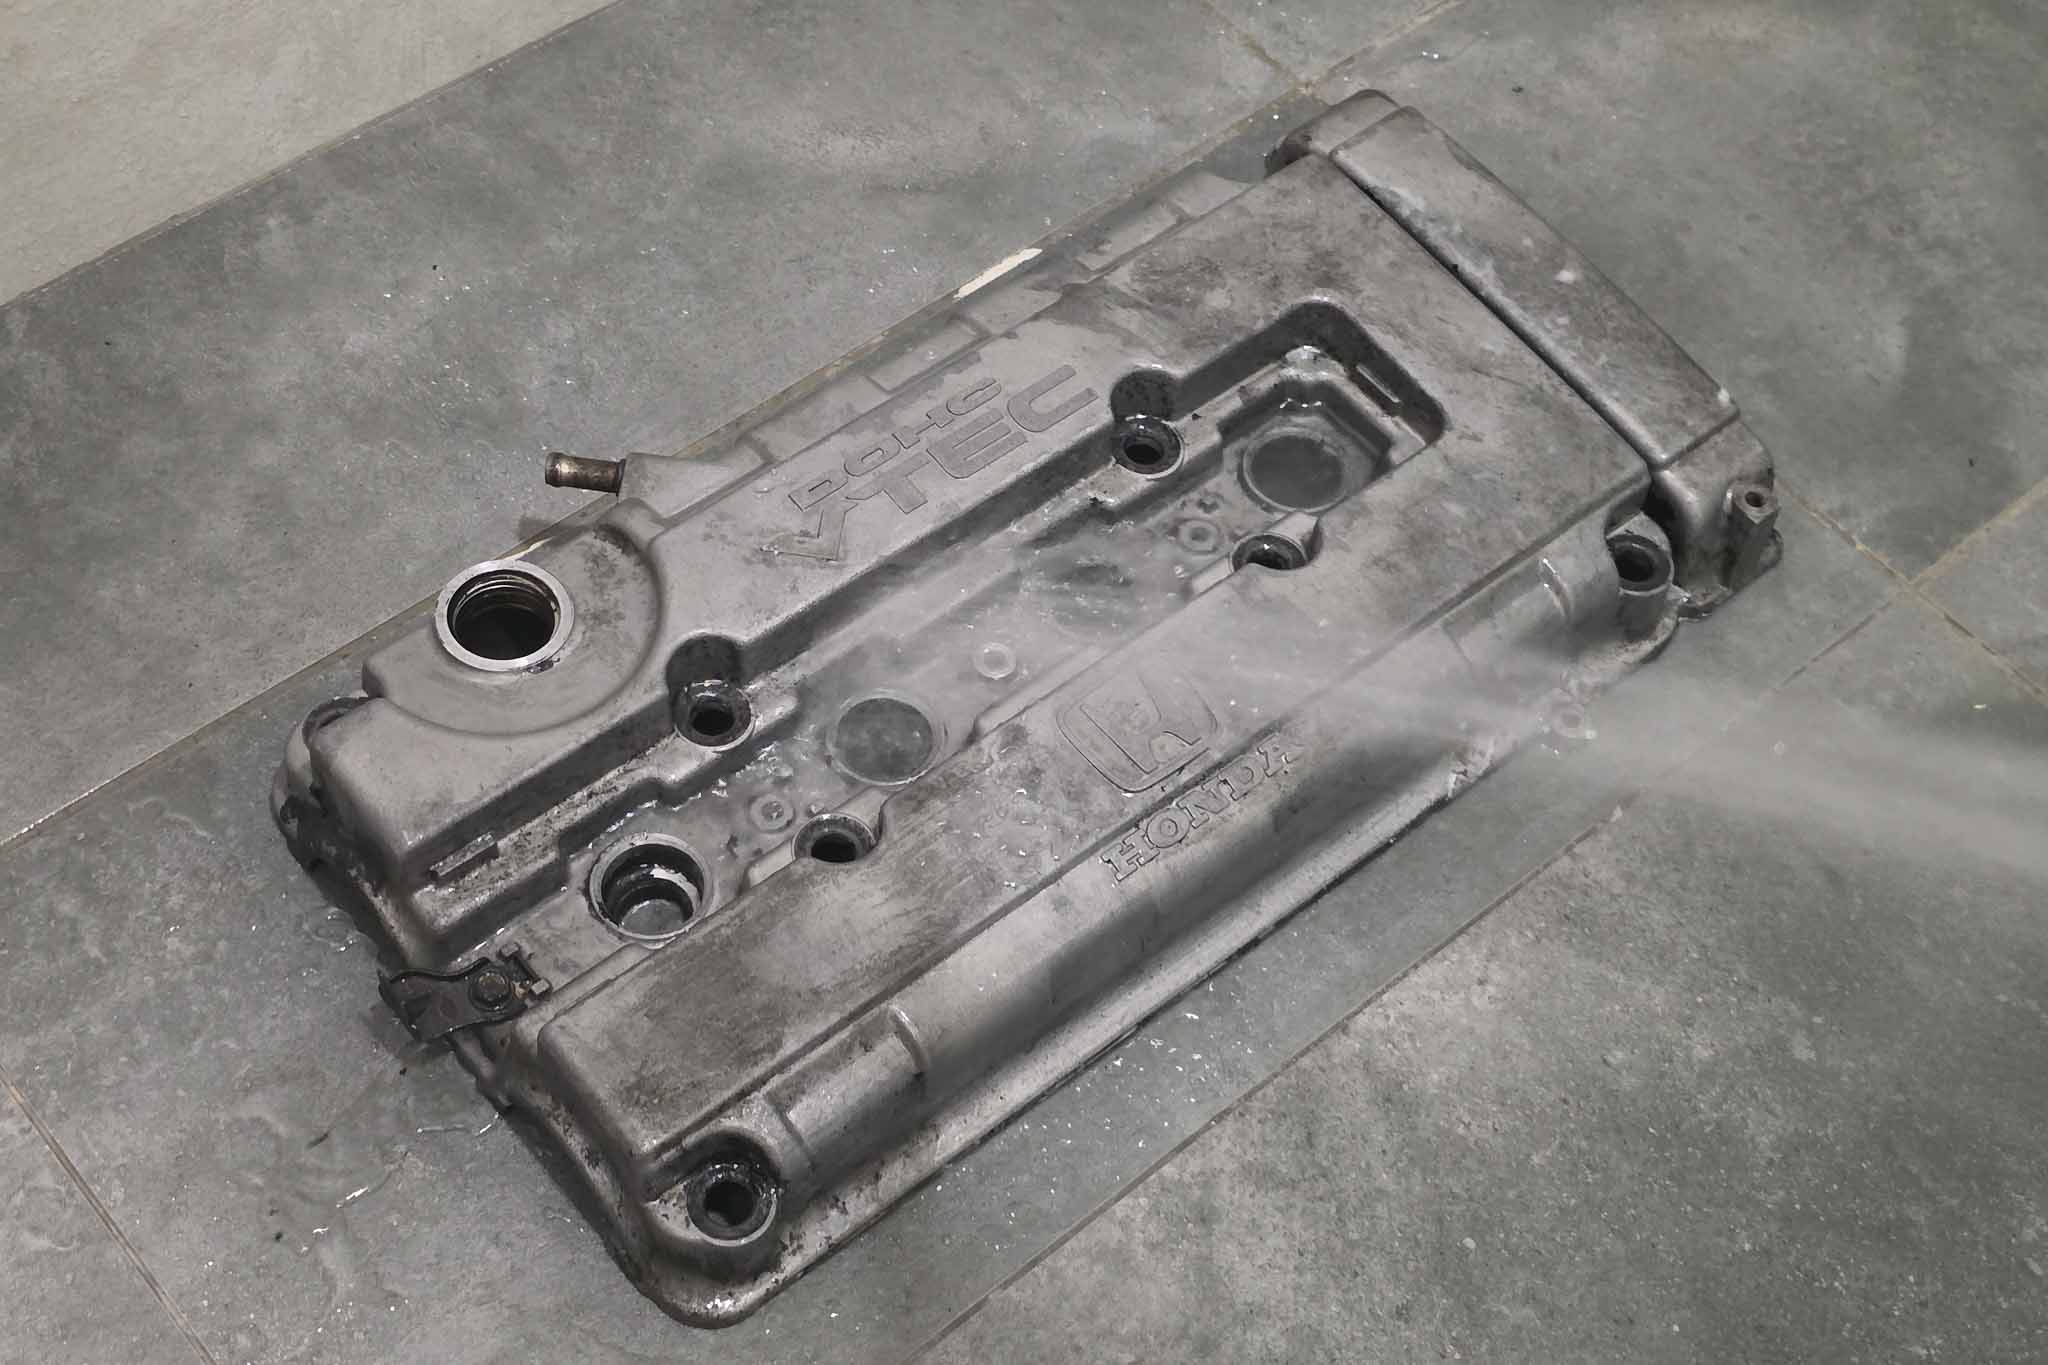
The existing seals were removed before cleaning with water and degreaser (in my case soapy water, definitely not as effective). Afterwards was to strip what was left of the valve cover paint with paint stripper.
By the way, those paint stripper bottles – if its your first time opening one, don’t do it at night, and don’t put your head over the lid when you pry it open. The lid will pop up with pressure, the sort that will hit your ceiling.
I did four cycles of coating the surface with a brush, scraping off paint and then washing it off with pressurized water. As per the word of advice above – a lot of the edges were initially missed because the cramped space allowed for no visibility.
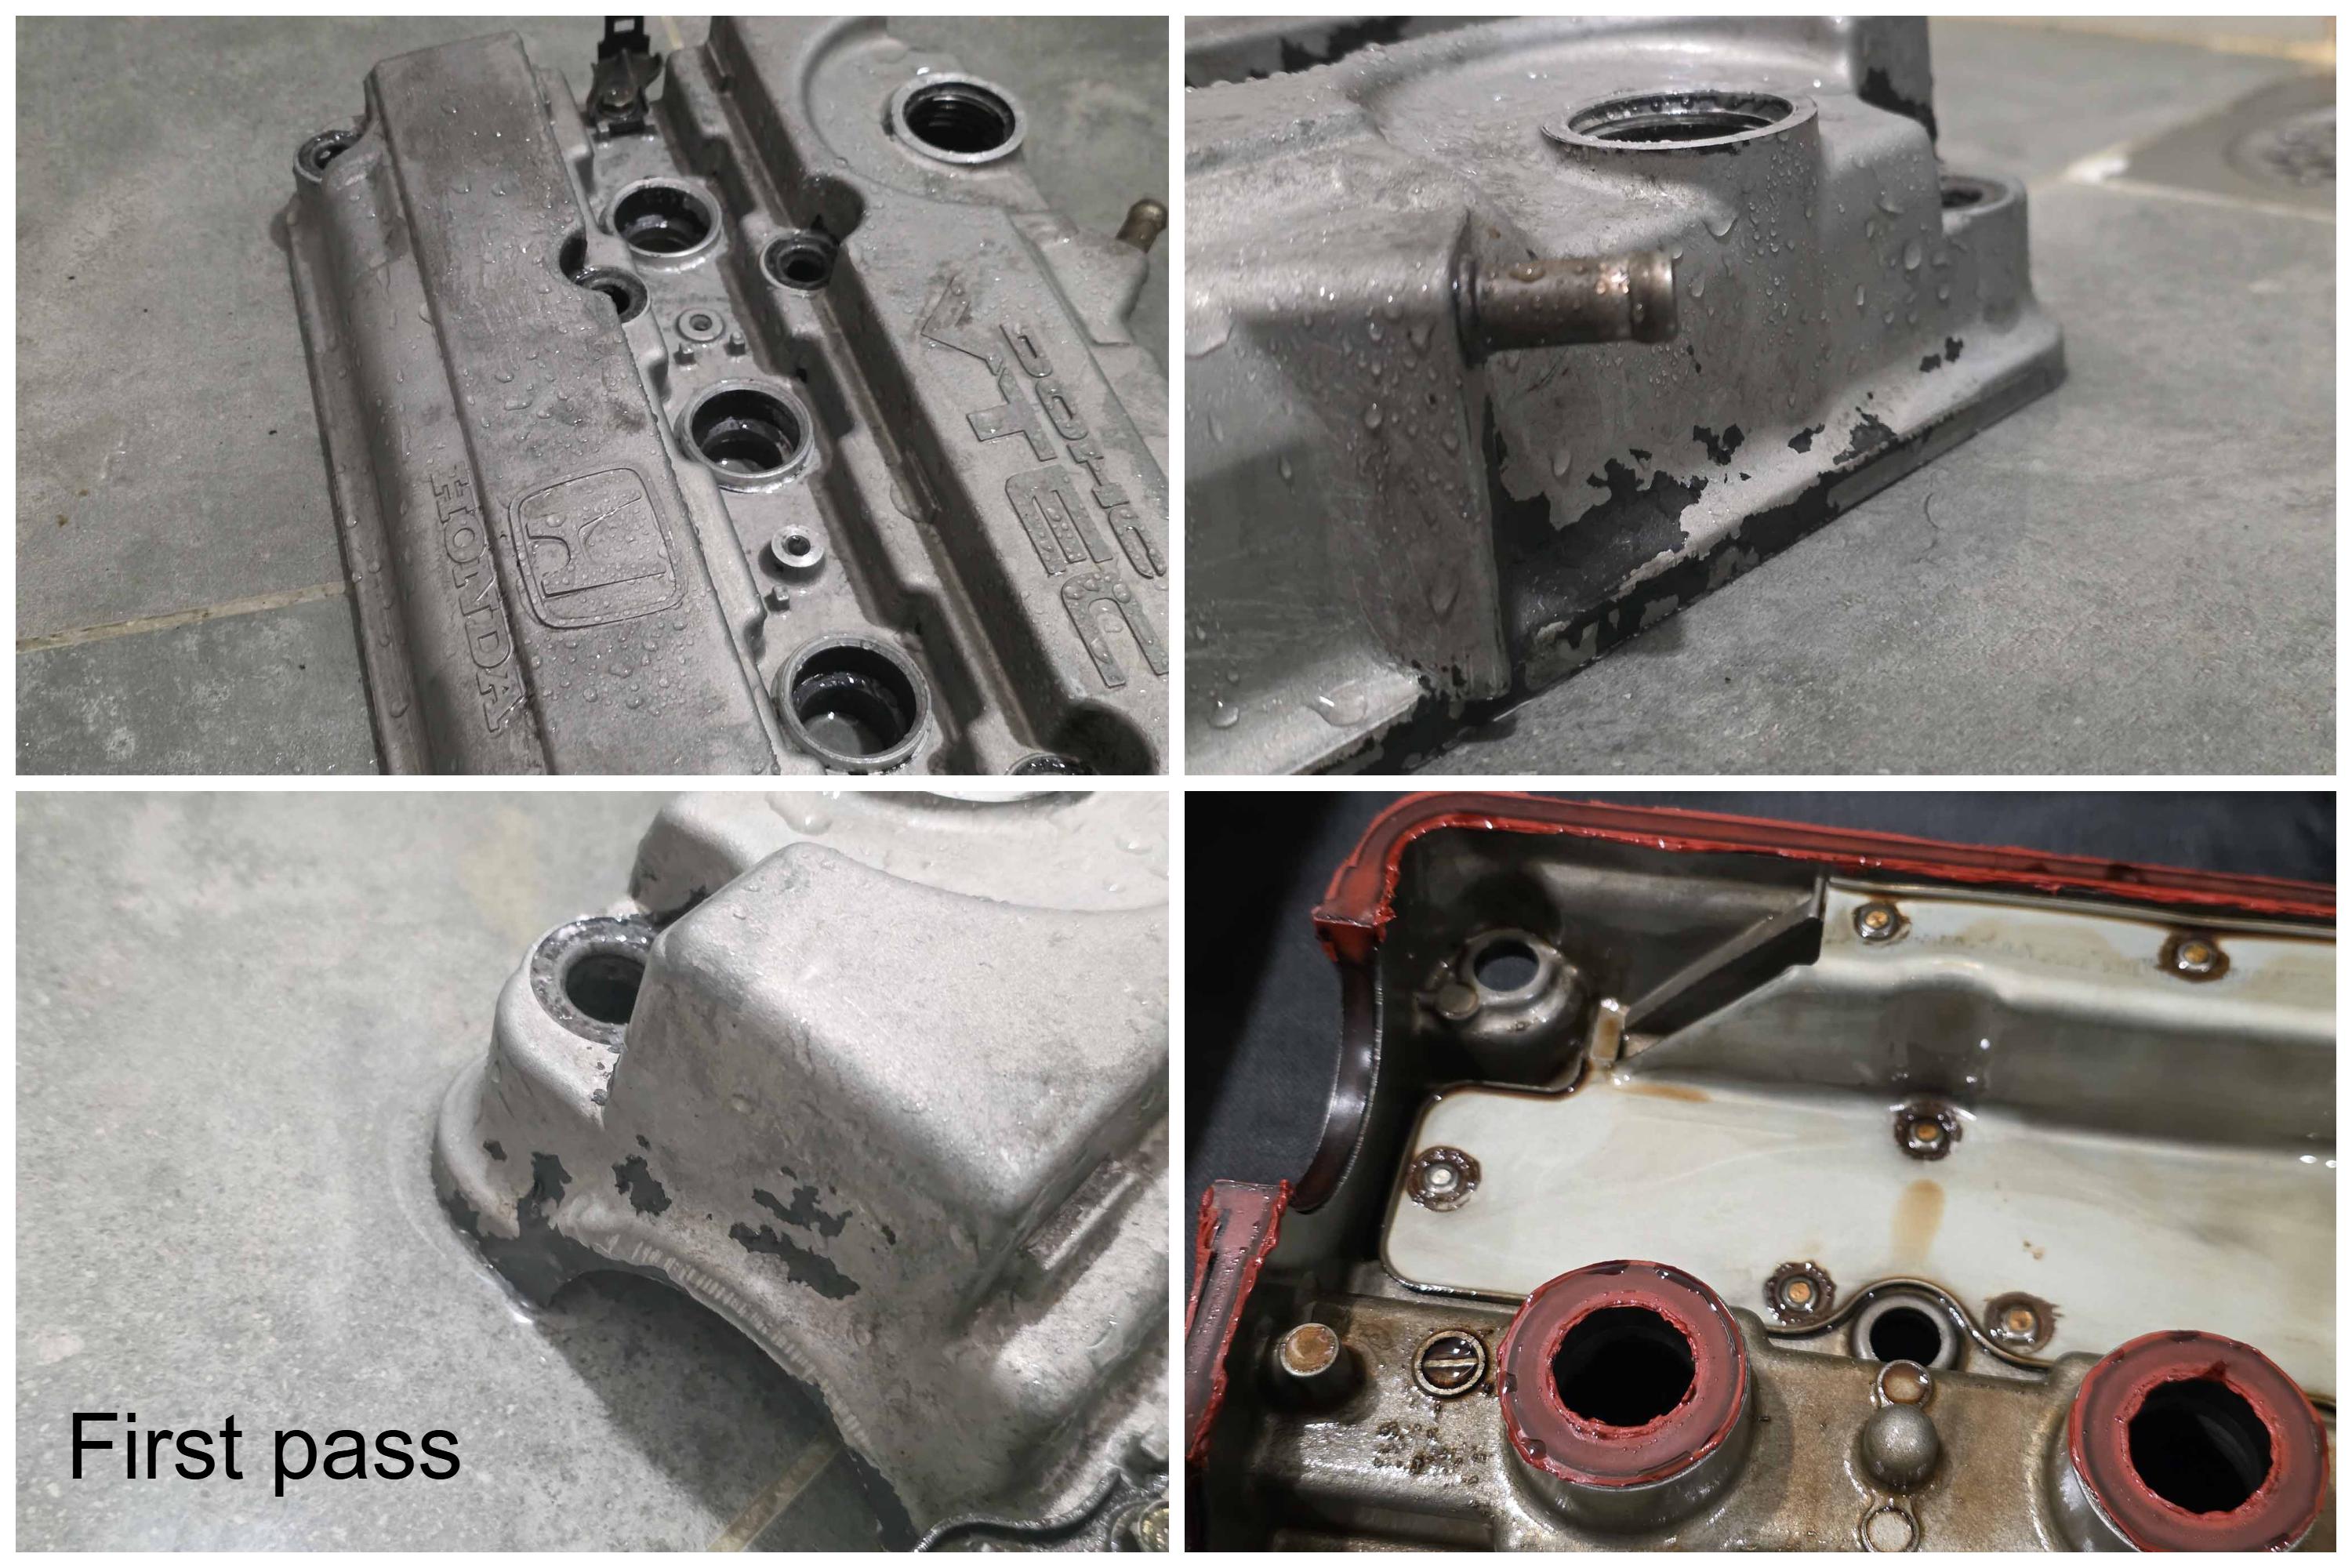
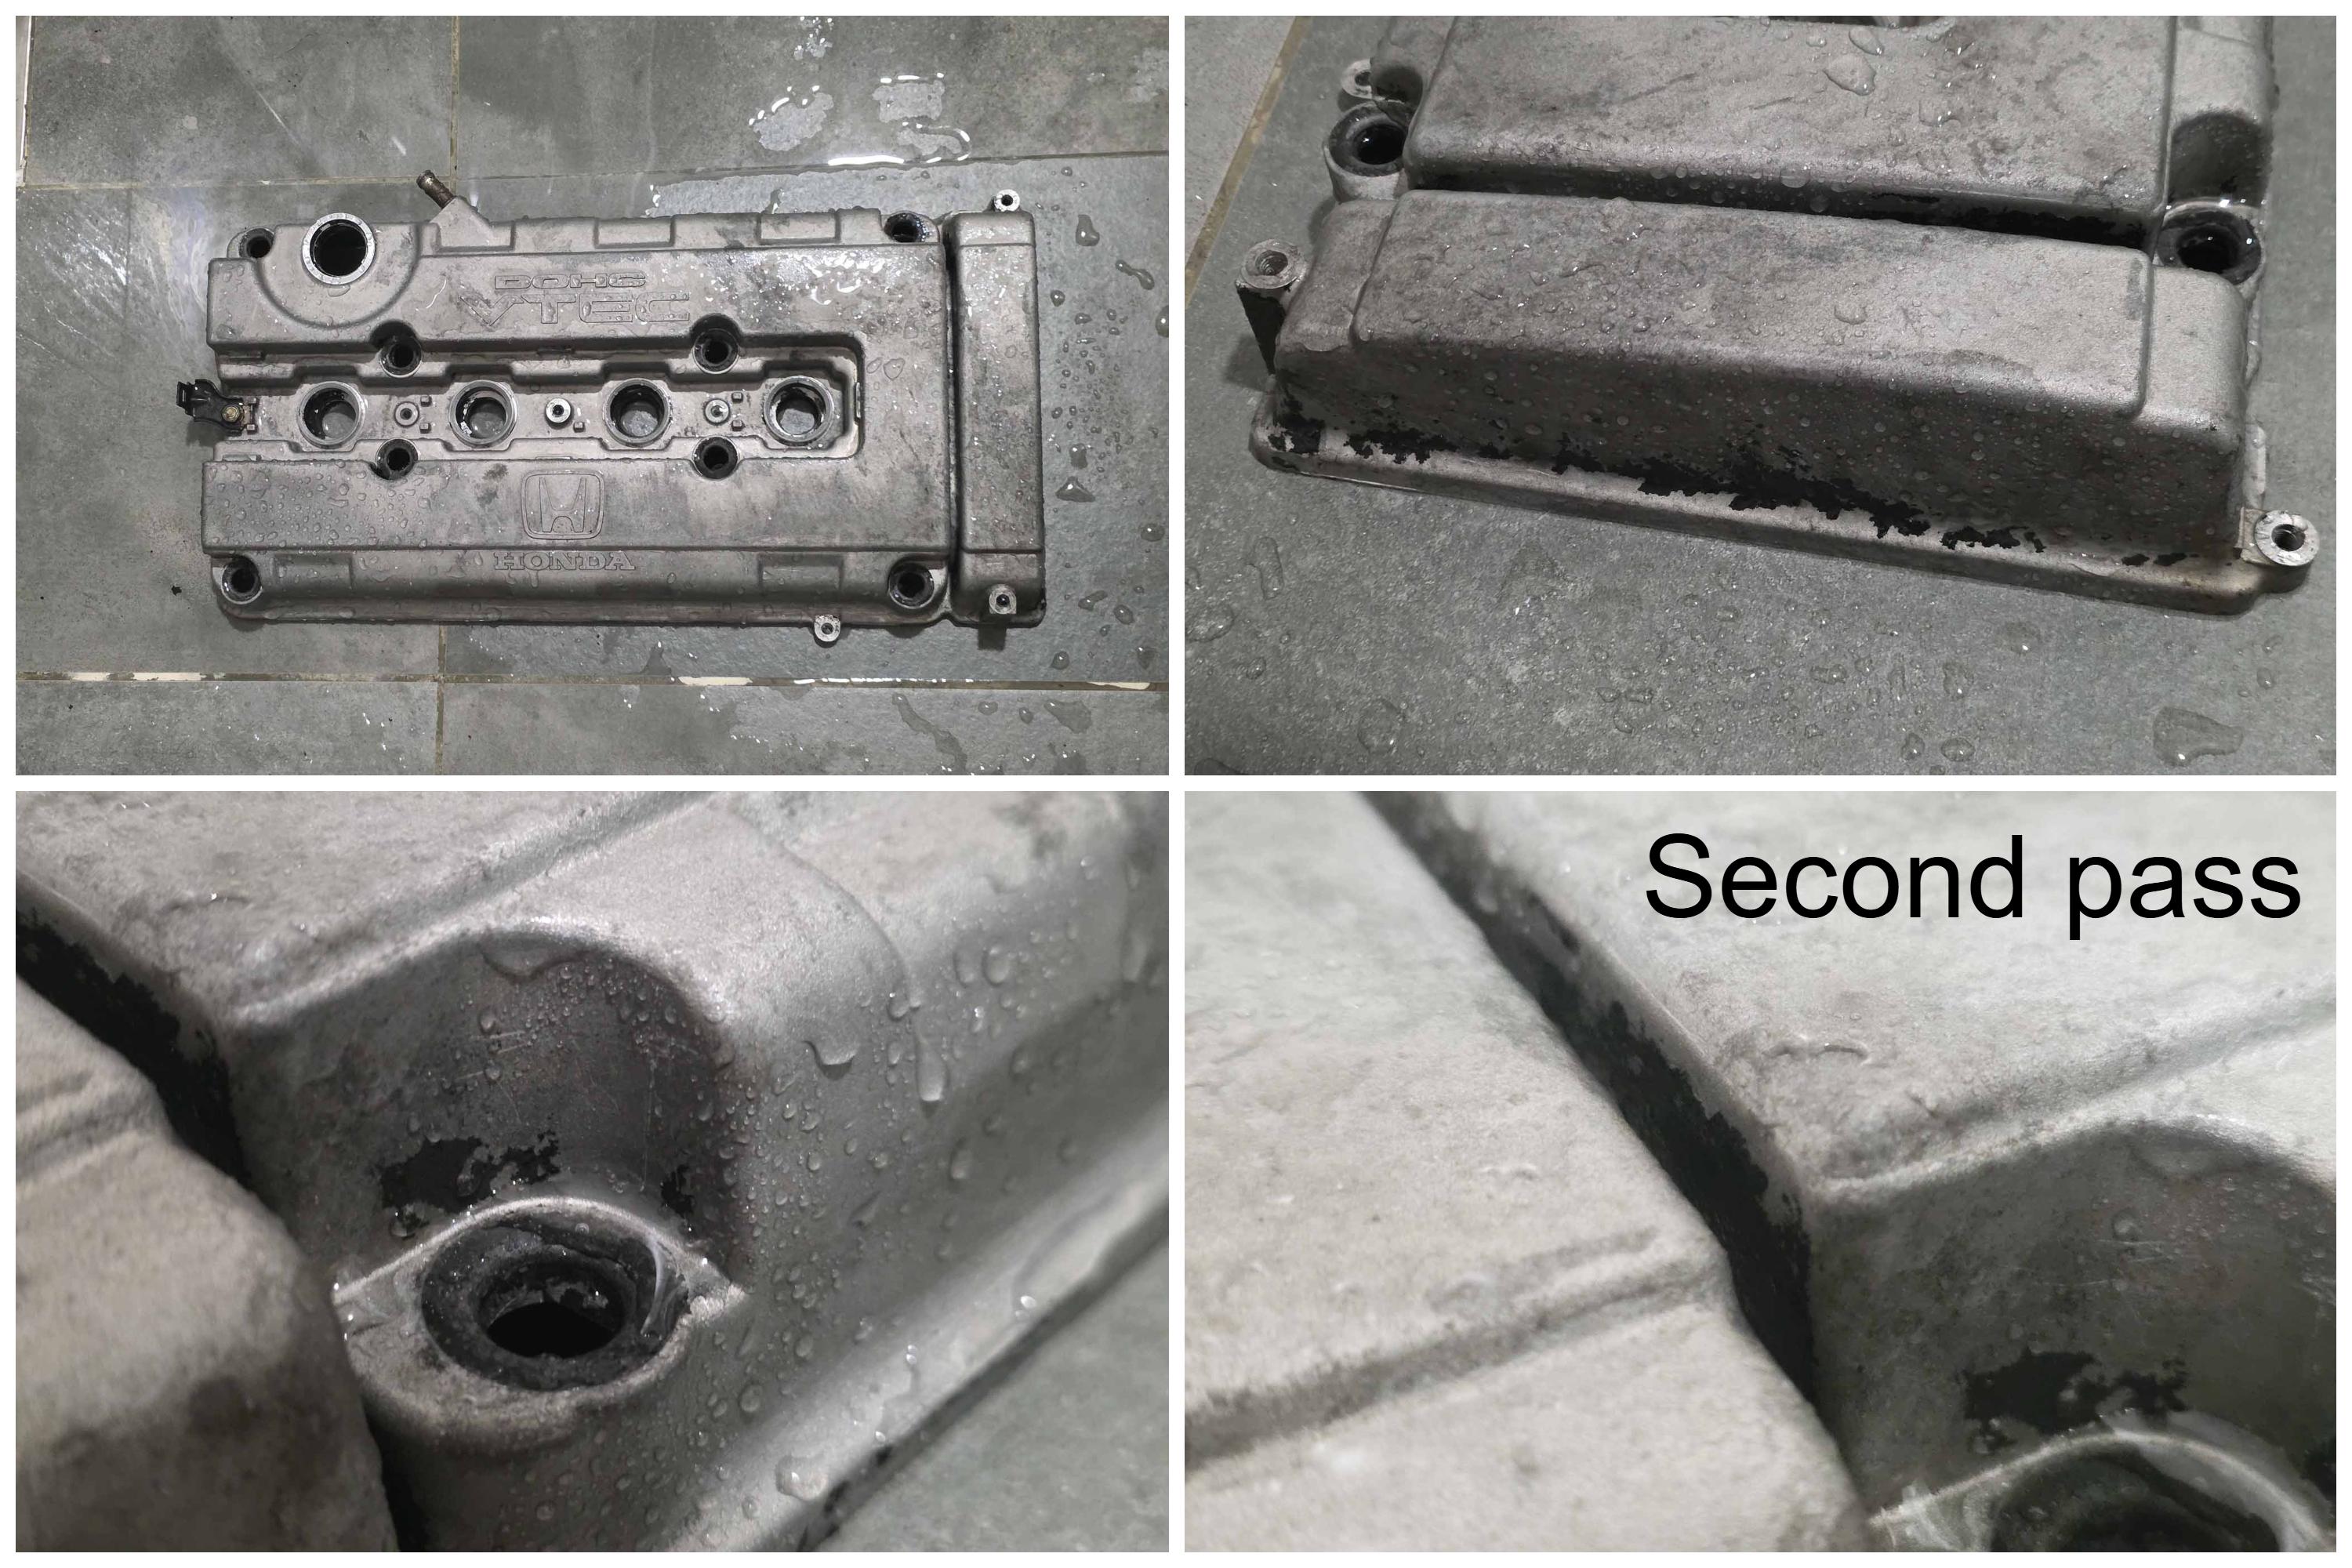
Please also use paint stripper with a mask unless you want to be coughing or get irritation in your eyes.
With all of the paint gone, you may use sandpaper to iron out visible corrosion spots or to “smoothen” the surface – the bare metal surface is not required to look even in color (not that I know of). A sanding block is recommended to evenly sand down the lettering rather than pinching and sanding by hand.
Sandpaper grit is more rough the lower the number: 80 is extremely rough and 2000 is mostly smooth as an example. I tried 150 grit for certain parts of the cover which created scratches, which I couldn’t get rid of with higher grit sandpaper. Should it be a problem with primer adhering is not within my knowledge.
Easy on the paint
There are two types of paint for engine valve covers: Enamel and Wrinkle.
Automotive-suited or high temperature paint is the minimum since the paint will need to withstand… high temps. Primer will also be needed for the paint to adhere to the surface.
For the lettering, specifically masking it off is possible but a different practice is to use lip balm before spraying. Don’t apply excessively as it may be applied on crevices between the lettering. The lip balm is supposed to make removal of paint easier as that will be what the paint and primer will adhere to.
Starting with primer will be two intended passes, first a light coat – for fellow graphic design people, this would be a “20% opacity” spray. Wait ten minutes, then do another light spray and repeat.
After would be three heavy heavy coats of the wrinkle paint horizontally, vertically and diagonally with ten minutes interval of each other. The rest of the way would be to wait for the valve cover to dry which takes roughly a day or two.
You can guess that thanks to my inexperience and lack of space did I apply more than three uneven coats of primer and a lot more than three coats of paint over the course of two days.
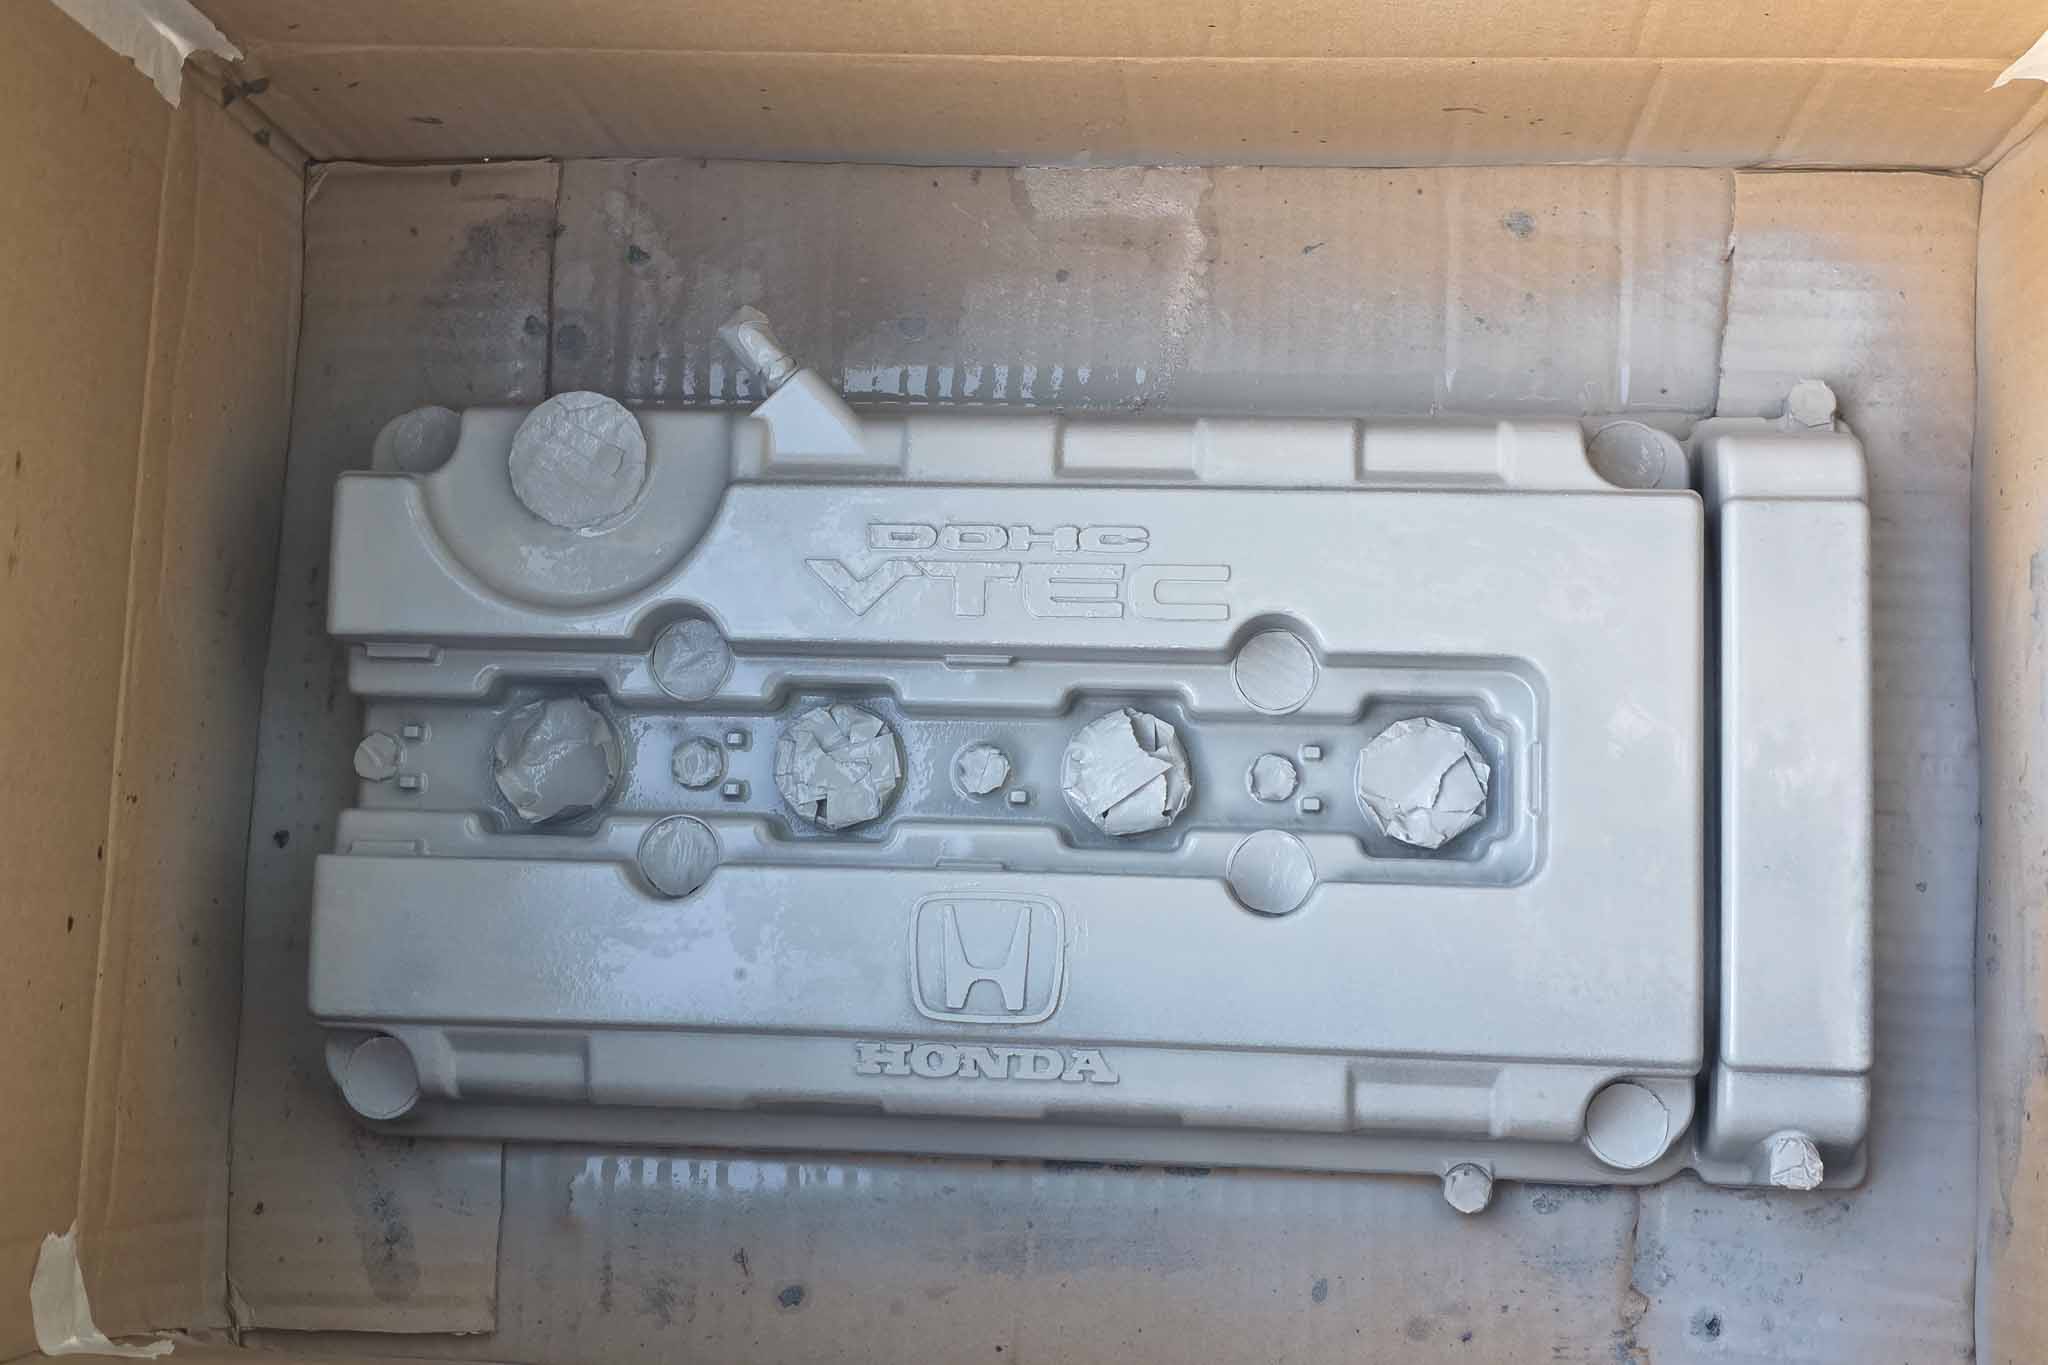
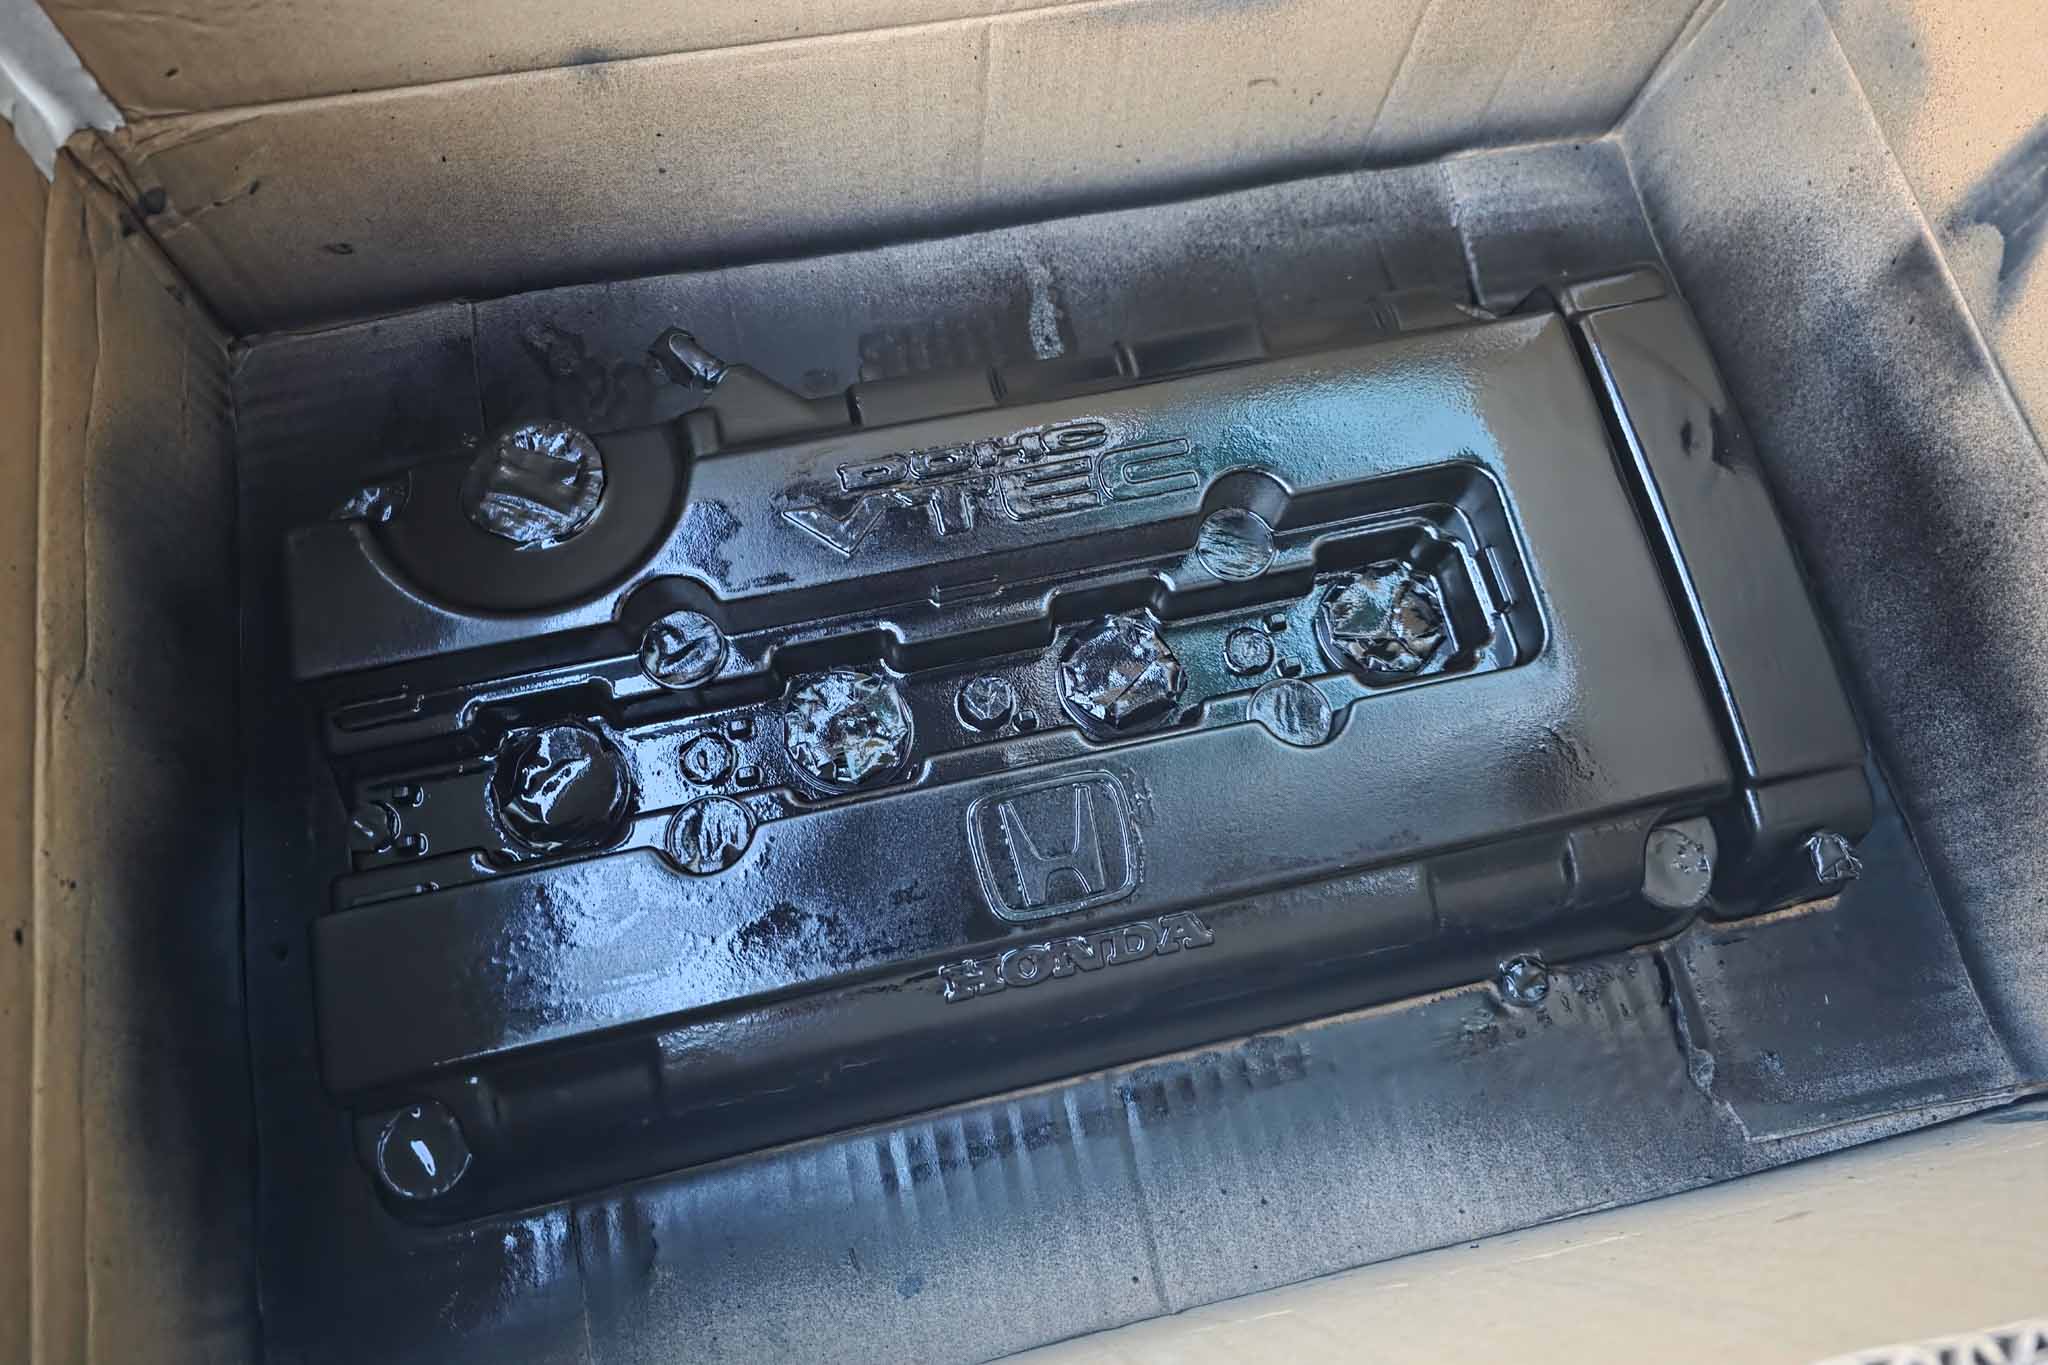
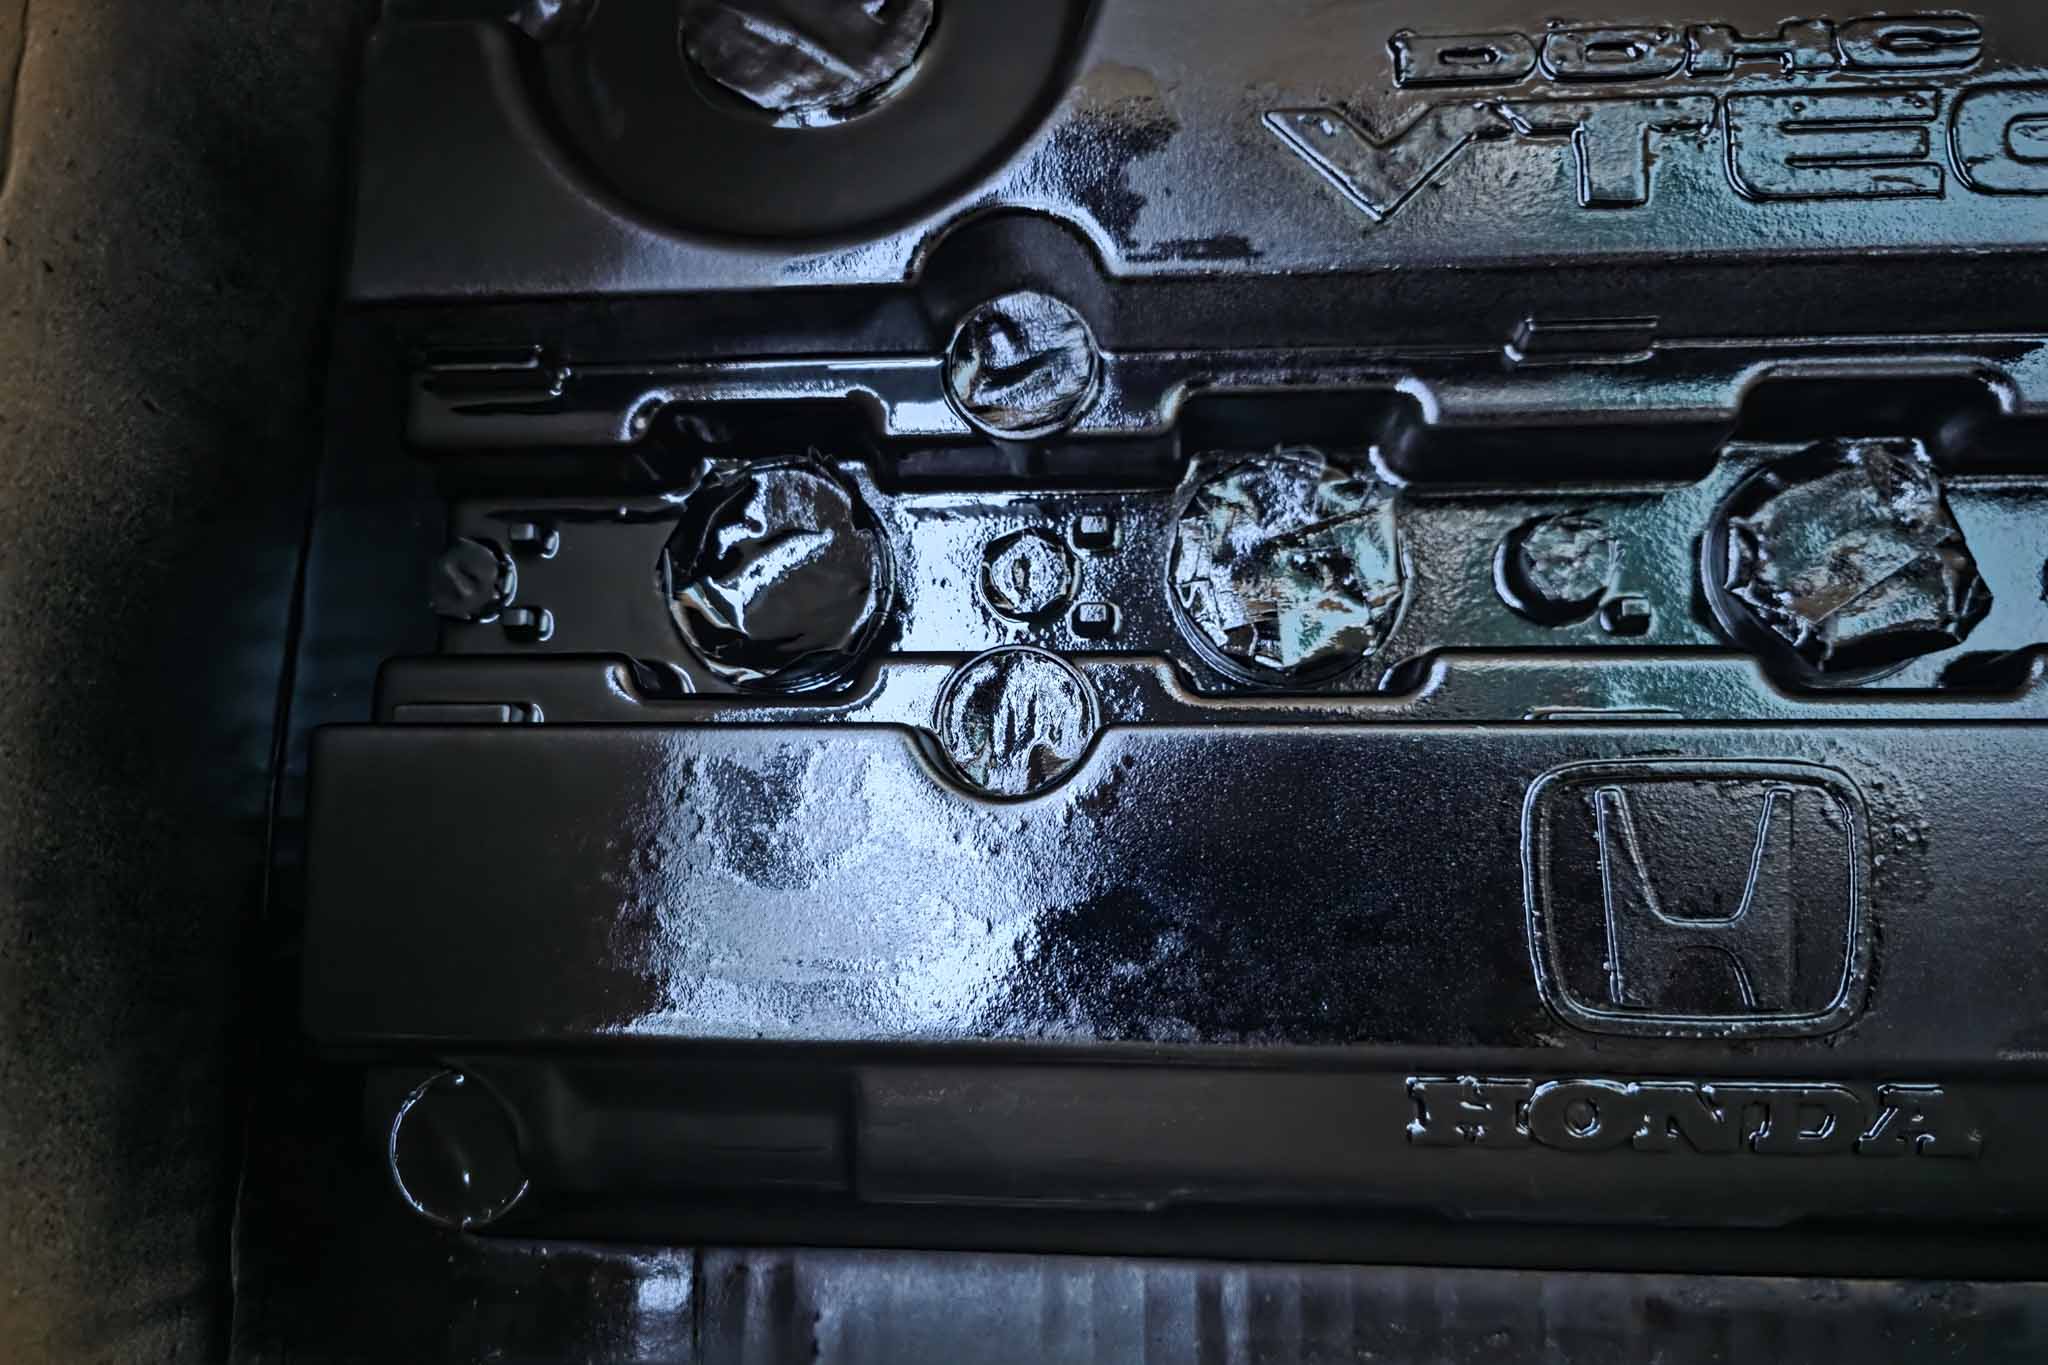
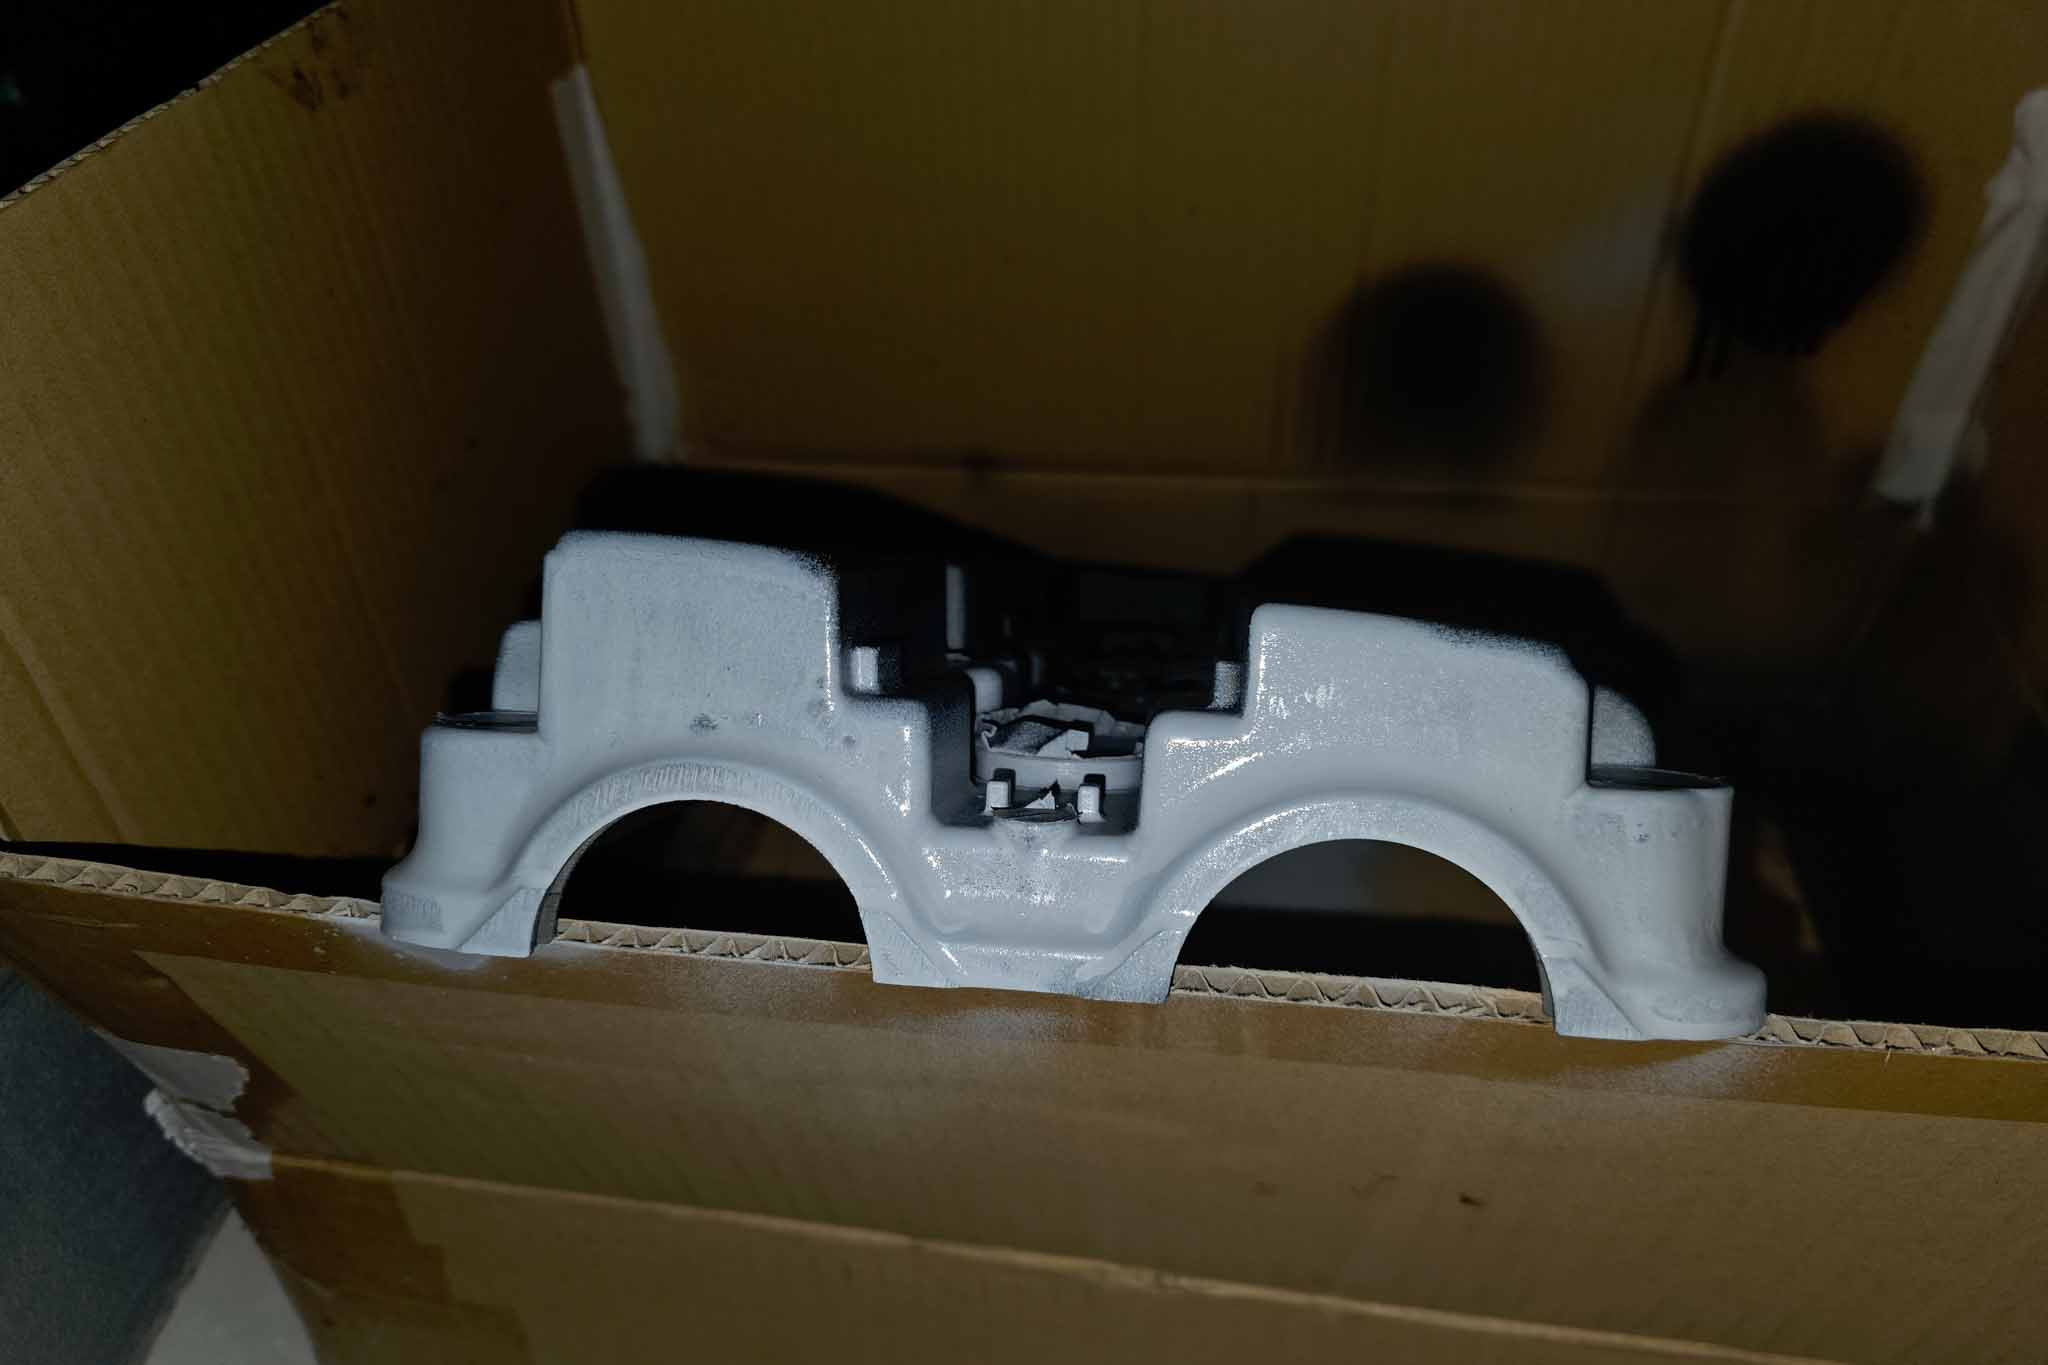
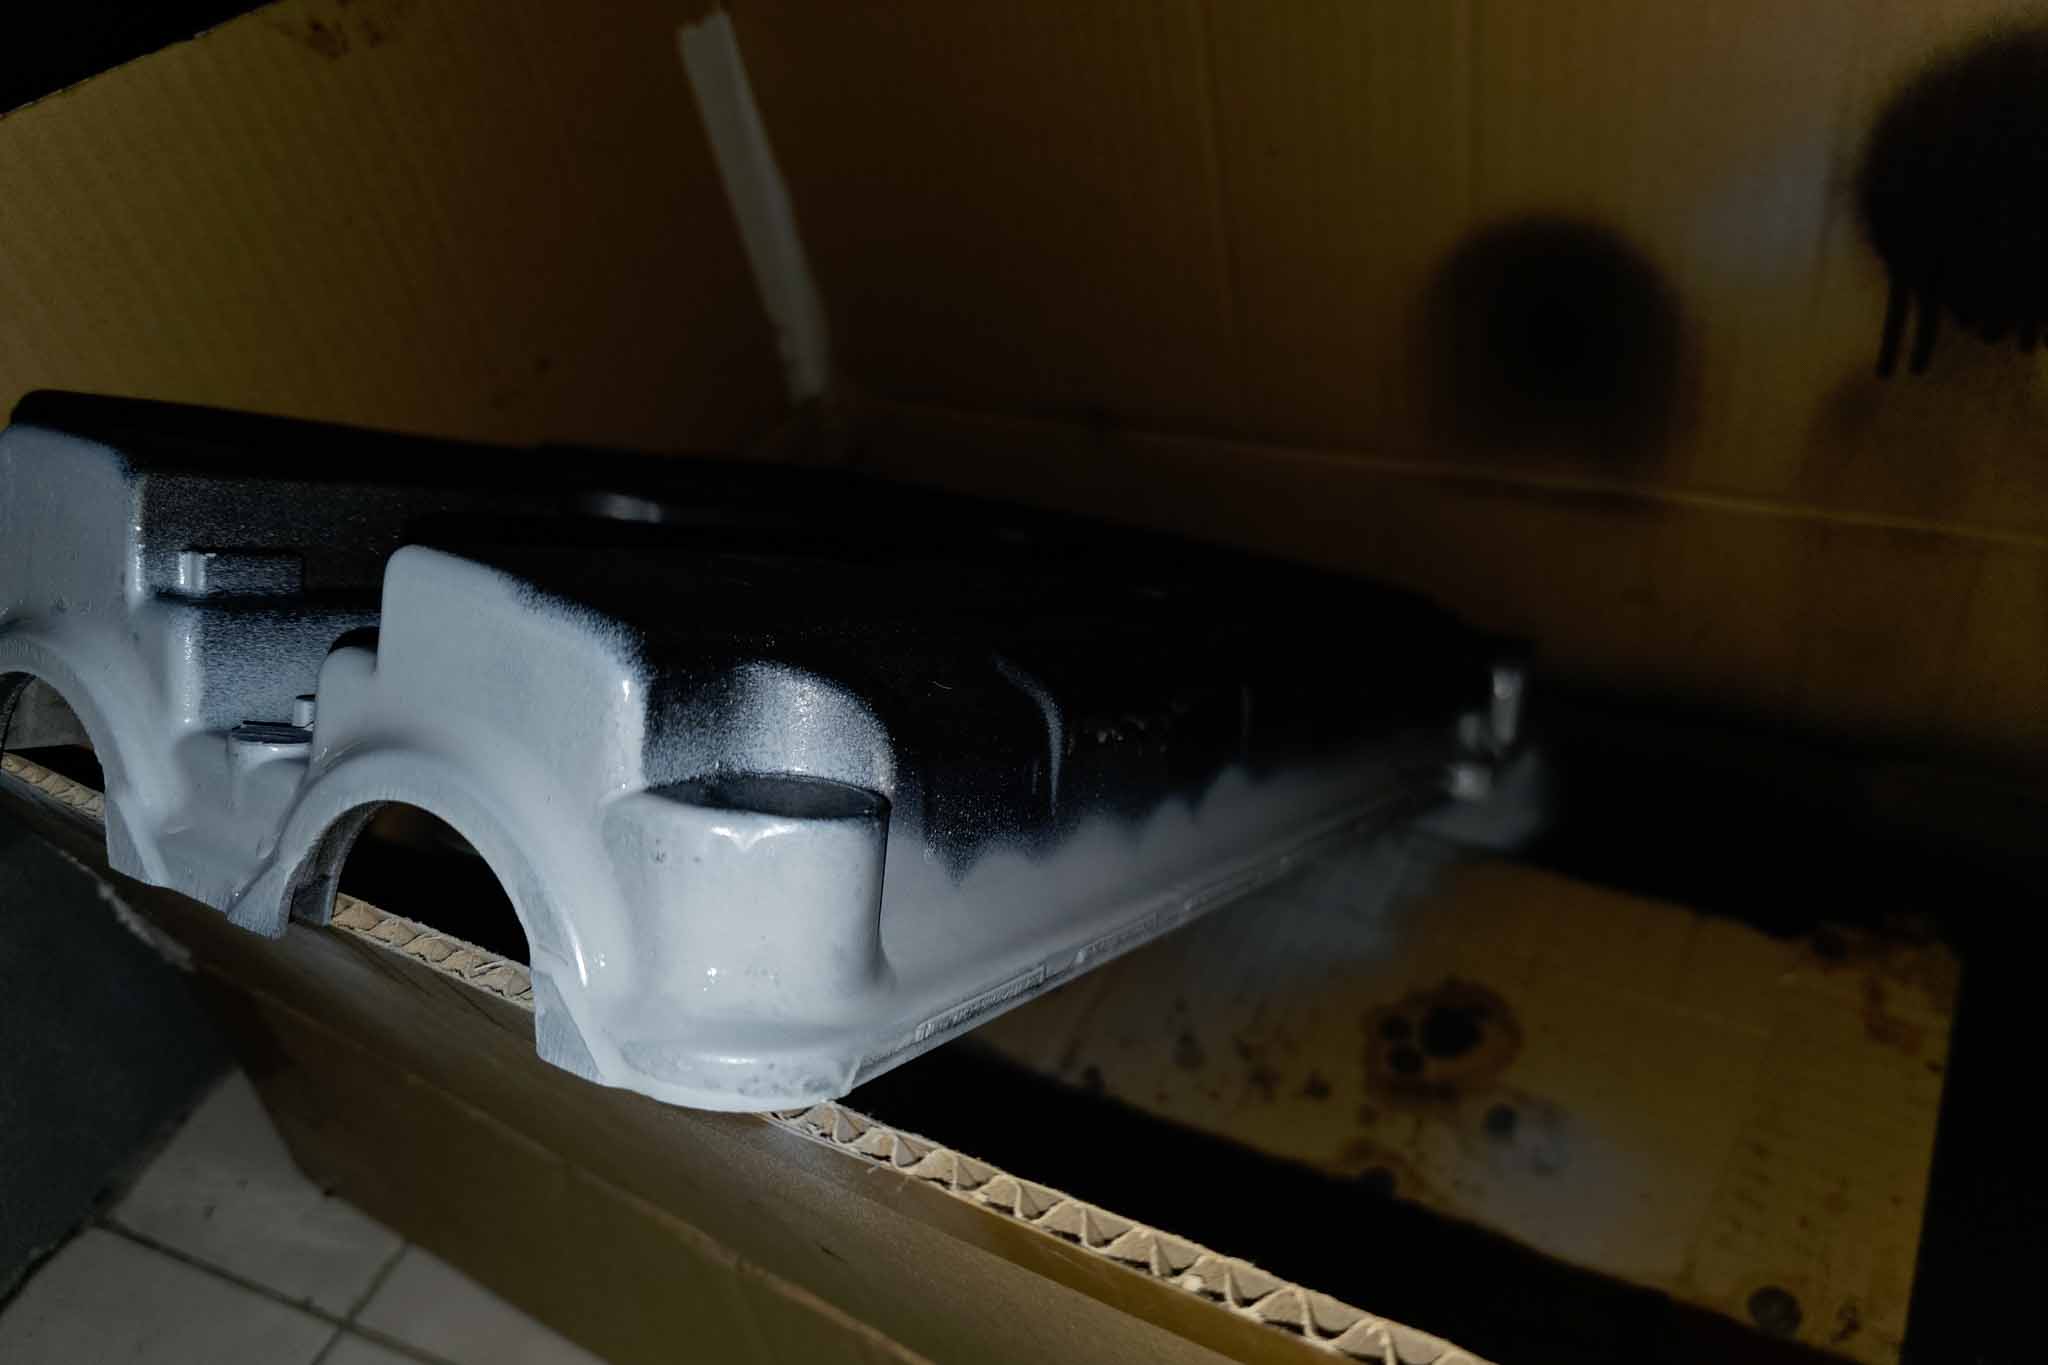
Realized the bottom was basically uncoated, so more primer, more paint, more waiting, more of the cycle… it really put a dent in my confidence.
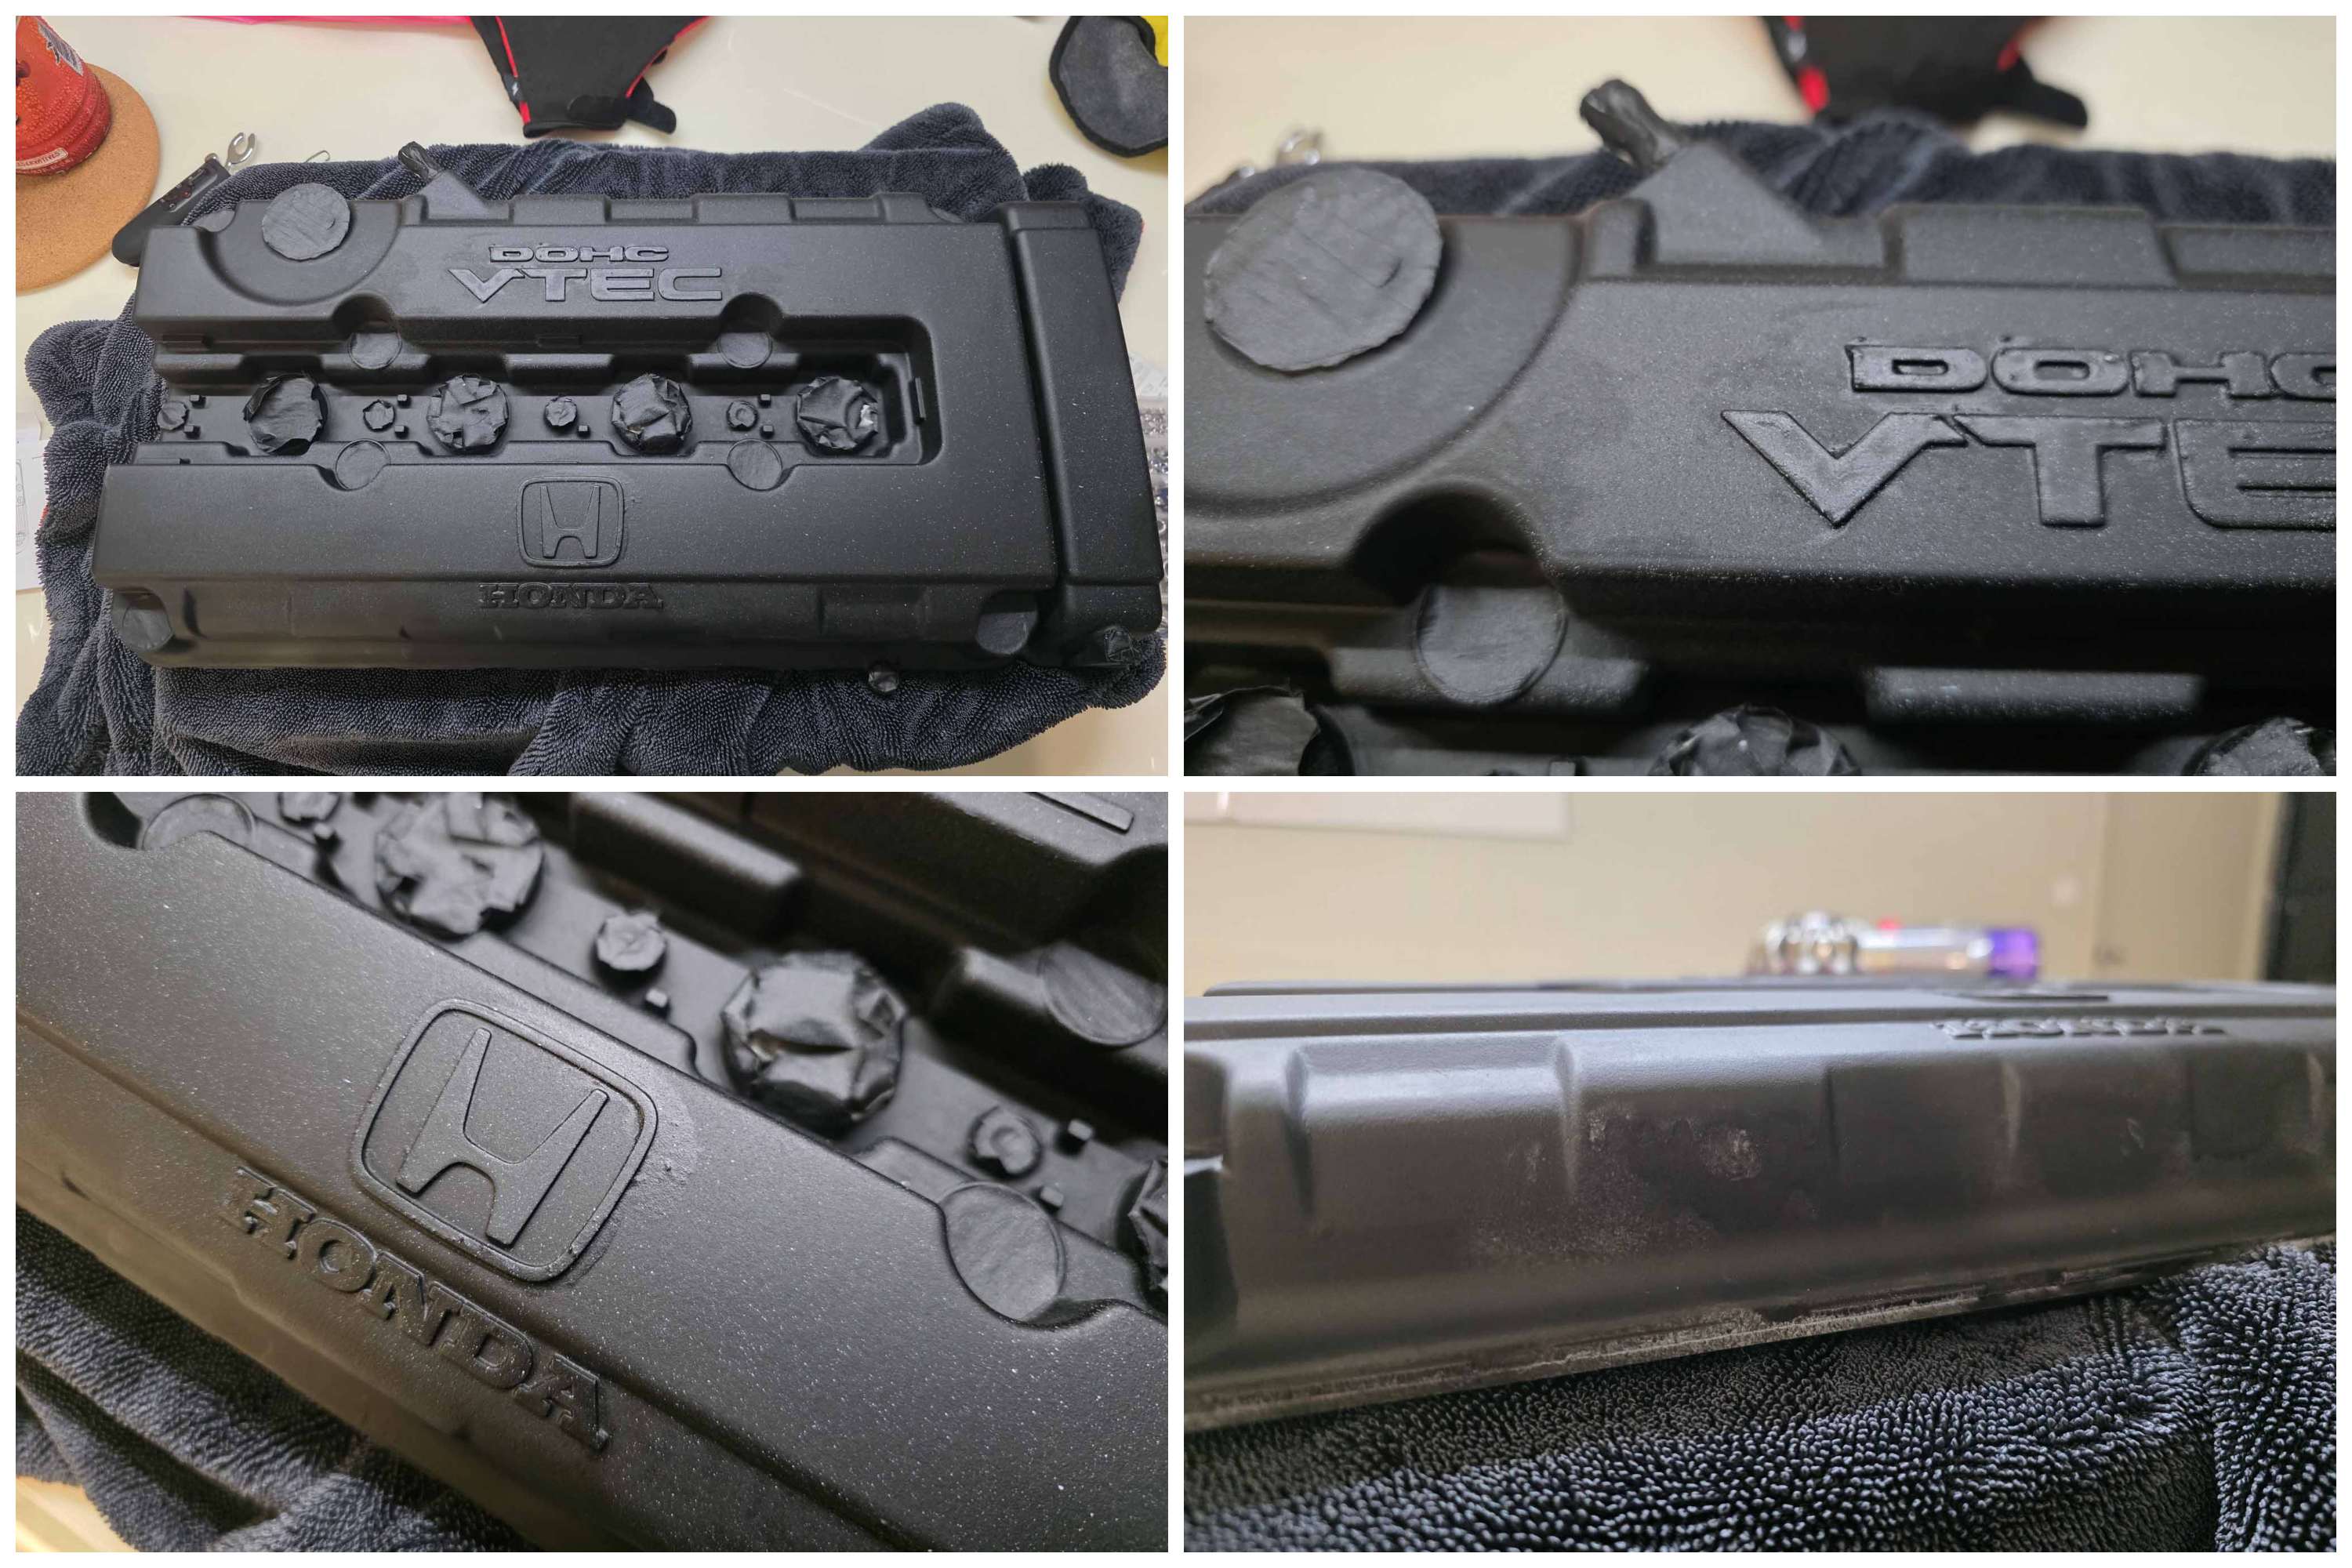
As much as I was “happy” about the end product some weeks later, that self-initiated kick in the stomach about the quality of it is awful. It was and is a pretty sore time in my life hence the negativity.
There are spots that looked uneven or wet. Especially the surface surrounding the lettering which I assume is excessive lip balm that caused the paint to adhere wrongly.
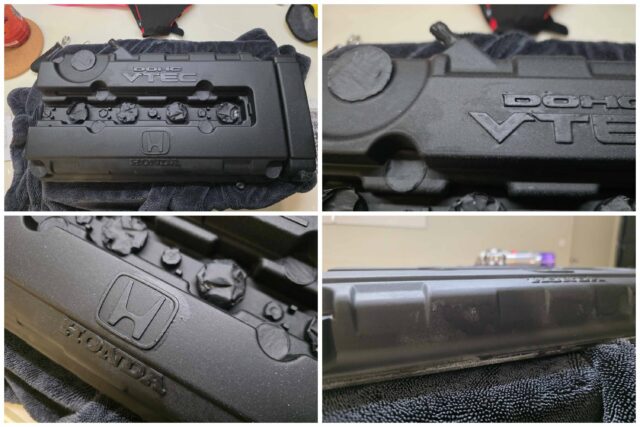
What can you do really. I did this in haste due to my limited time being in Malaysia.
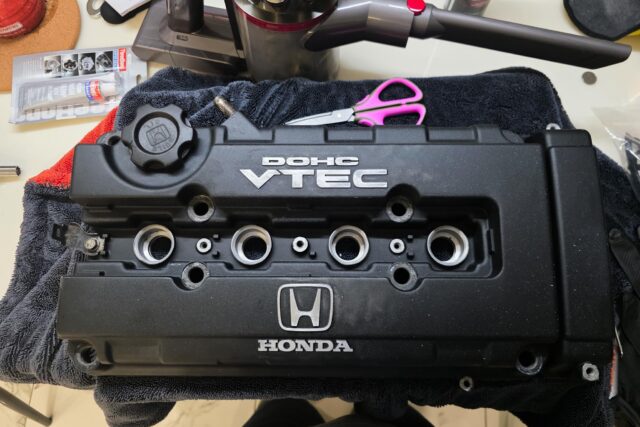
After sanding the lettering down again (the first time doing so might not be necessary in hindsight), I restored some of my faith back into myself. It looks fine, somewhat.
Reinstallation
Good advice would be to purchase a new set of seals. I wasn’t keen on reusing the old ones that had silicone smeared across everything, and it is good practice to at least replace the hardware.
On top of the seals, I bought ThreeBond-branded gasket sealer. I dare not apply it as much as the previous fellow did, but a friend commented that it depends on how unlucky each person got with their sealing.
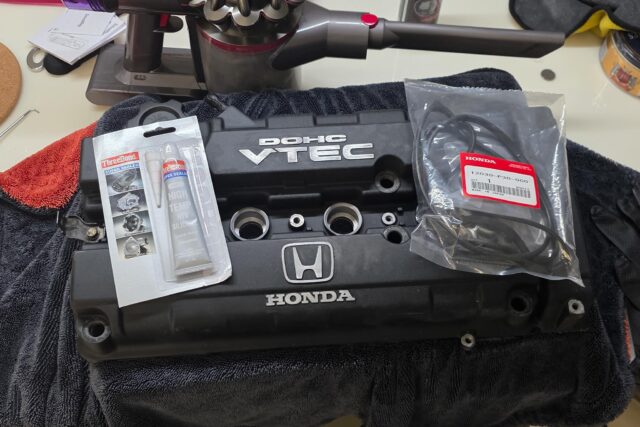
Based on another tutorial video, I followed the practice of apply the sealant only on the corners and edges of the main gasket seal. The spark plug hole gaskets were left as is, especially since they can hook onto the hole while the main gasket seal would not.
This will be a recurring problem that I assume is normal. I’ve seen plenty of videos across different engine models where the main gasket seal will partially fall off from the valve cover after removal.
Reinstallation was semi-straightforward. The main seal, again, decided to keep misaligning itself after the valve cover was rested and would need to be manually tucked in. The rest like hardware and piping were placed back the same way as they were installed – bonus would be torquing all to spec with a torque wrench.
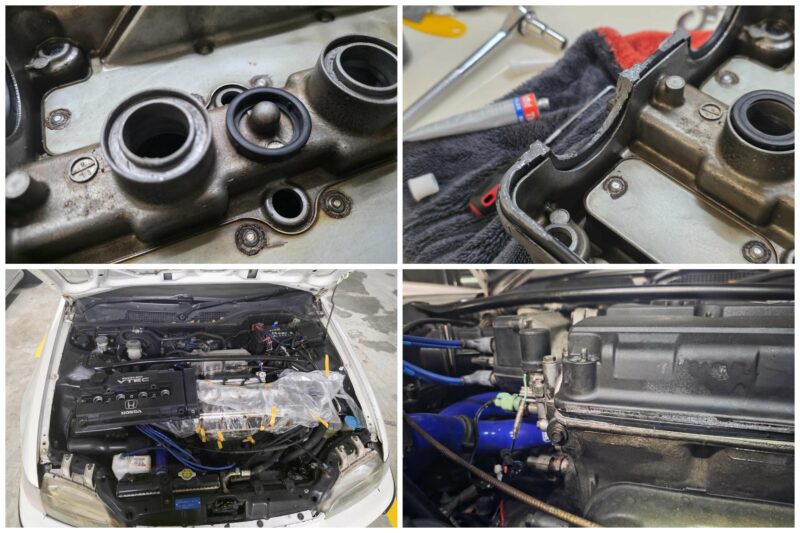
The grommets for the valve cover were inverted colors from the outgoing set. I didn’t realize it and effectively jammed one upside down and was as much a pain to get rid off, which also pried off the new paint. The outermost lower left grommet is now bare metal. Again, being the perfectionist that I am, I hate that the color is uneven, the lettering is uneven, paint is missing in some places… but its a first-time work done in a box barely big enough to fit the valve cover.
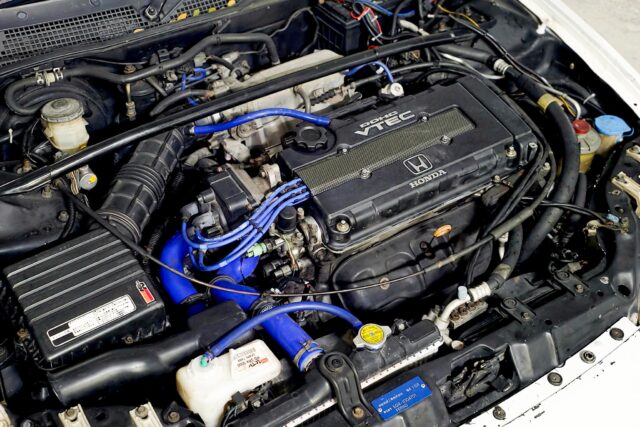
Thoughts and a prayer
I am probably going to be worried about the gasket anyhow. Its an unfamiliar job that I’ve done before and worries like headgasket and similar are a lingering thought since it is a big job that has ruined two of our cars already the same way it did our pockets.
Its just me, but I dislike content creators (especially the western folk) that keep touting these jobs as being extremely simple. Its just me – but I match the average joe in Singapore who most likely will never touch a wrench in their lives. Perhaps I am comparing between country to country, but think about it – everyone’s posts will reach a worldwide community and reach everyone of differing experiences with the subject at hand.
Its endlessly frustrating trying to treat these skills as an obligation and I hope that you don’t do it like me. You can aspire, but please don’t treat it like an obligation because it will not bring you the feeling of accomplishment which will toil away at your mental because it feels like several days wasted.
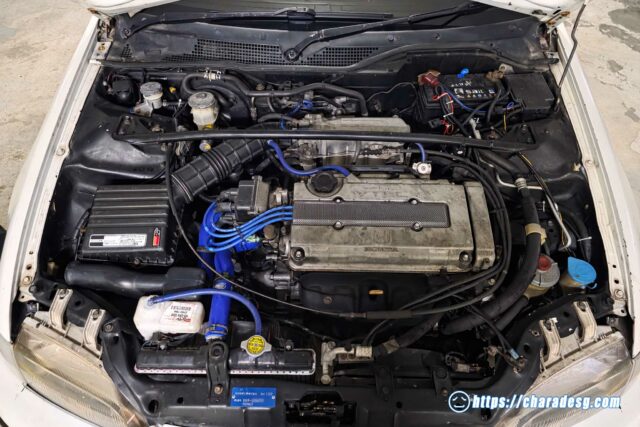
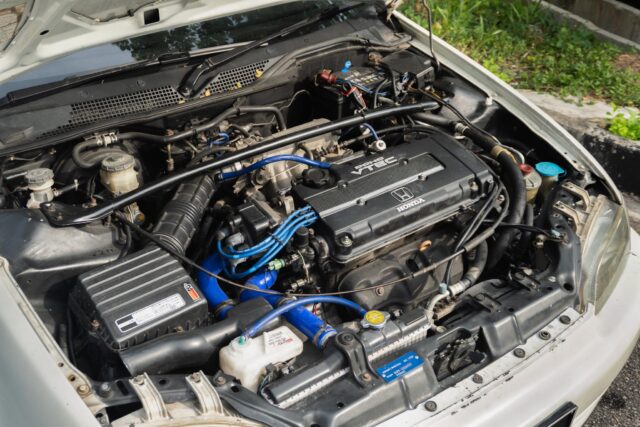
But nevermind my increasingly-broken headspace, this engine bay looks a little better now. If there is another thing I would like to do, it would be replacing the screws and bolts. They’re all very crusty in varying states of rot, but that’s for whenever I’ll see the car again. I have to thank her for being a guinea pig for my tryouts.
~Efini
Read more: Feriko: Nearly-stock intake and exhaust system
Consider subscribing to our website! Most of our posts are uploaded before they reach our social medias, so such means you get to see posts early and some that we may not feature. Cheers!
Subscribe to our newsletter!